Creating a Product
A product in Ductape is the core building block that brings together your apps, databases, caches, messaging, notifications, and more — all accessible via the Ductape SDK.
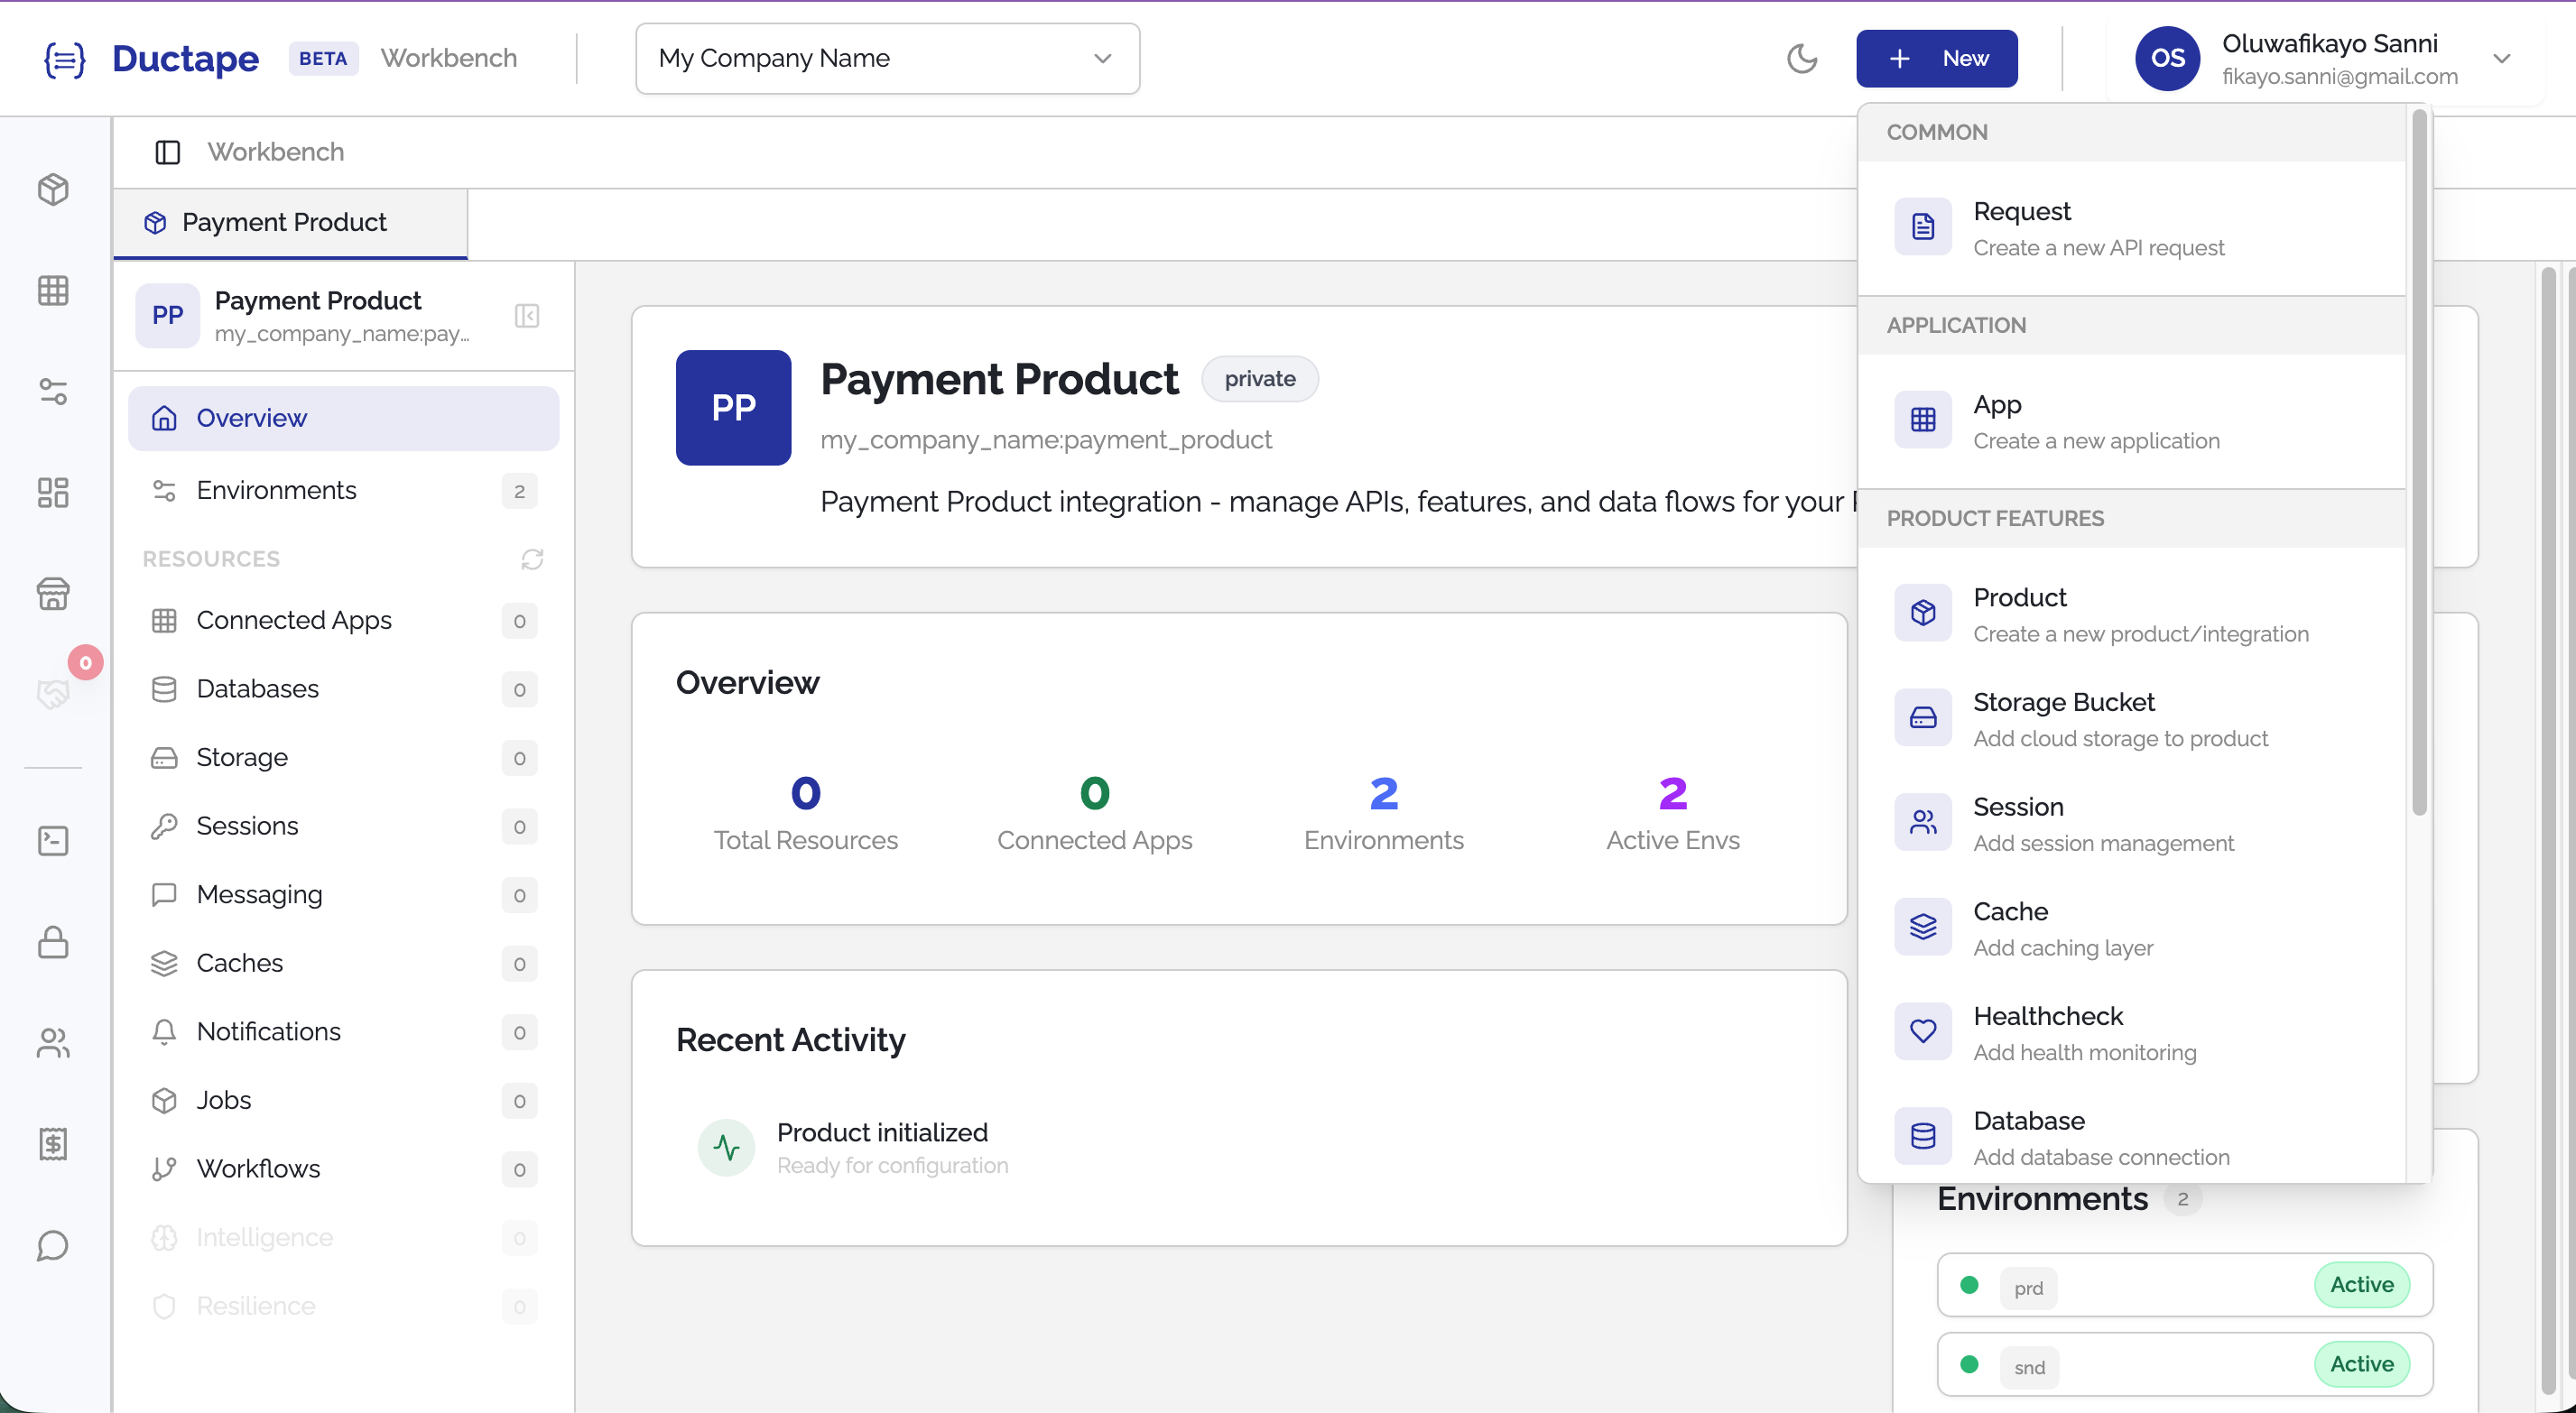
Step 1: Click the "+ New" Button
In the top-right corner of the header — to the right of the dark mode toggle and to the left of the profile dropdown — click the + New button.
A dropdown will appear listing all the assets you can create.

Step 2: Select "Create a Product"
From the dropdown, click Create a Product.
This will open a new Product tab in the main content area.

Step 3: Fill in the Product Name
Type your Product Name in the name field (e.g., Payment API).
As you type, Ductape will automatically generate a tag (a URL-safe slug) from the name — for example, payment-api. You can edit the tag manually if you'd like a different value.
Note: The product tag must be unique within your workspace and cannot be changed after the product is created.
Step 4: Add a Description (Optional)
Optionally, enter a Description to help your team understand what this product does.
Step 5: Add a Logo (Optional)
You can add a logo to your product in two ways:
- Upload: Click the Upload button next to the Logo URL input to select an image file from your computer.
- Paste URL: Copy and paste an existing image URL directly into the Logo URL text input.
![]()
Step 6: Create the Product
Once you're happy with the details, click the Create Product button.
Your product will be created and you'll land on the product dashboard, ready to start connecting apps, configuring databases, and more.