Setting up Messaging
Ductape allows you to connect messaging systems to your product so it can publish and consume events asynchronously. Messaging resources are configured per environment, allowing different brokers to be used in Production and Sandbox.
Supported brokers include Kafka, RabbitMQ, AWS SQS, Redis Pub/Sub, NATS, and Google Pub/Sub.
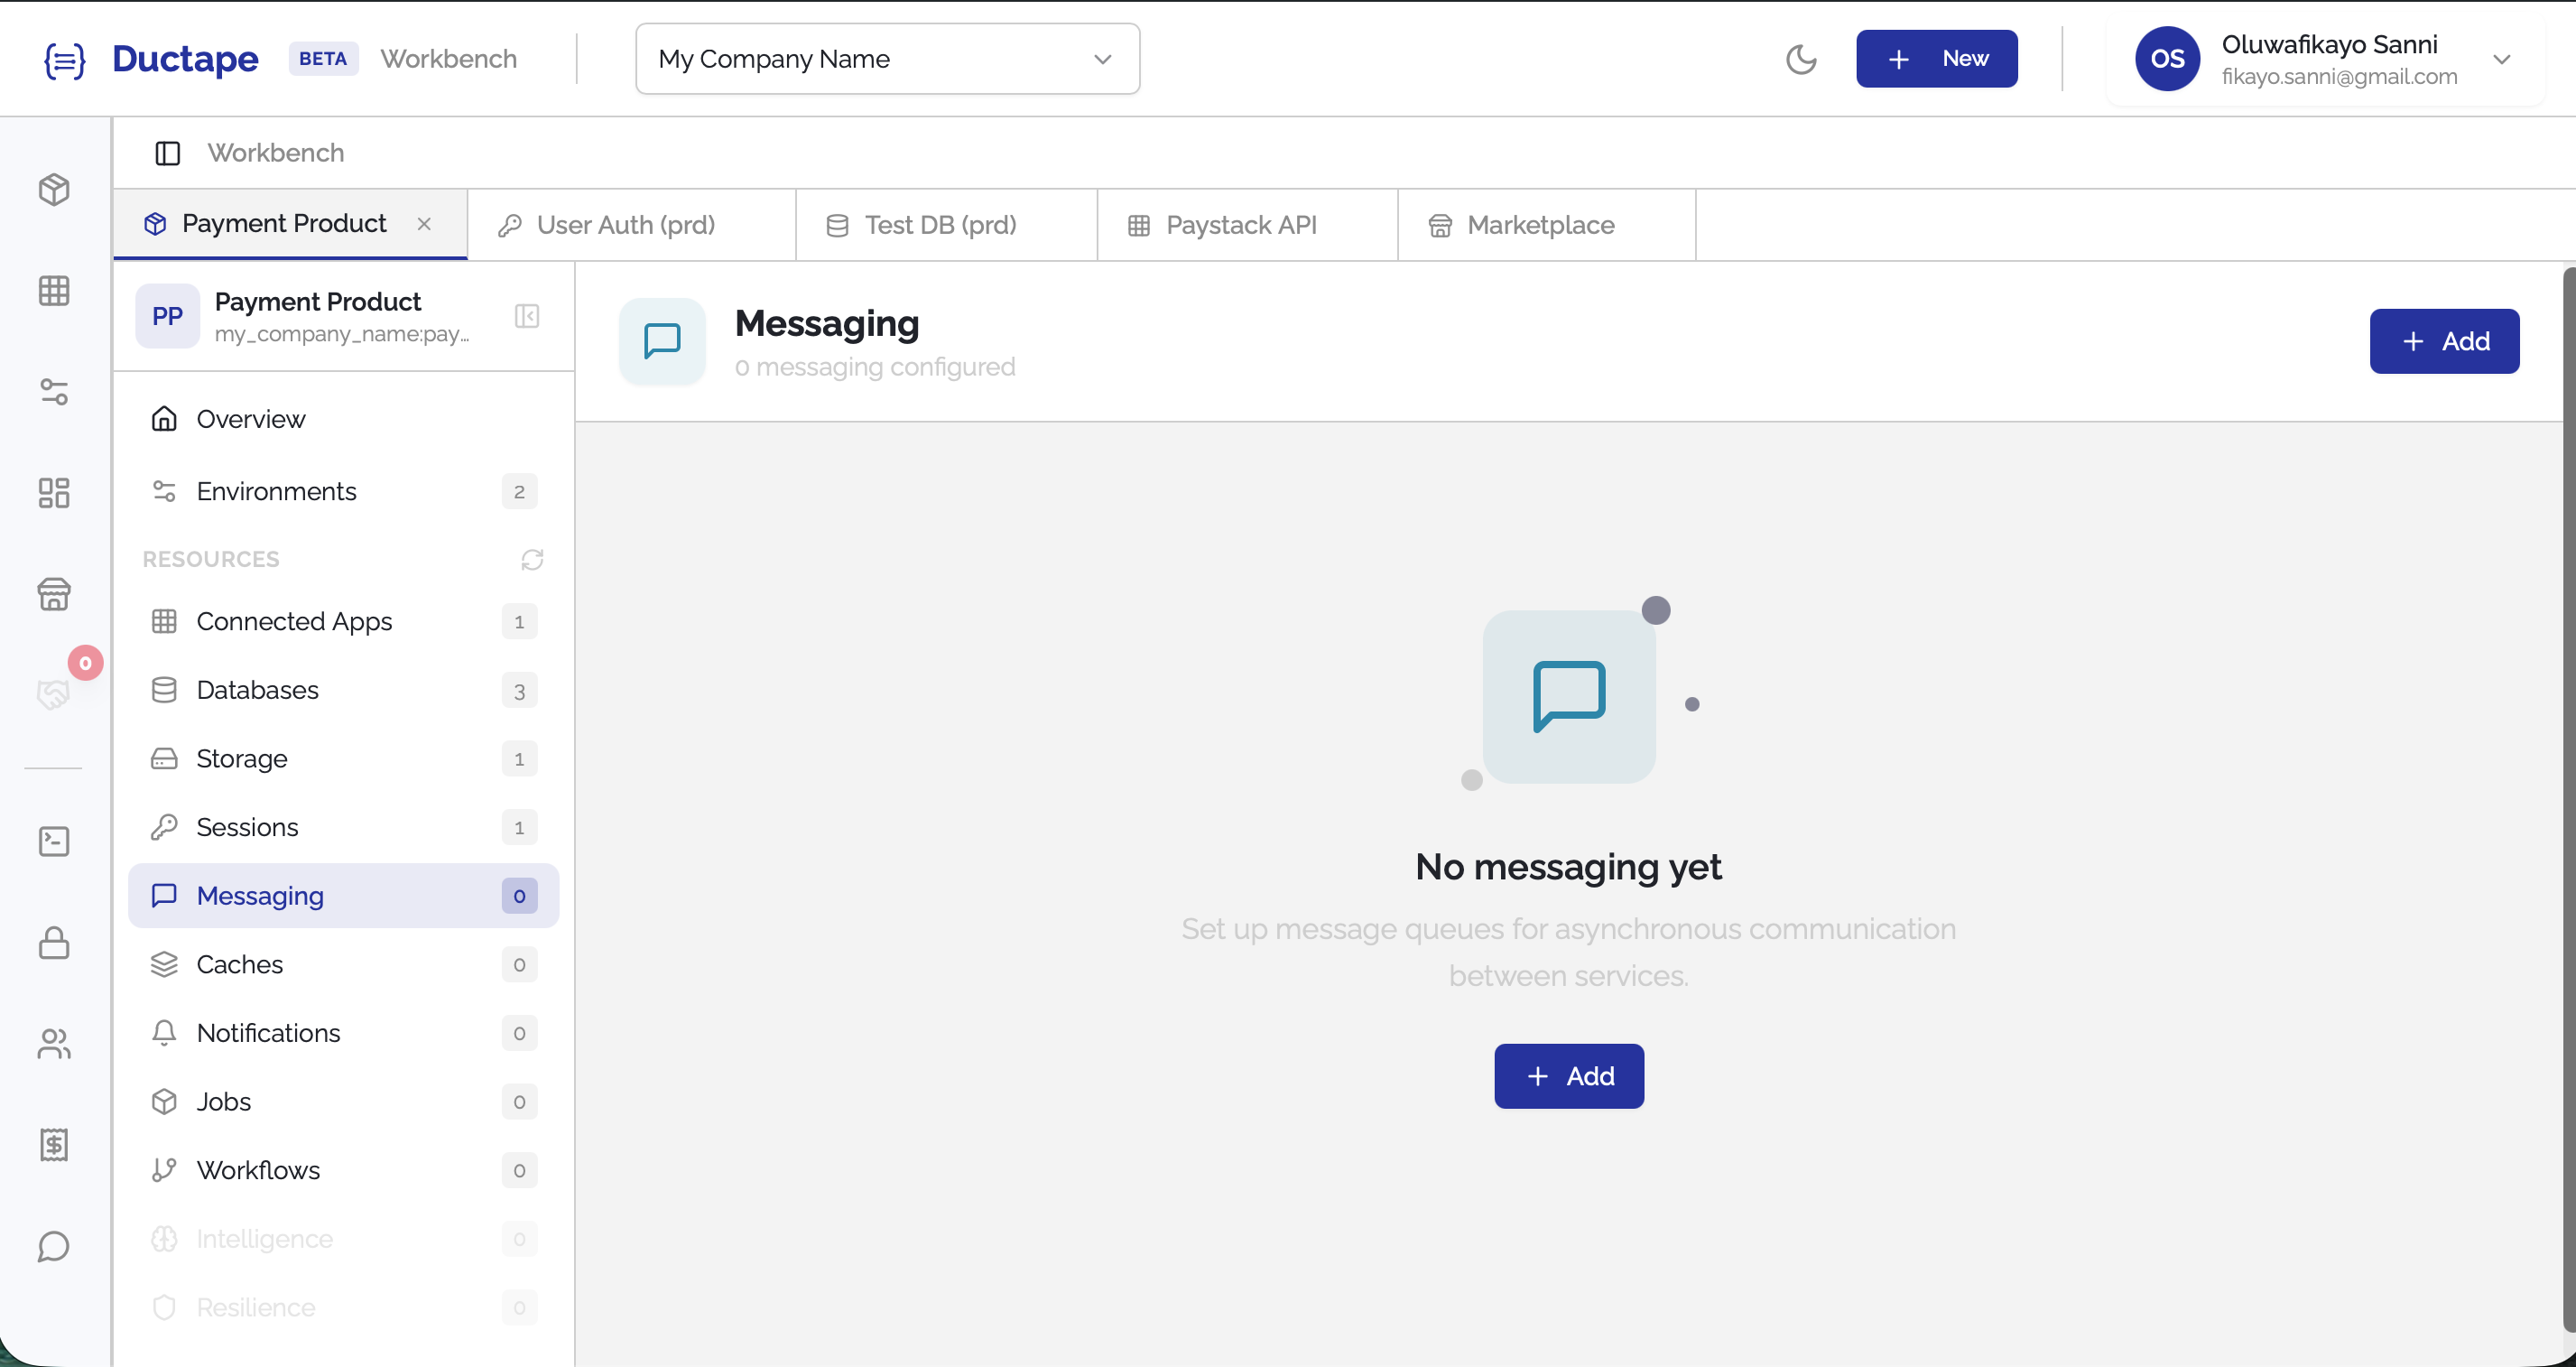
Step 1: Open the Messaging Section
- Navigate to your Workspace.
- Open the Product you want to configure.
- In the sidebar, locate the Resources section.
- Click Messaging.
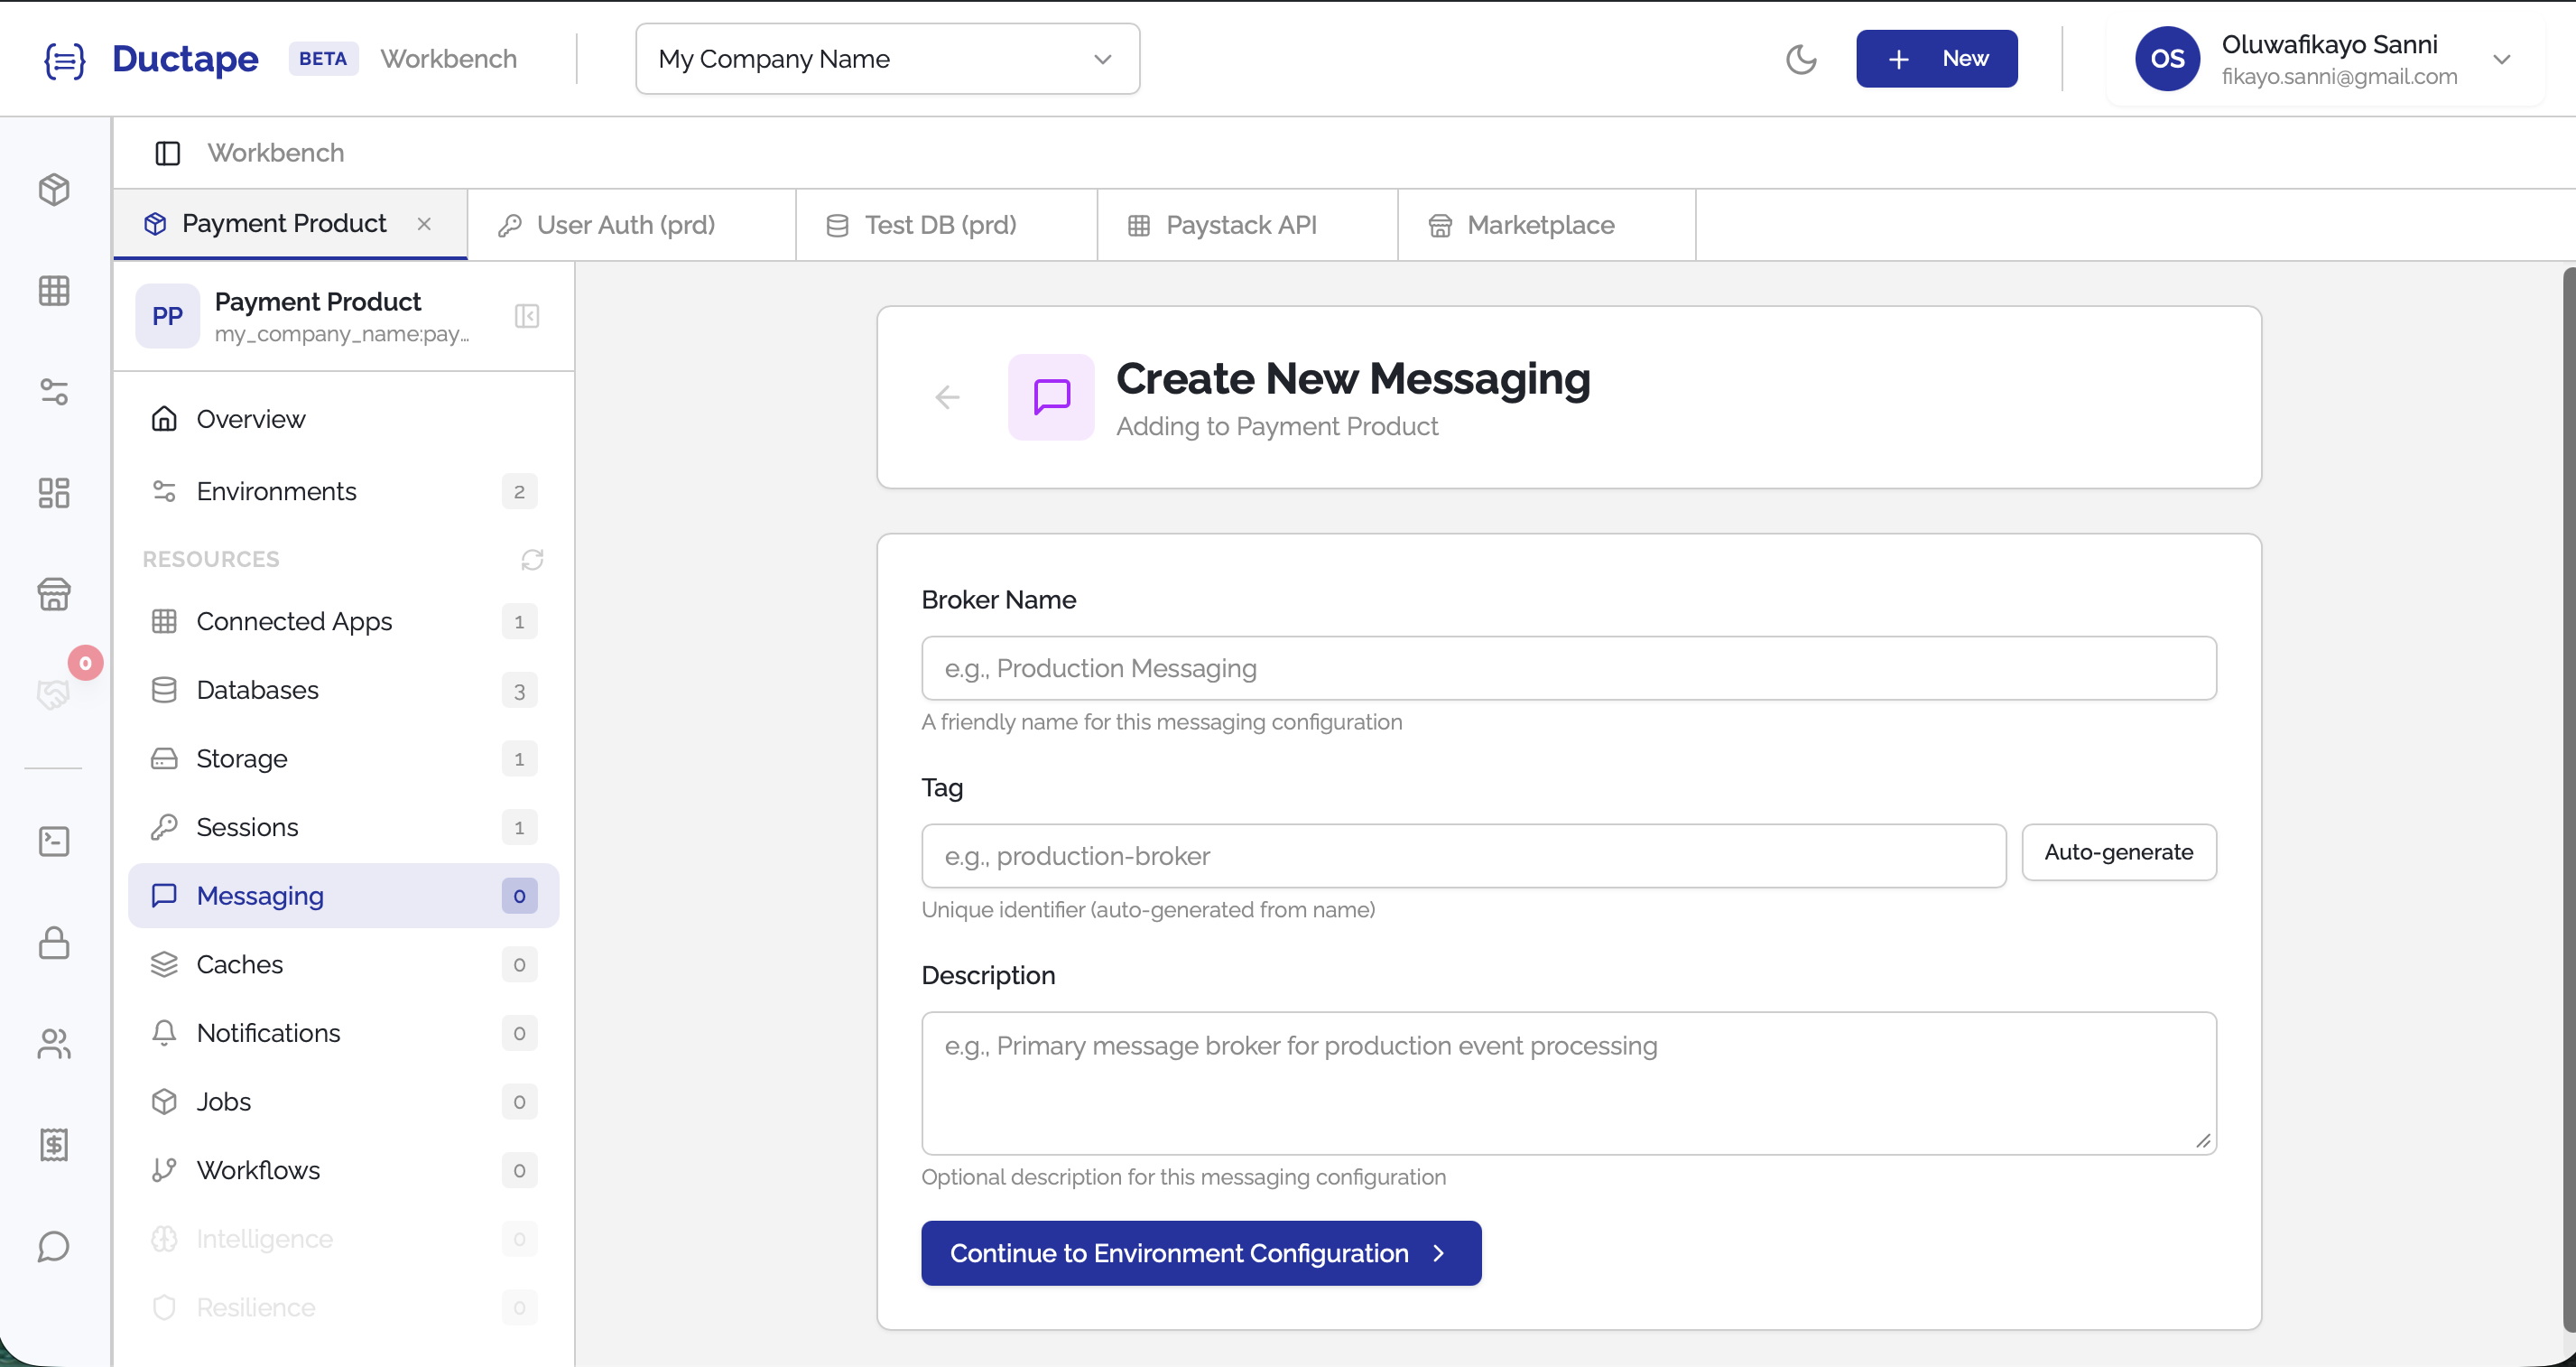
Step 2: Click "Add"
- On the Messaging page, click the Add button.
- A configuration form will appear.
Step 3: Configure the Messaging Resource
Fill in the following fields:
| Field | Description |
|---|---|
| Configuration Name | Human-readable name for the messaging setup |
| Tag | Auto-generated unique identifier (editable) |
| Description | Description of Configuration |
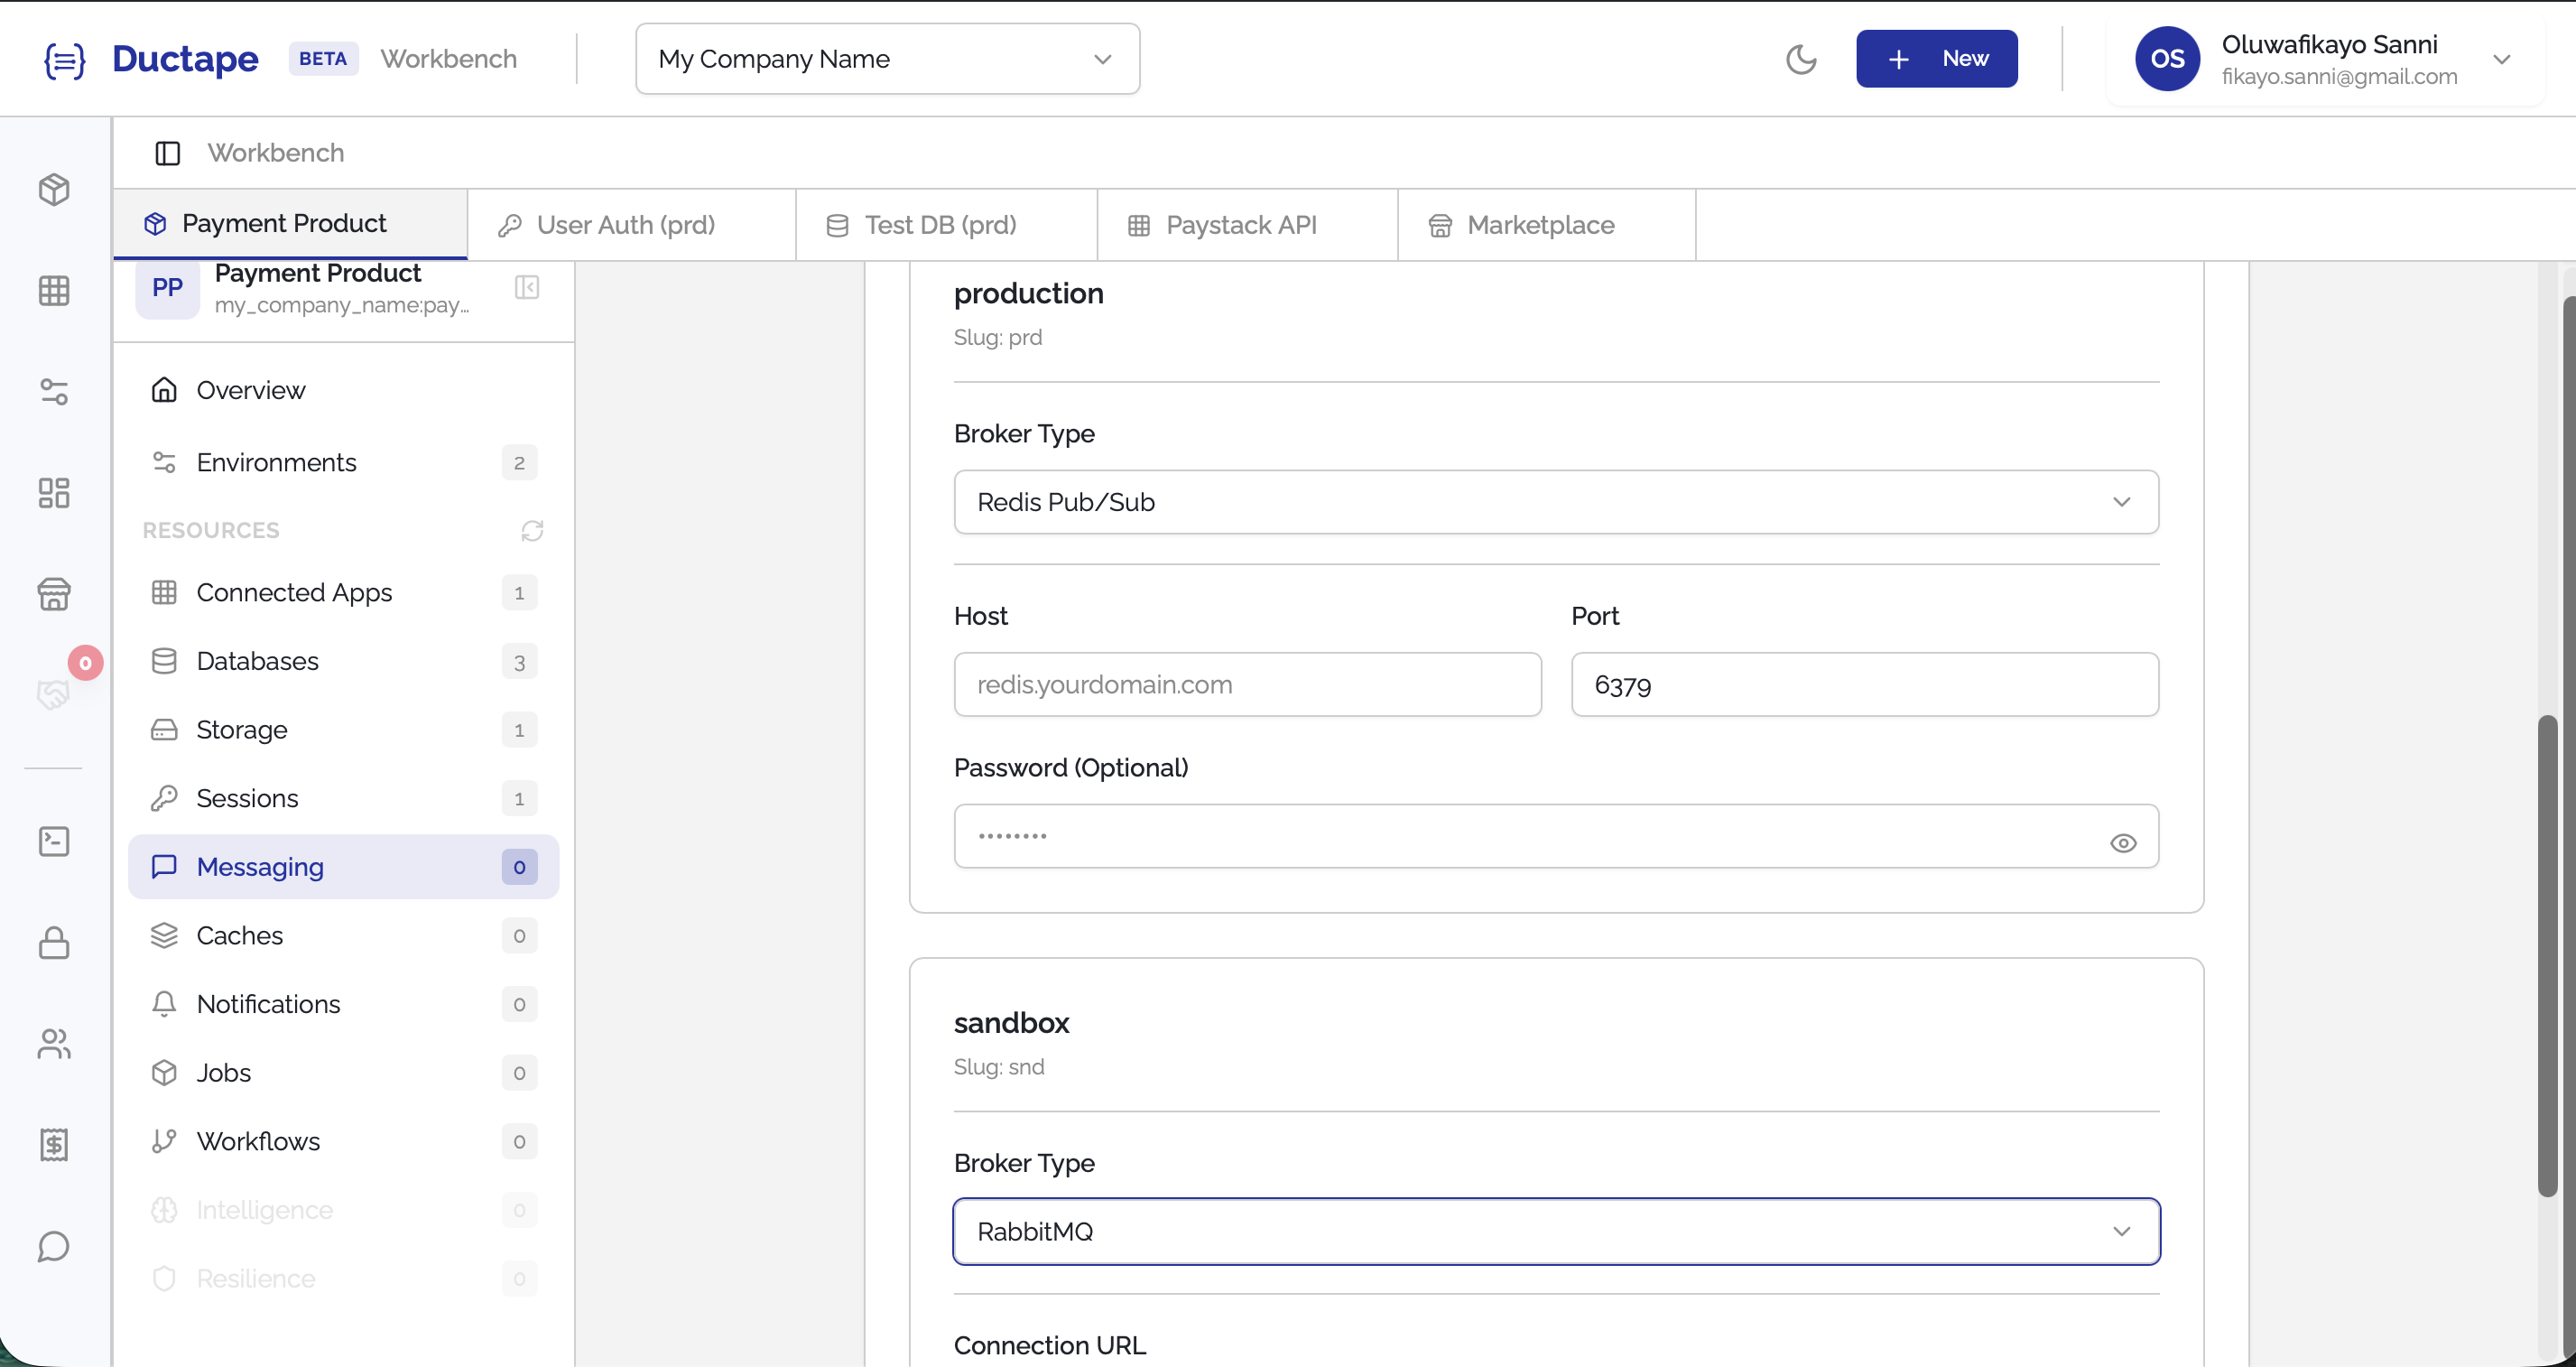
Step 4: Select Broker Type Per Environment
For each environment, choose the messaging broker you want to use.
Supported broker options include:
- Kafka
- RabbitMQ
- AWS SQS
- Redis PubSub
- NATS
- Google PubSub
You can configure different brokers for different environments if needed.

Step 5: Provide Connection Details
After selecting the broker type, provide the required connection details for that provider.
Examples may include:
| Broker | Example Configuration |
|---|---|
| Kafka | Broker URL, Topic |
| RabbitMQ | Connection URL, Exchange |
| AWS SQS | Queue URL, Access Credentials |
| Redis PubSub | Redis Connection URL |
| NATS | NATS Server URL |
| Google PubSub | Project ID, Service Account Credentials |
- Fill in the required fields for each configured environment.
- Click Submit.
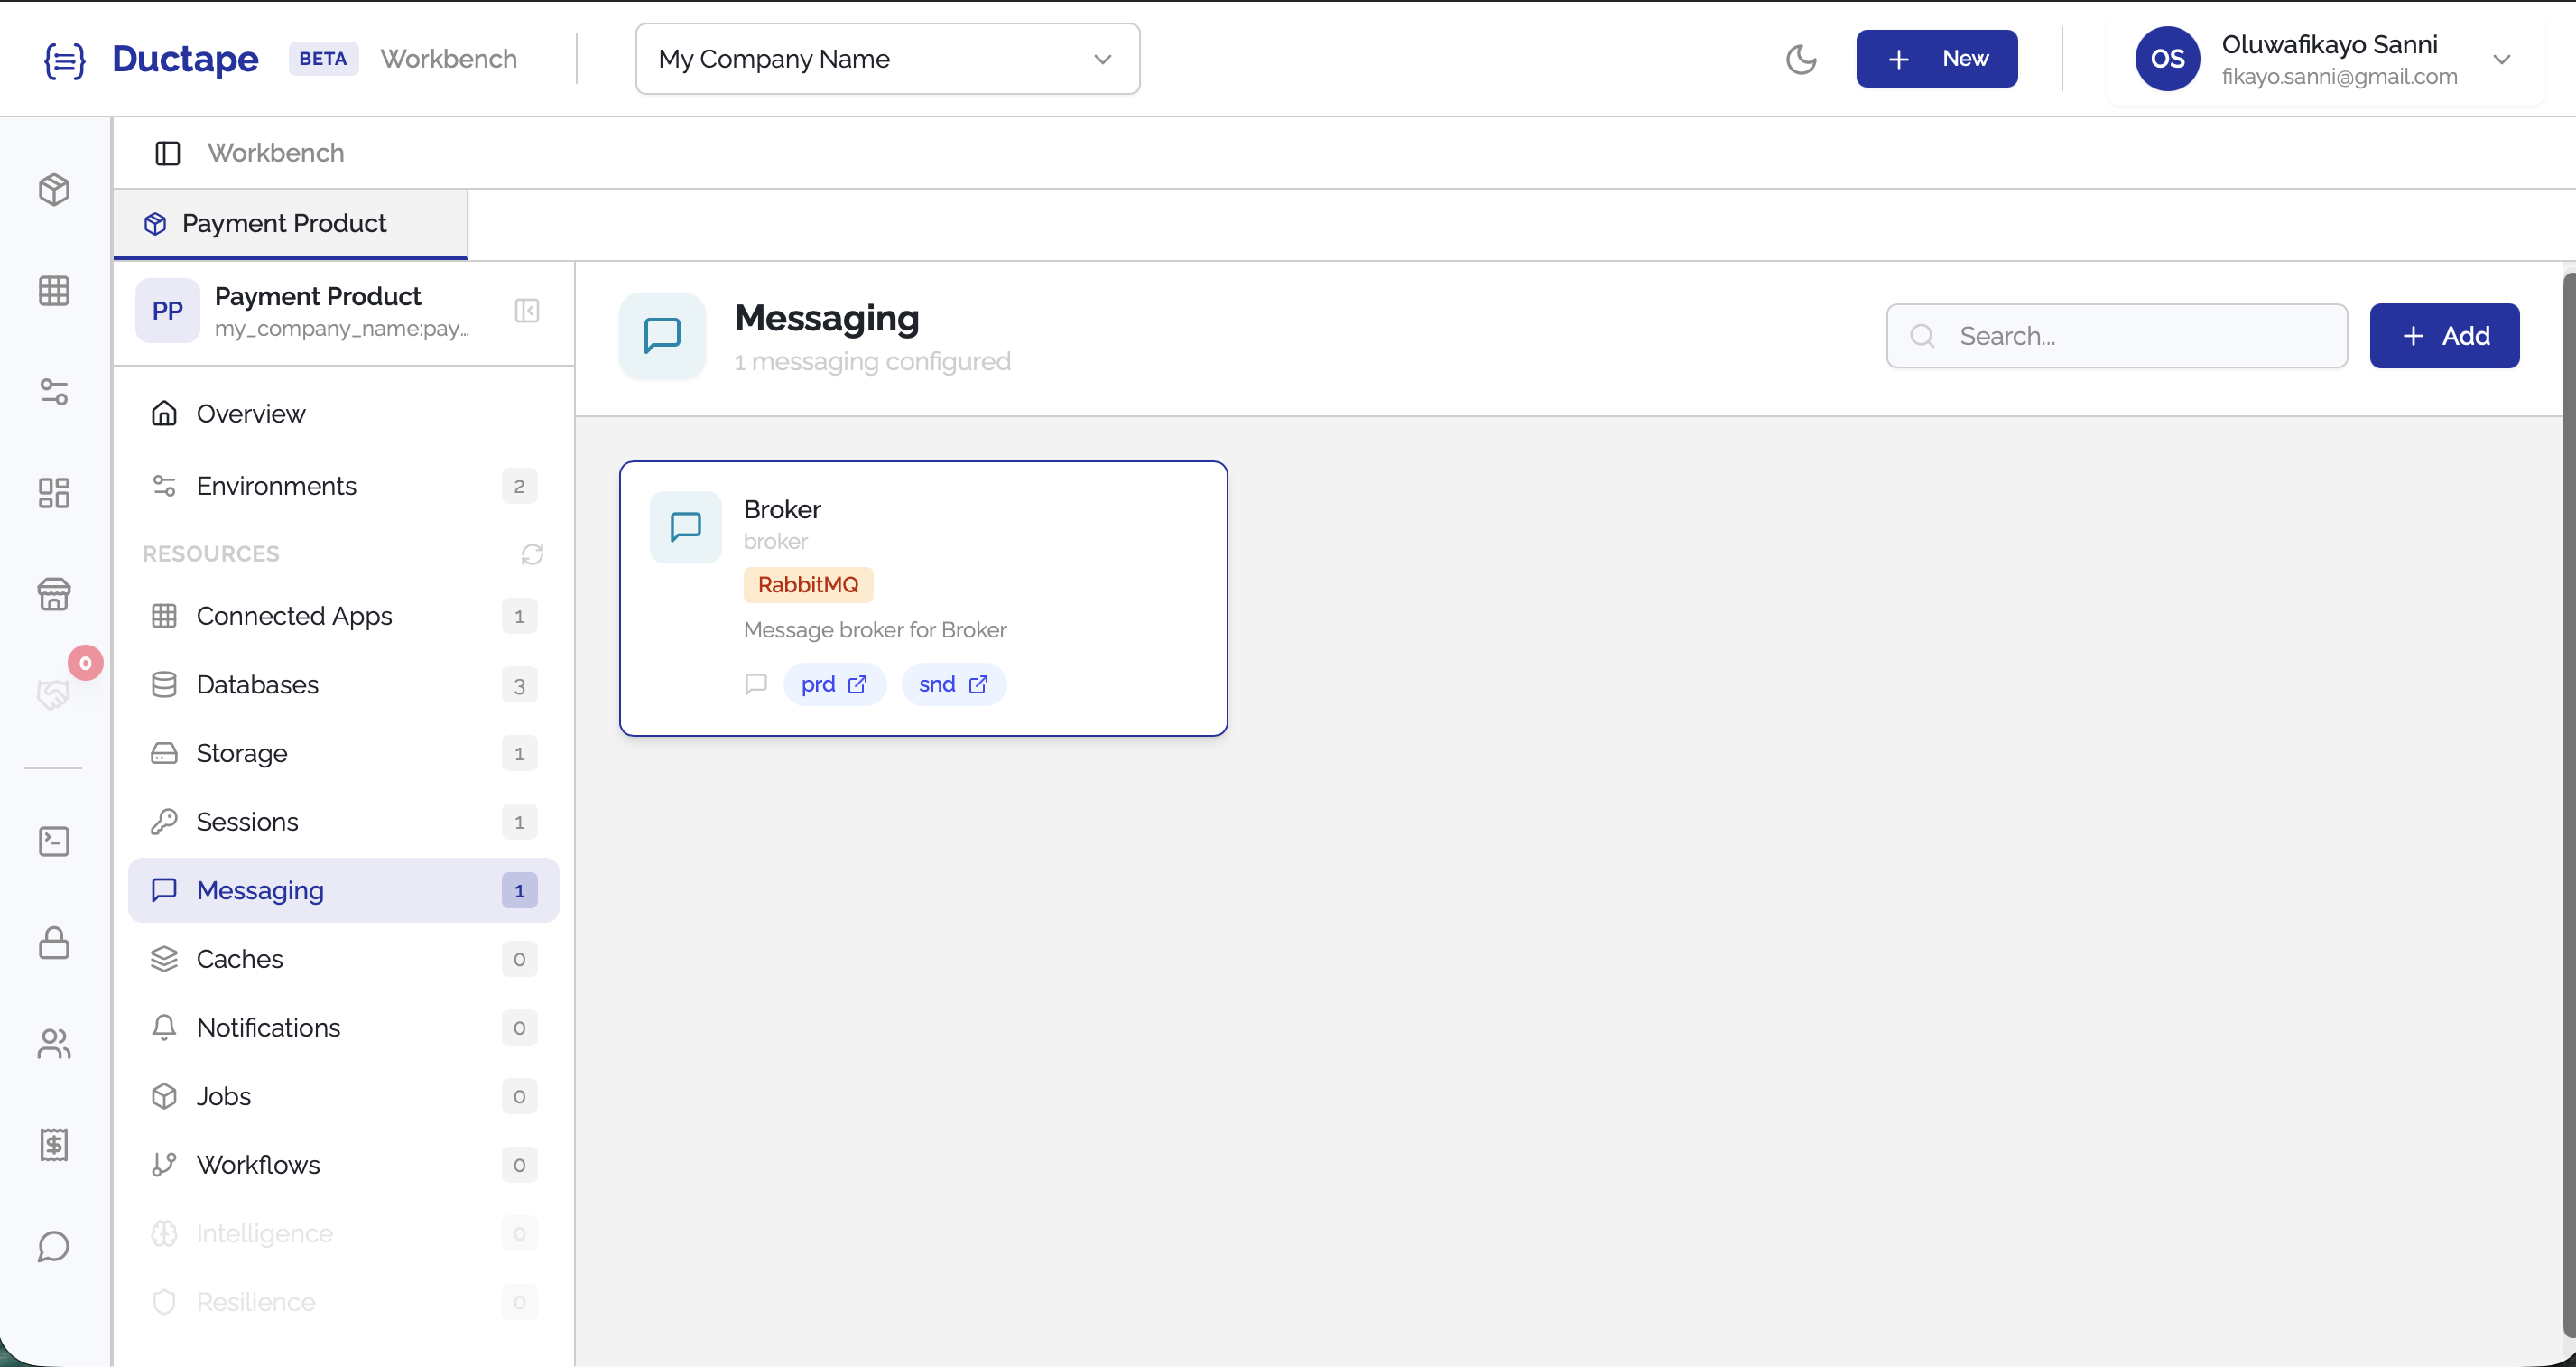
Step 6: Verify the Messaging Resource
After submitting:
- The messaging configuration will appear in the Product Messaging list.
- Your product can now publish and consume messages through the configured broker.