Creating a Workspace
A workspace is the top-level container for your organization's products, apps, and team members. You can be part of multiple workspaces and switch between them at any time.
Step 1: Open the Workspace Selector
After logging in, locate the workspace selector in the top-left corner of the screen, right next to the Ductape logo.
Click on it to open a dropdown showing all the workspaces you currently belong to. Selecting any workspace from the list will immediately switch you to it.
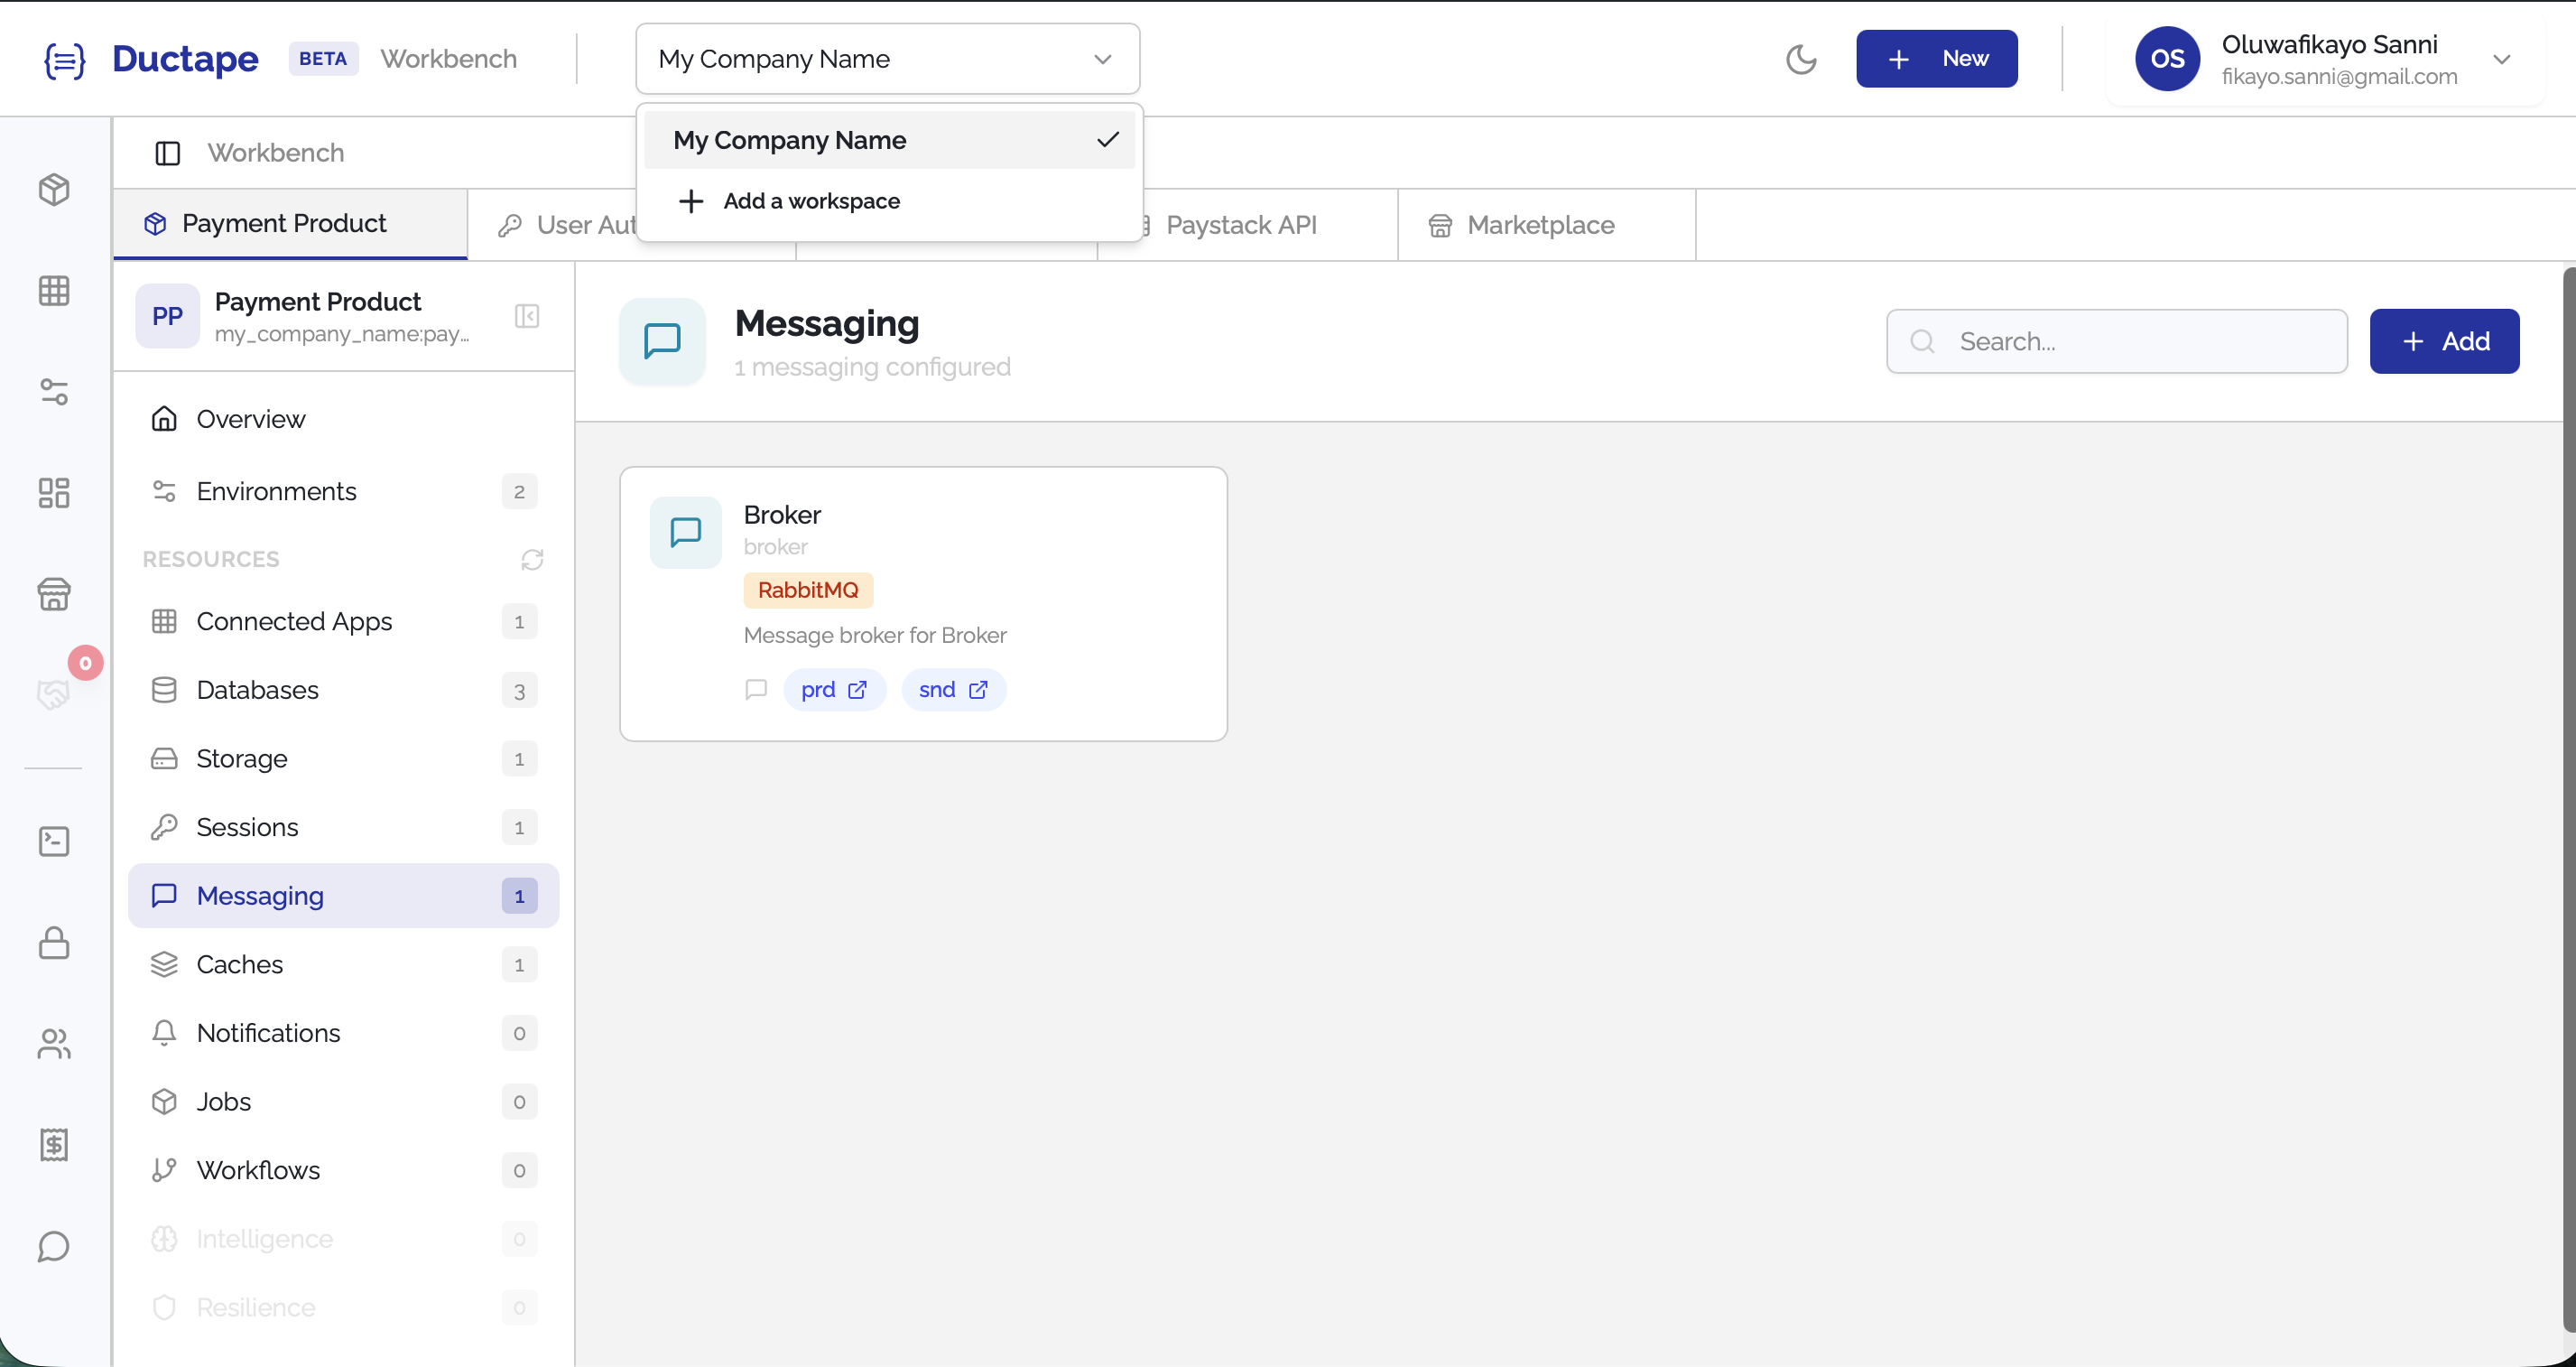
Step 2: Click "+ Add a Workspace"
Scroll to the bottom of the workspace dropdown. The last item in the list is a + Add a Workspace button.
Click it to open the workspace creation modal.
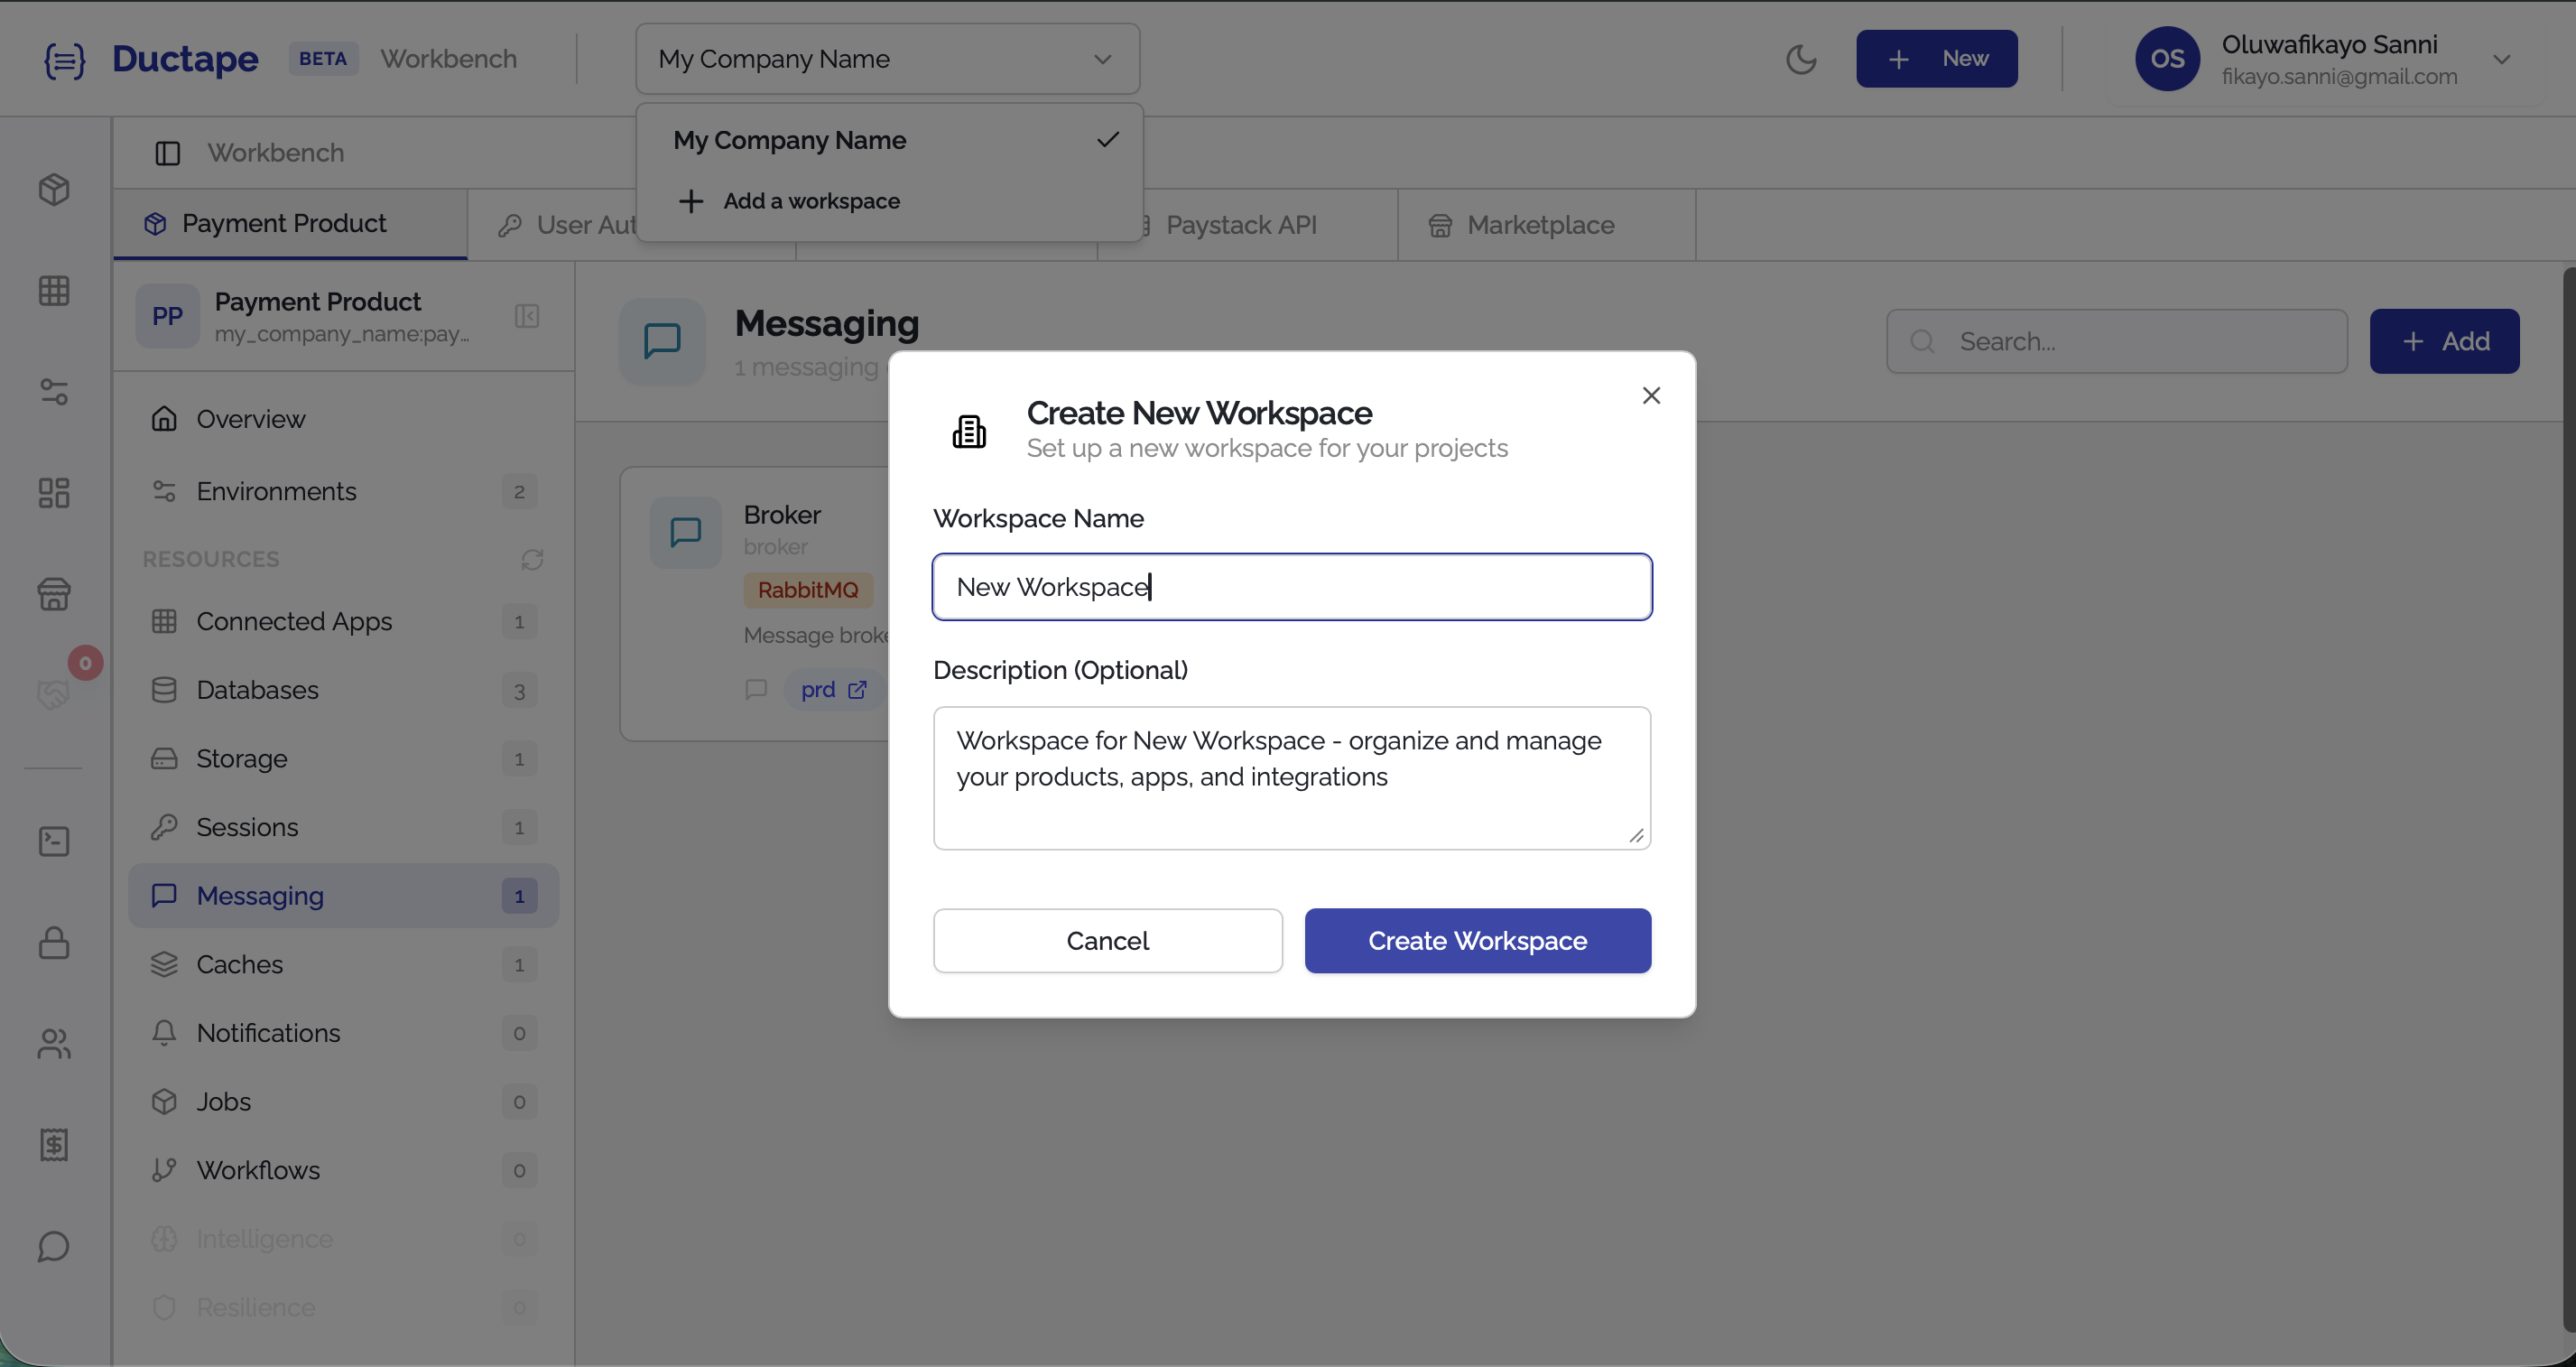
Step 3: Fill in the Workspace Details
A modal will appear with the following fields:
| Field | Required | Description |
|---|---|---|
| Workspace Name | ✅ | A name for your workspace (e.g., Acme Corp) |
| Description | ❌ | A short description of the workspace's purpose |
Fill in the details, then click Create Workspace.
Step 4: You're Switched In
Once the workspace is created, Ductape will automatically switch you to the new workspace. You'll see it selected in the workspace selector in the header.
From here you can start creating products, connecting apps, and inviting team members.