Managing Team Members
The Team section lets you invite colleagues to your workspace and control their access level through role-based permissions.
Step 1: Open the Team Page
- Go to your workspace.
- Click Team in the left sidebar.
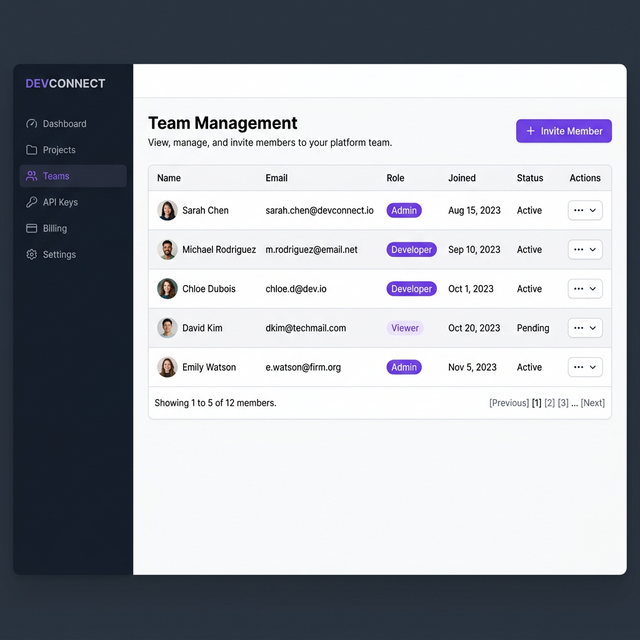
You'll see a table of all current team members, their roles, and their join dates.
Step 2: Invite a New Member
- Click the + Invite Member button in the top right corner.
- Enter the member's email address.
- Select their role:
| Role | Permissions |
|---|---|
| Admin | Full access — can manage team, products, apps, and settings |
| Developer | Can create and edit products, apps, and configurations |
| Viewer | Read-only access to all resources |
- Click Send Invite.
The user will receive an email invitation. Once they accept, they'll appear as Active in the team list.
Step 3: Change a Member's Role
- Find the member in the team table.
- Click the ... (actions) button in their row.
- Select Change Role.
- Pick the new role and click Confirm.
Step 4: Remove a Member
- Find the member in the team table.
- Click the ... (actions) button in their row.
- Select Remove Member.
- Confirm the removal in the dialog.
Note: Removing a member revokes their access immediately. This action cannot be undone — you'll need to re-invite them if needed.
Step 5: Manage Pending Invites
Pending invites (not yet accepted) appear with a Pending status badge.
- To resend an invite, click ... → Resend Invite.
- To cancel a pending invite, click ... → Cancel Invite.