Setting up Sessions
Sessions allow your product to securely store and manage encrypted user session data. When creating a session configuration, you define the schema for the session payload, the unique user identifier, and the session expiration policy.
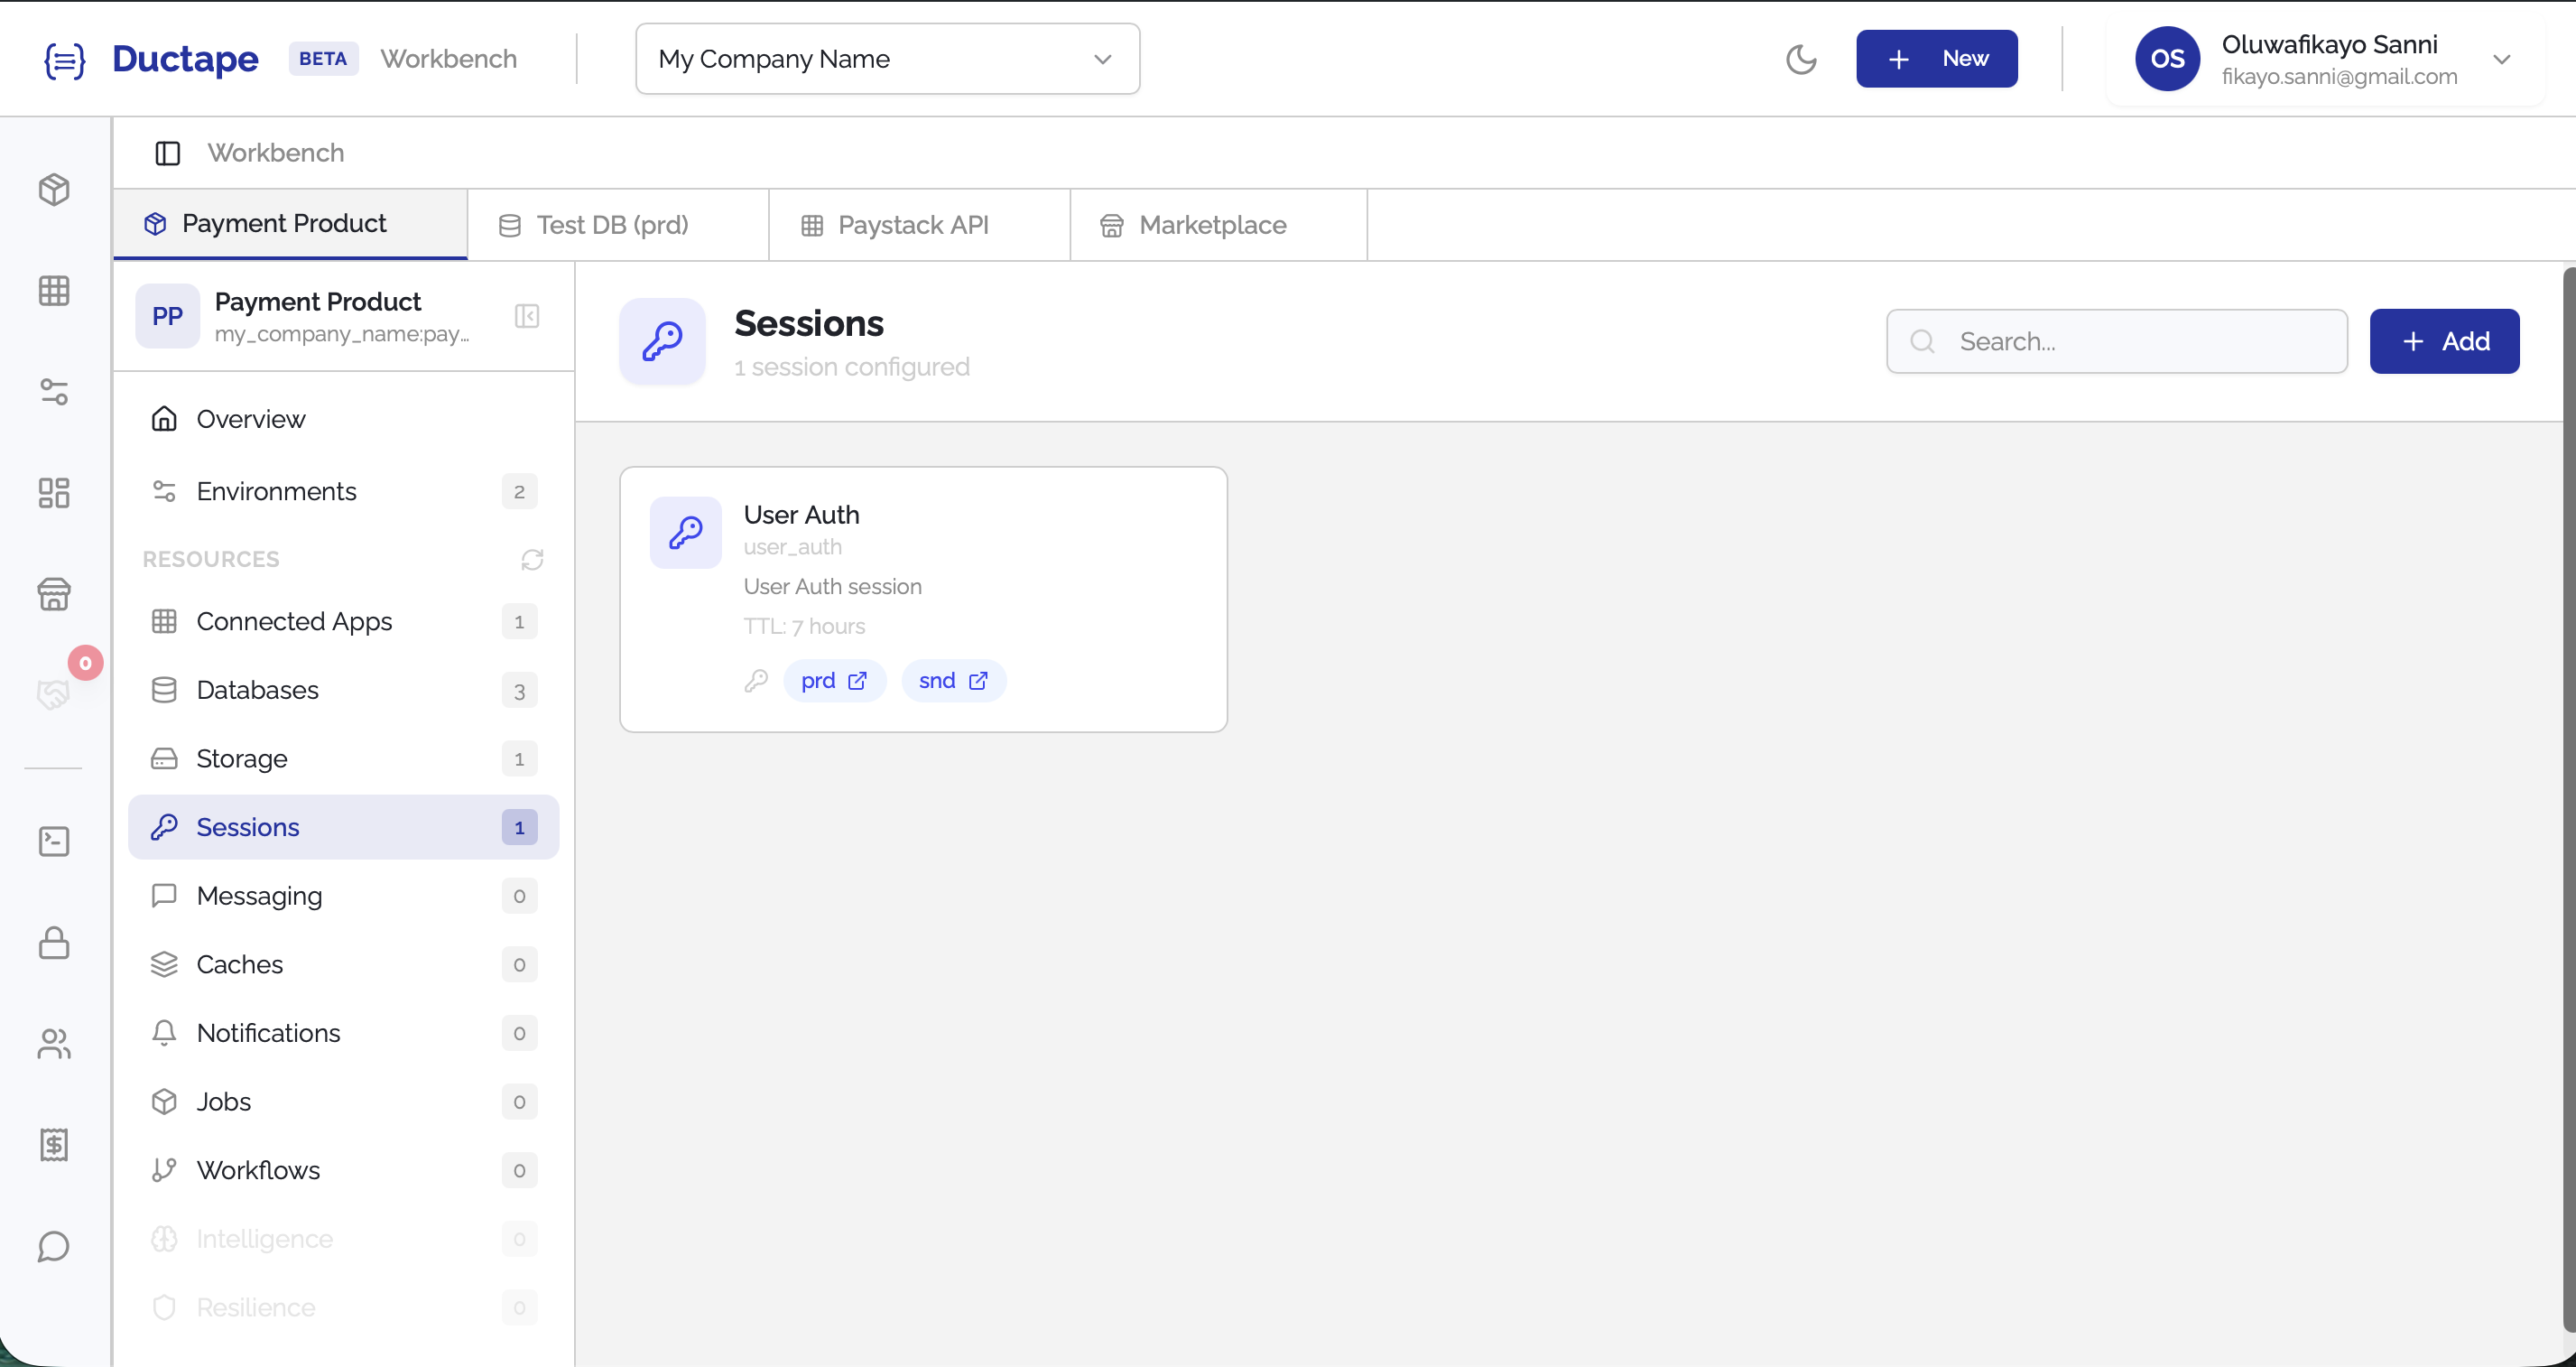
Step 1: Open the Sessions Section
- Navigate to your Workspace.
- Open the Product you want to configure.
- In the sidebar, locate the Resources section.
- Click Sessions.
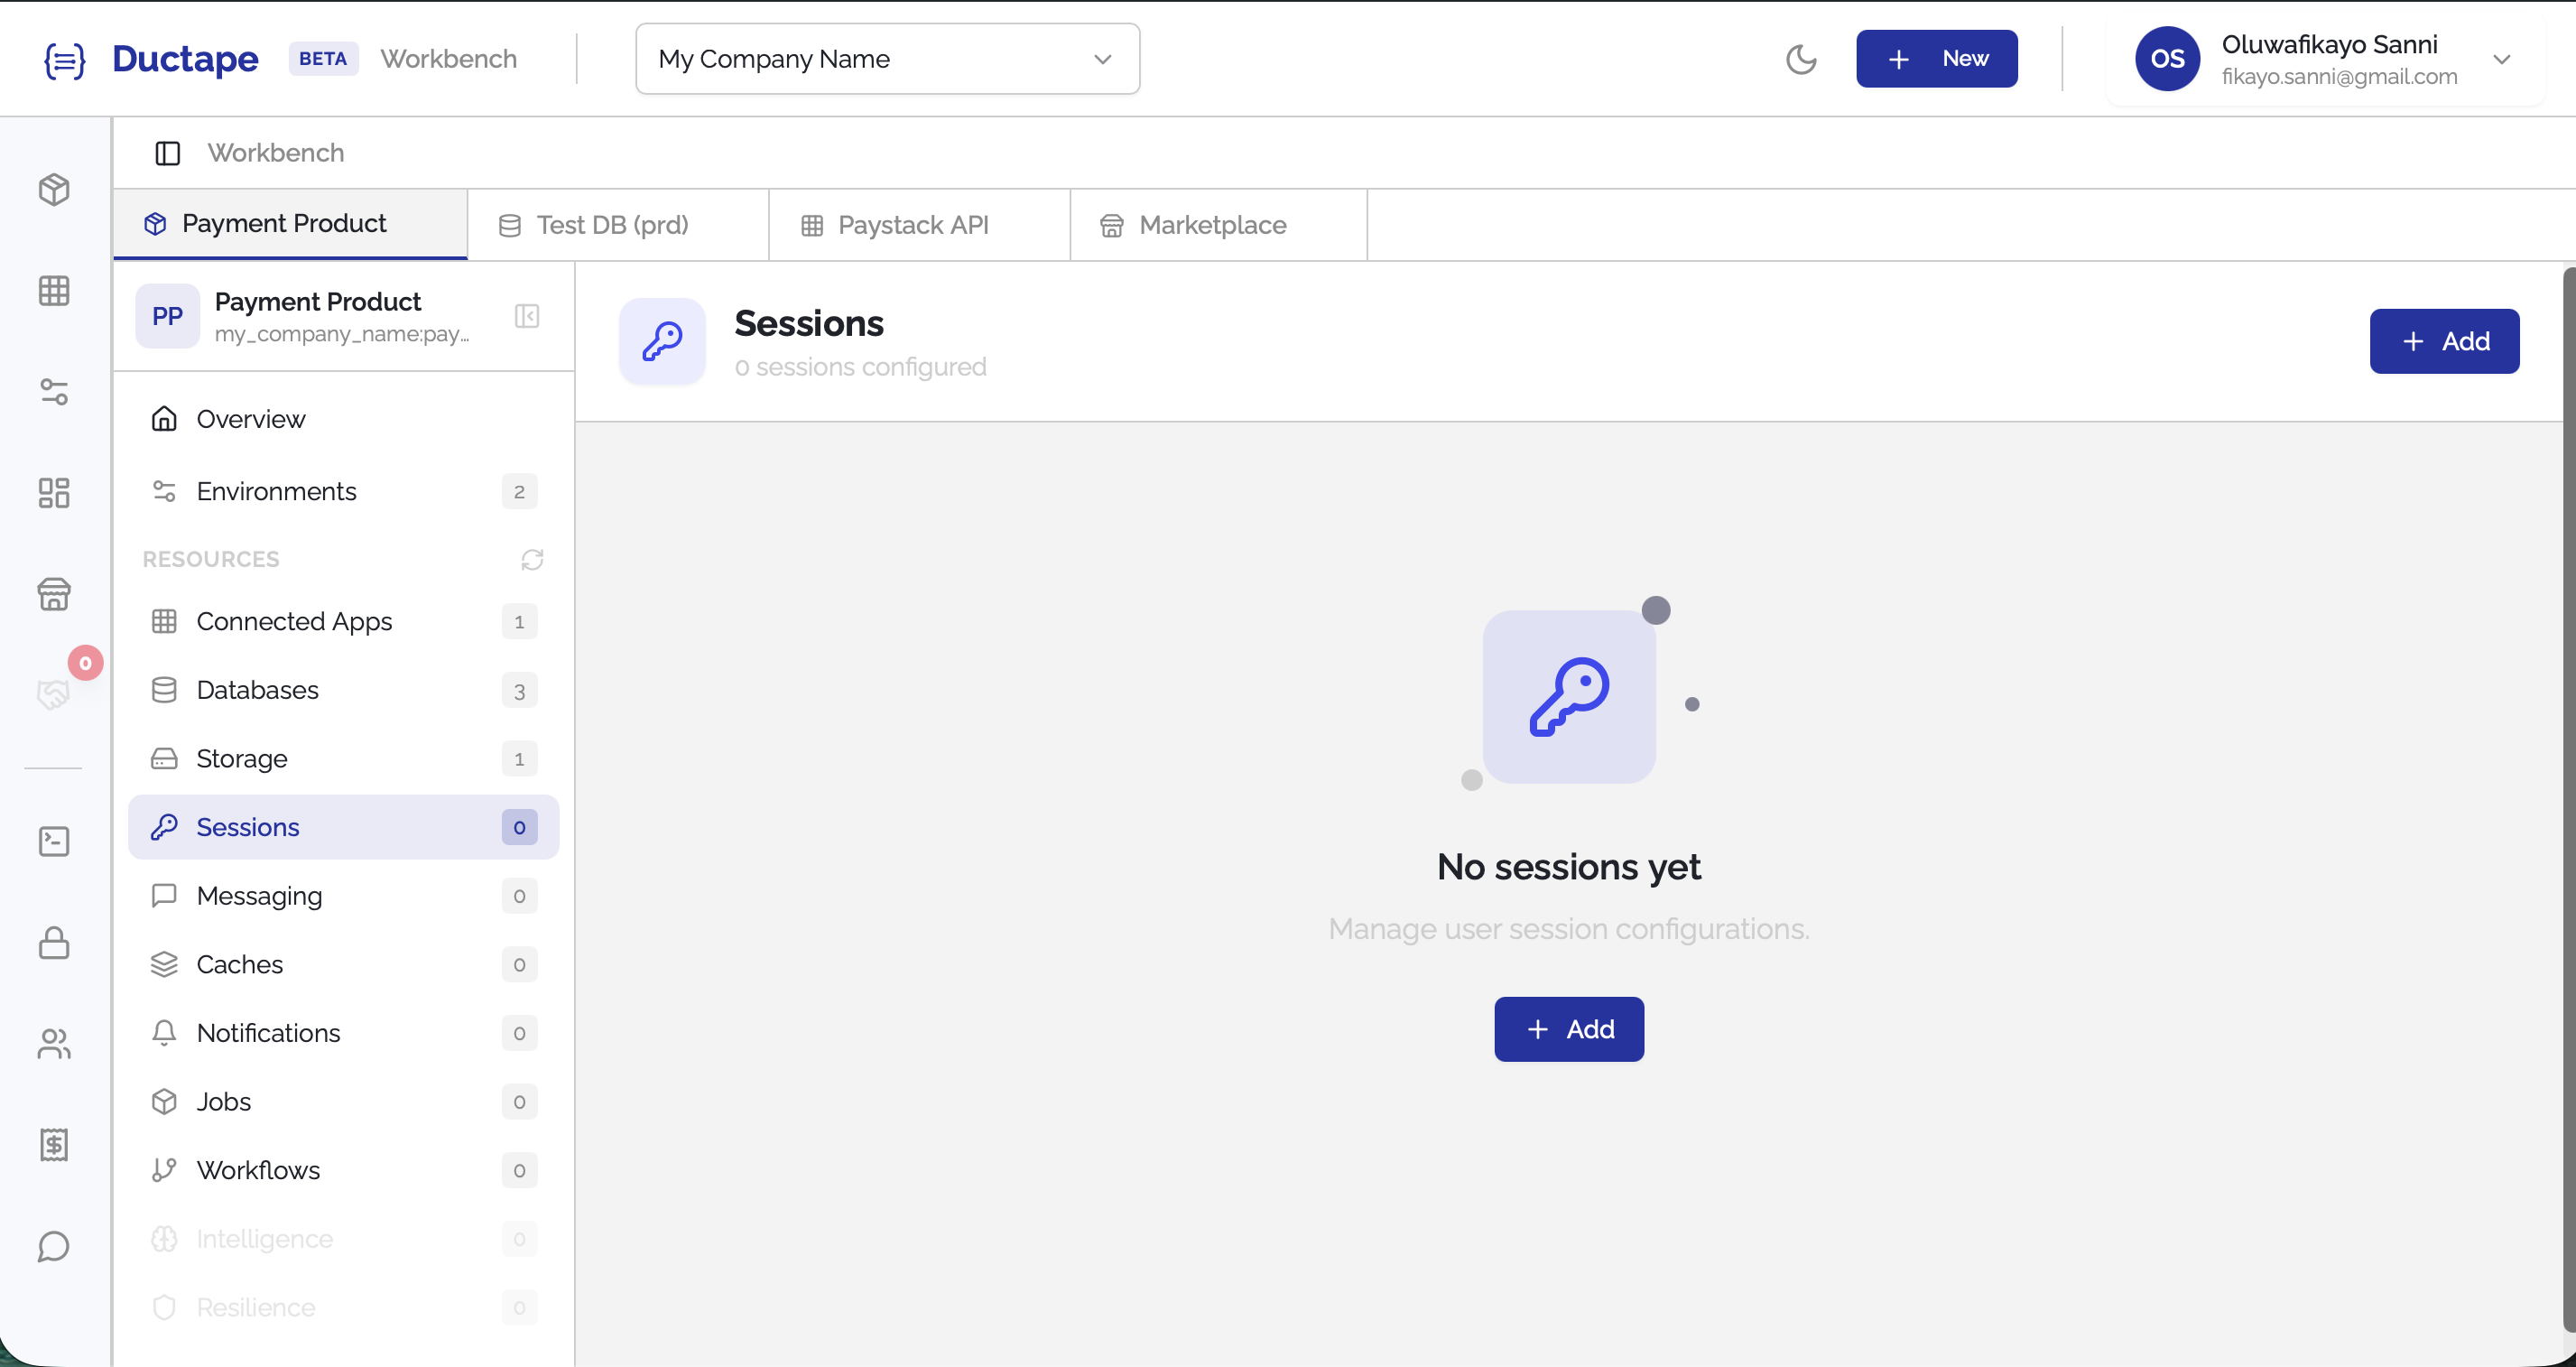
Step 2: Click "Add"
- On the Sessions page, click the Add button.
- A configuration form will appear.
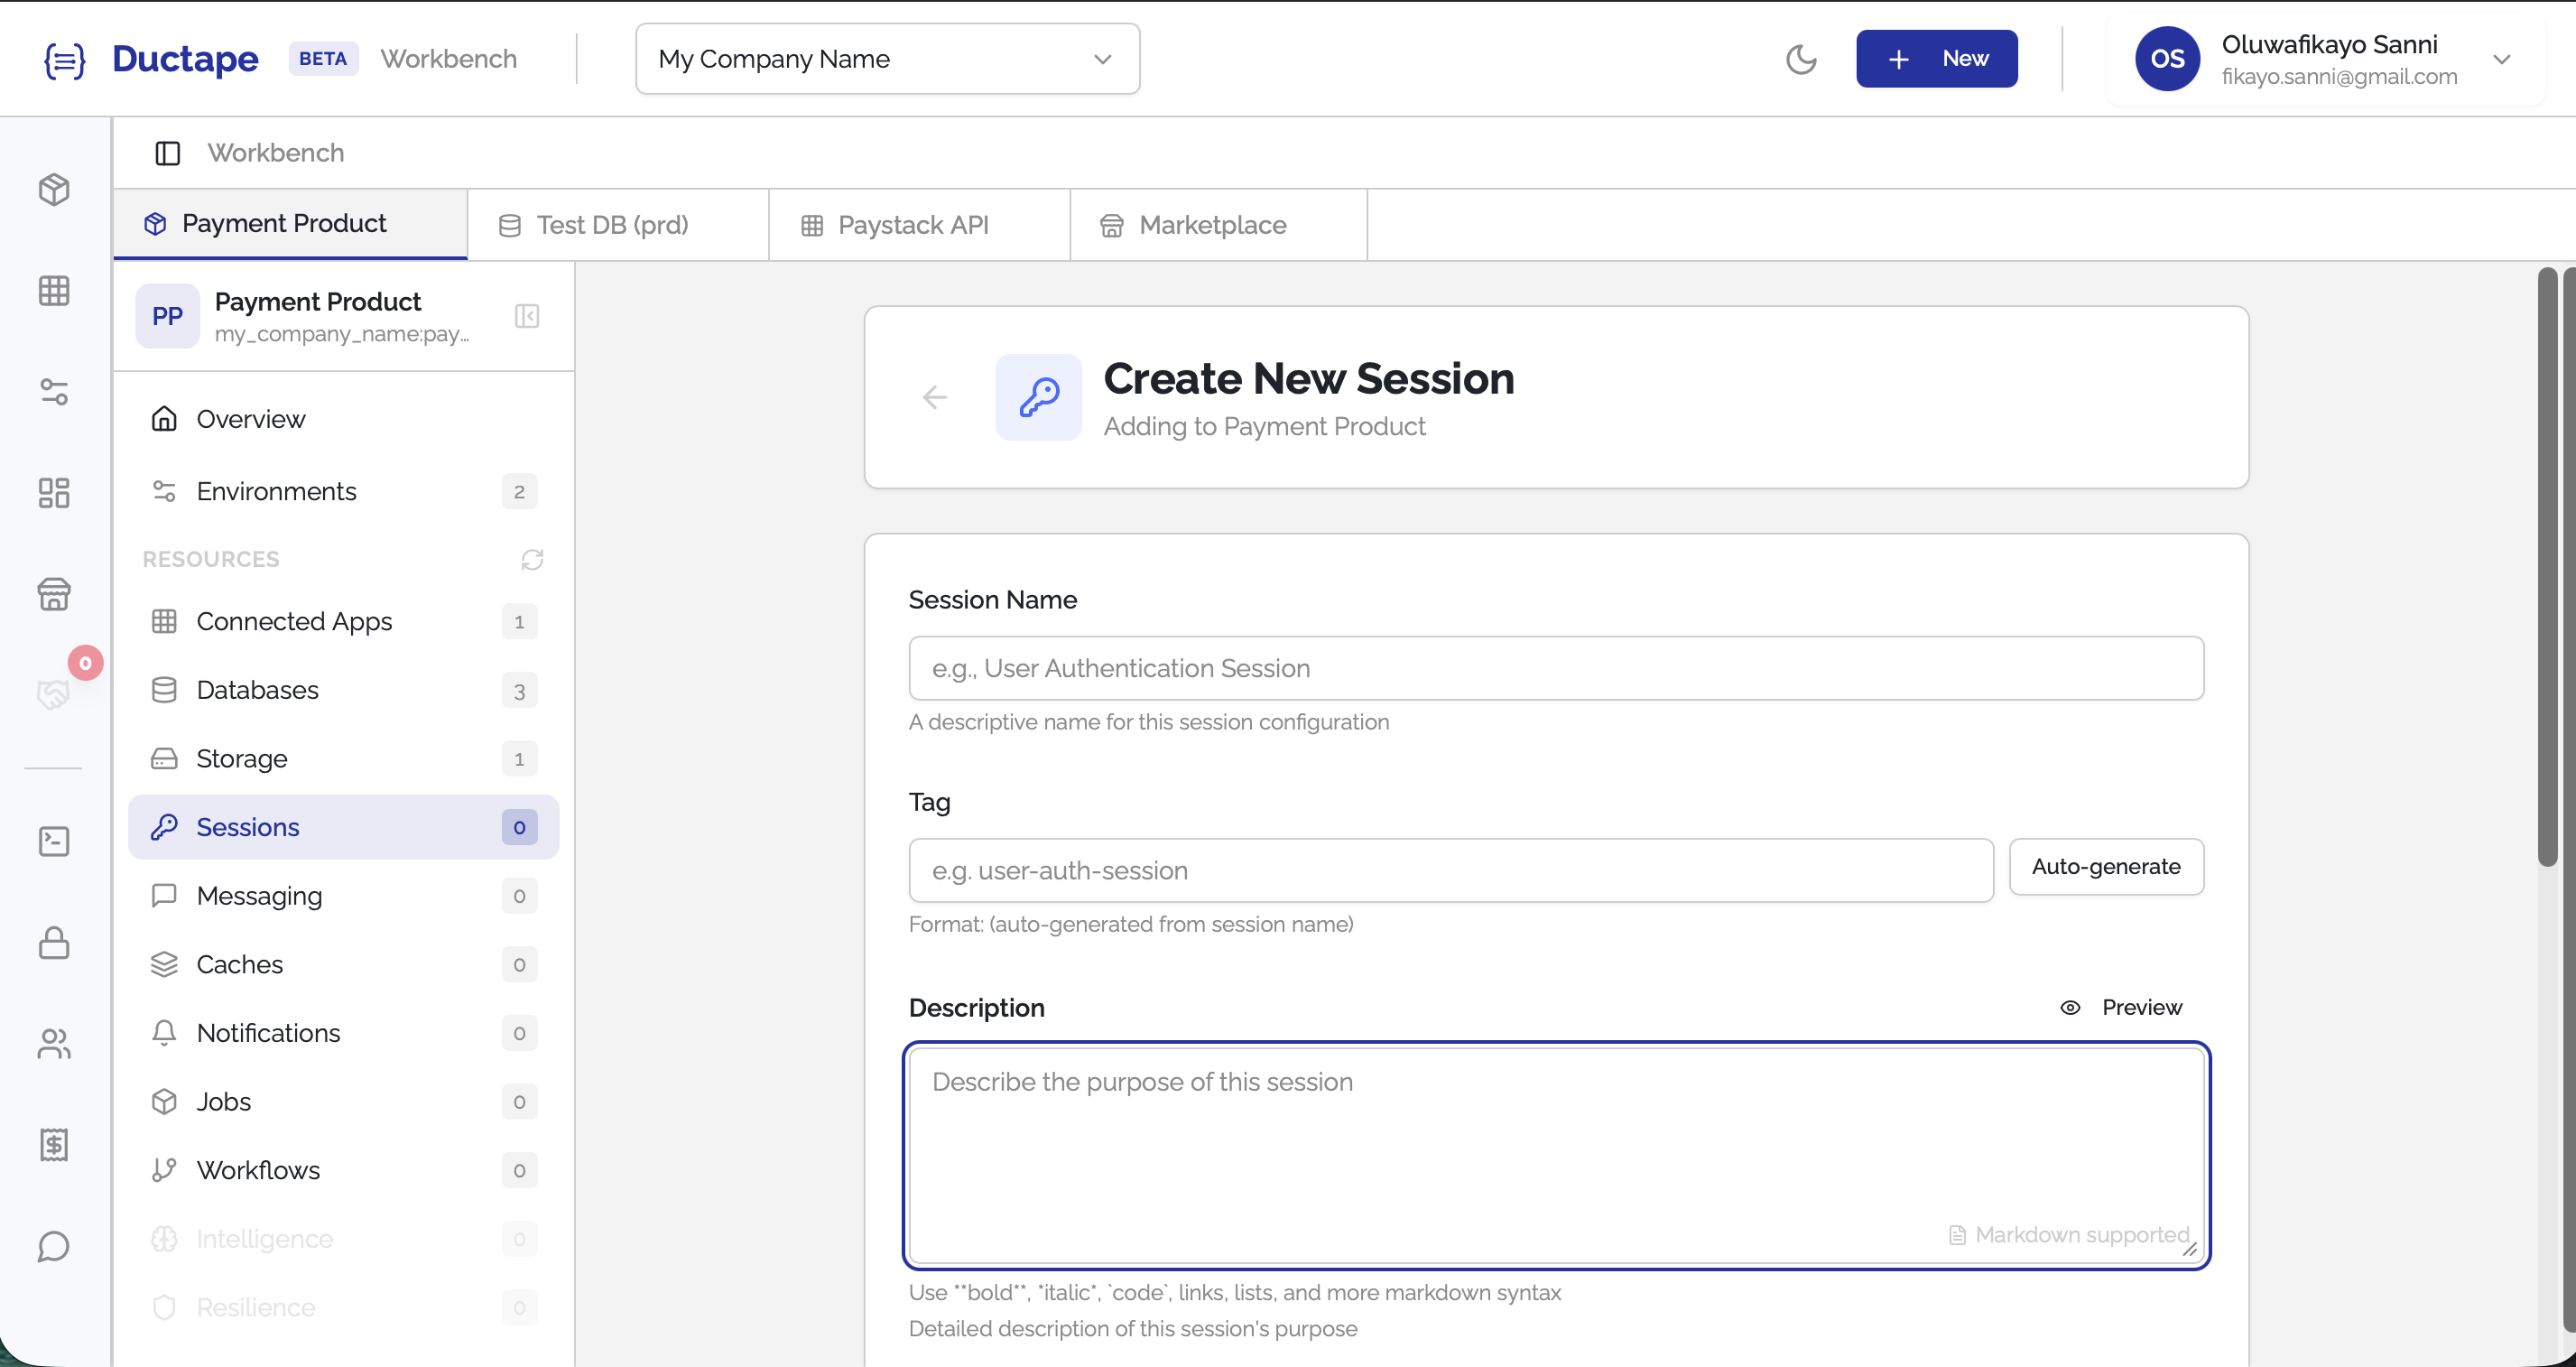
Step 3: Fill in Session Details
Provide the following information:
| Field | Description |
|---|---|
| Session Name | Human-readable name for the session configuration |
| Tag | Auto-generated unique identifier (editable) |
| Description | Optional description of the session purpose |
Step 4: Configure Session Expiry
Define how long a session should remain valid.
| Field | Description |
|---|---|
| Expiry | Numeric value representing the duration |
| Time Period | Unit of time: secs, mins, hours, days, weeks, months, year |
The Expiry and Time Period fields work together to determine the session lifetime.
Example:
Expiry:7
Time Period:Months
This means the session will expire after 7 months.
Step 5: Define the Session Schema
Provide a JSON schema that describes the structure of the data that will be stored and encrypted within the session.
Example:
{
  "userId": "string",
  "email": "string",
  "role": "string"
}
This schema defines the fields that can exist within the session payload.

Step 6: Select the Session Identifier
Use the Selector dropdown to choose which field in the schema uniquely identifies the user session.
| Field | Description |
|---|---|
| Selector ($Session selector) | The schema field used as the unique identifier for each user session |
For example, if your schema contains userId, you may select it as the session selector.
Step 7: Save the Session Configuration
- Click Submit.
- The session configuration will appear in the Product Sessions list.
Your product can now use this configuration to securely manage encrypted sessions.