Setting up Notifications
Notifications allow your product to send messages to users or systems through multiple communication channels. You can configure one or more channels such as Email, SMS, Push notifications, or integrations like Slack and Discord.
Once configured, your product can send notifications through the selected channels during workflows and actions.
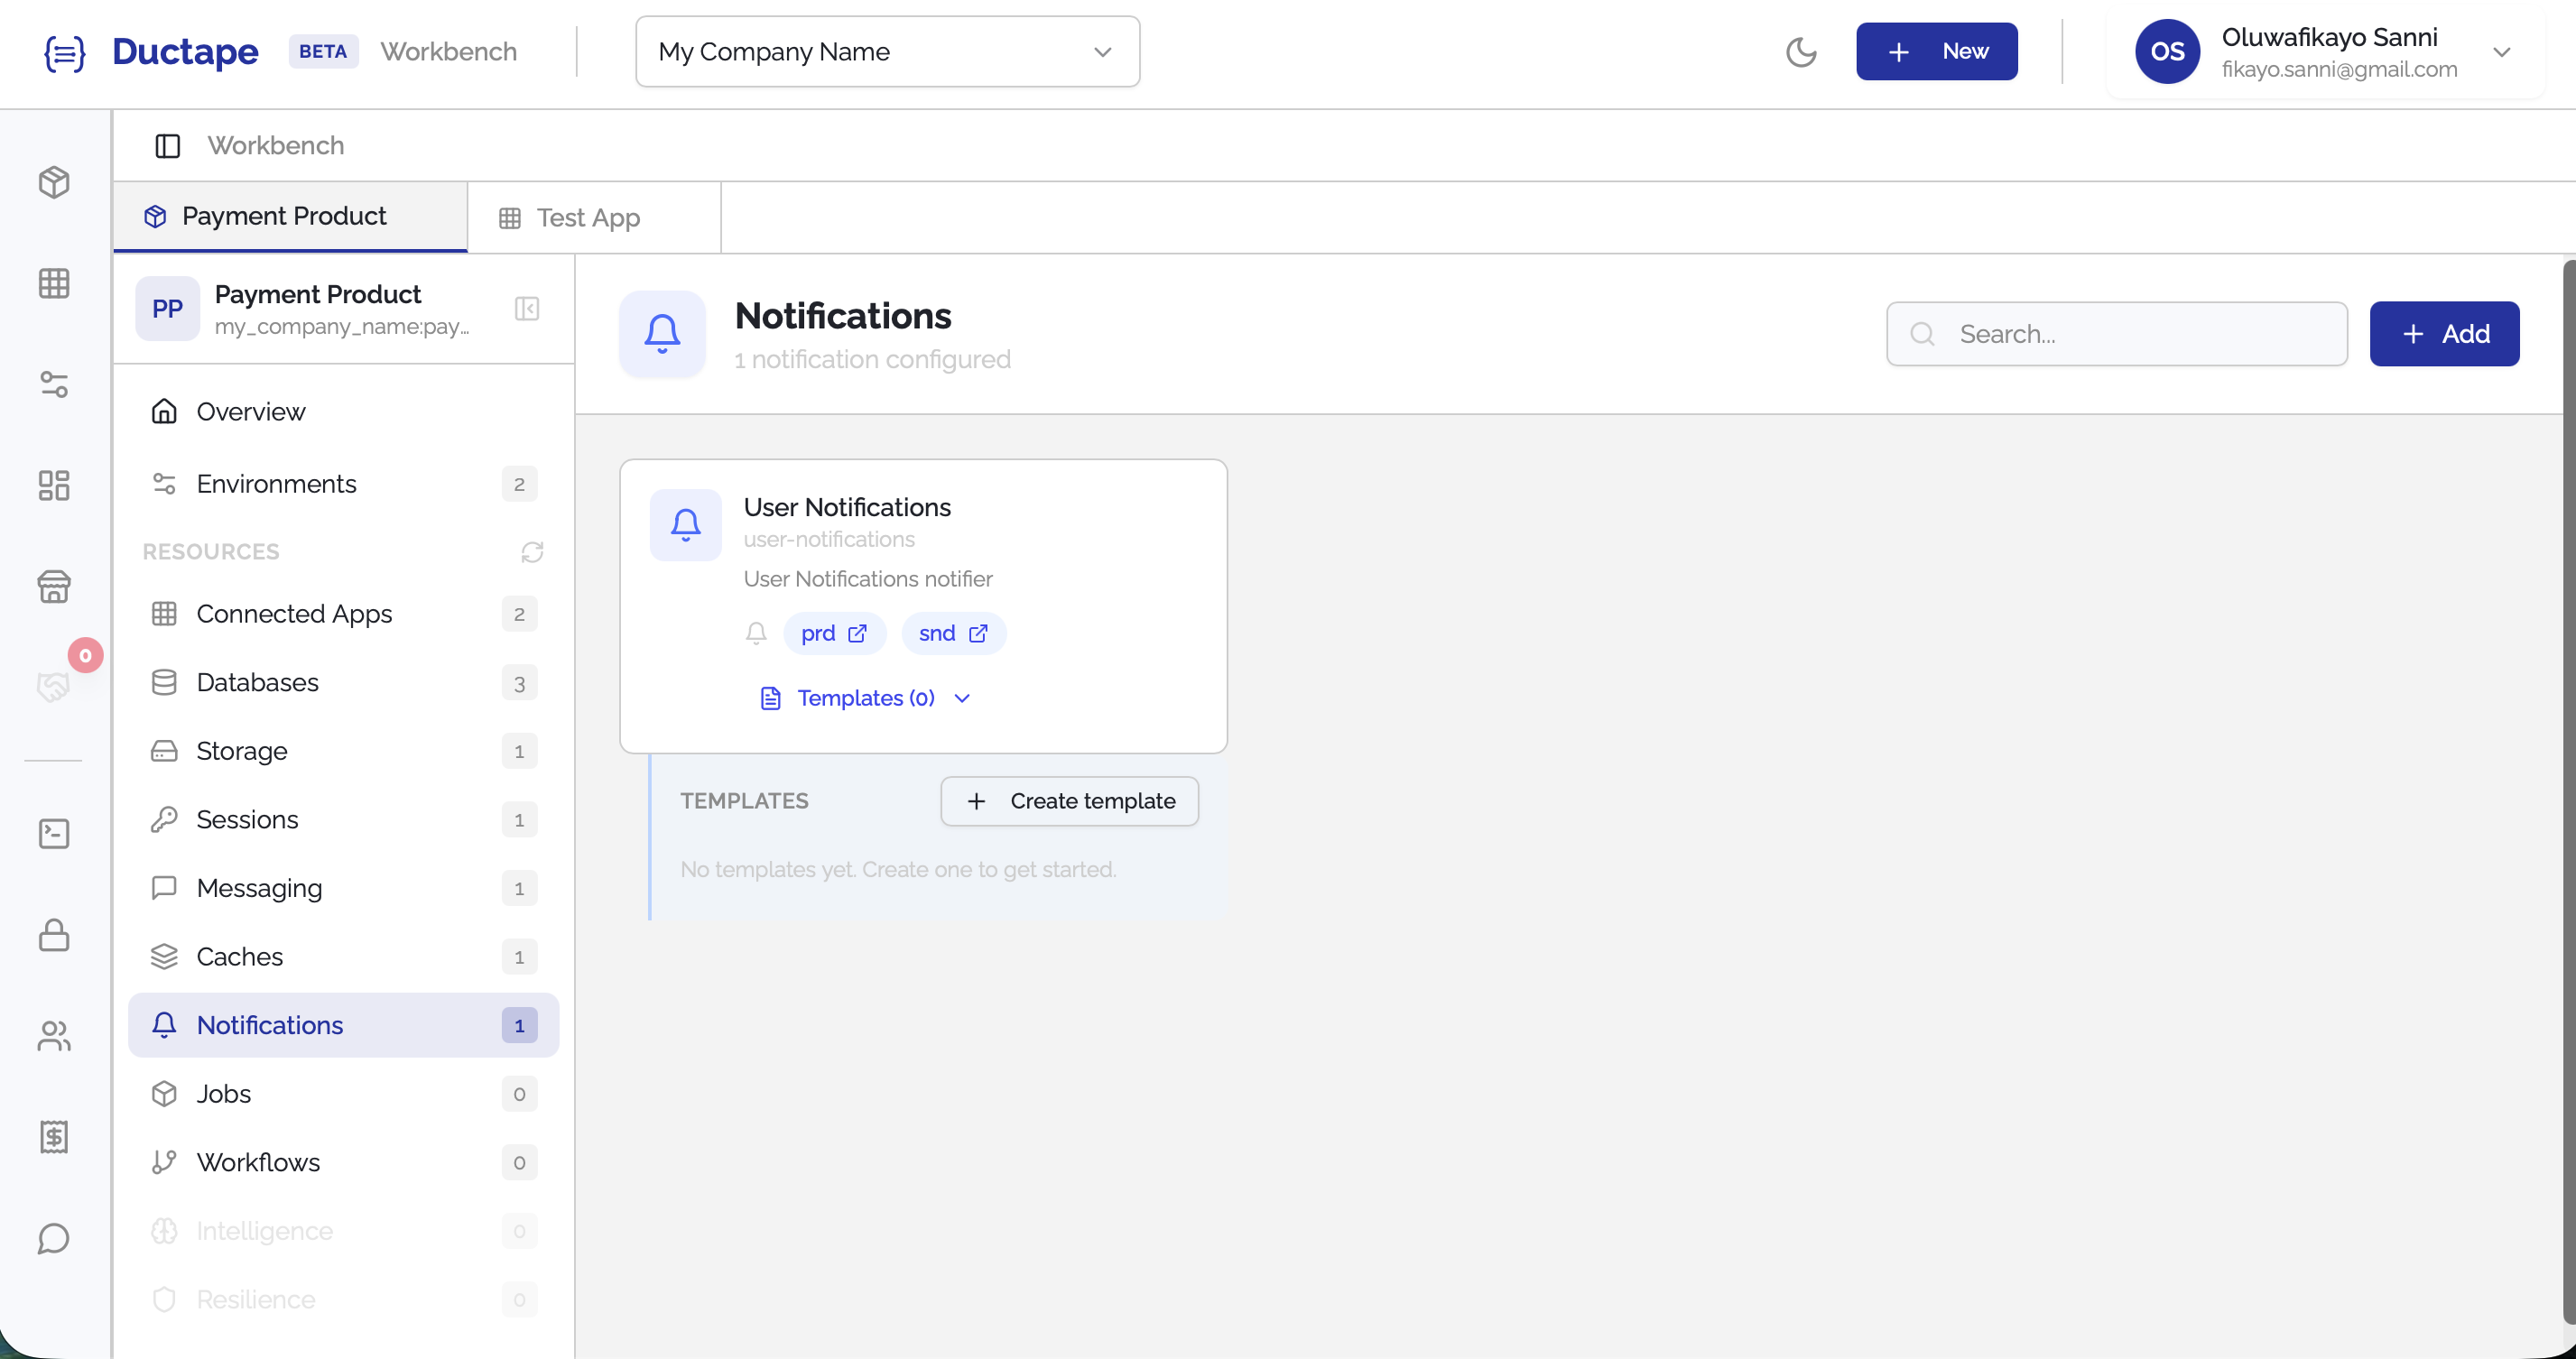
Step 1: Open the Notifications Section
- Navigate to your Workspace.
- Open the Product you want to configure.
- In the sidebar, locate the Resources section.
- Click Notifications.
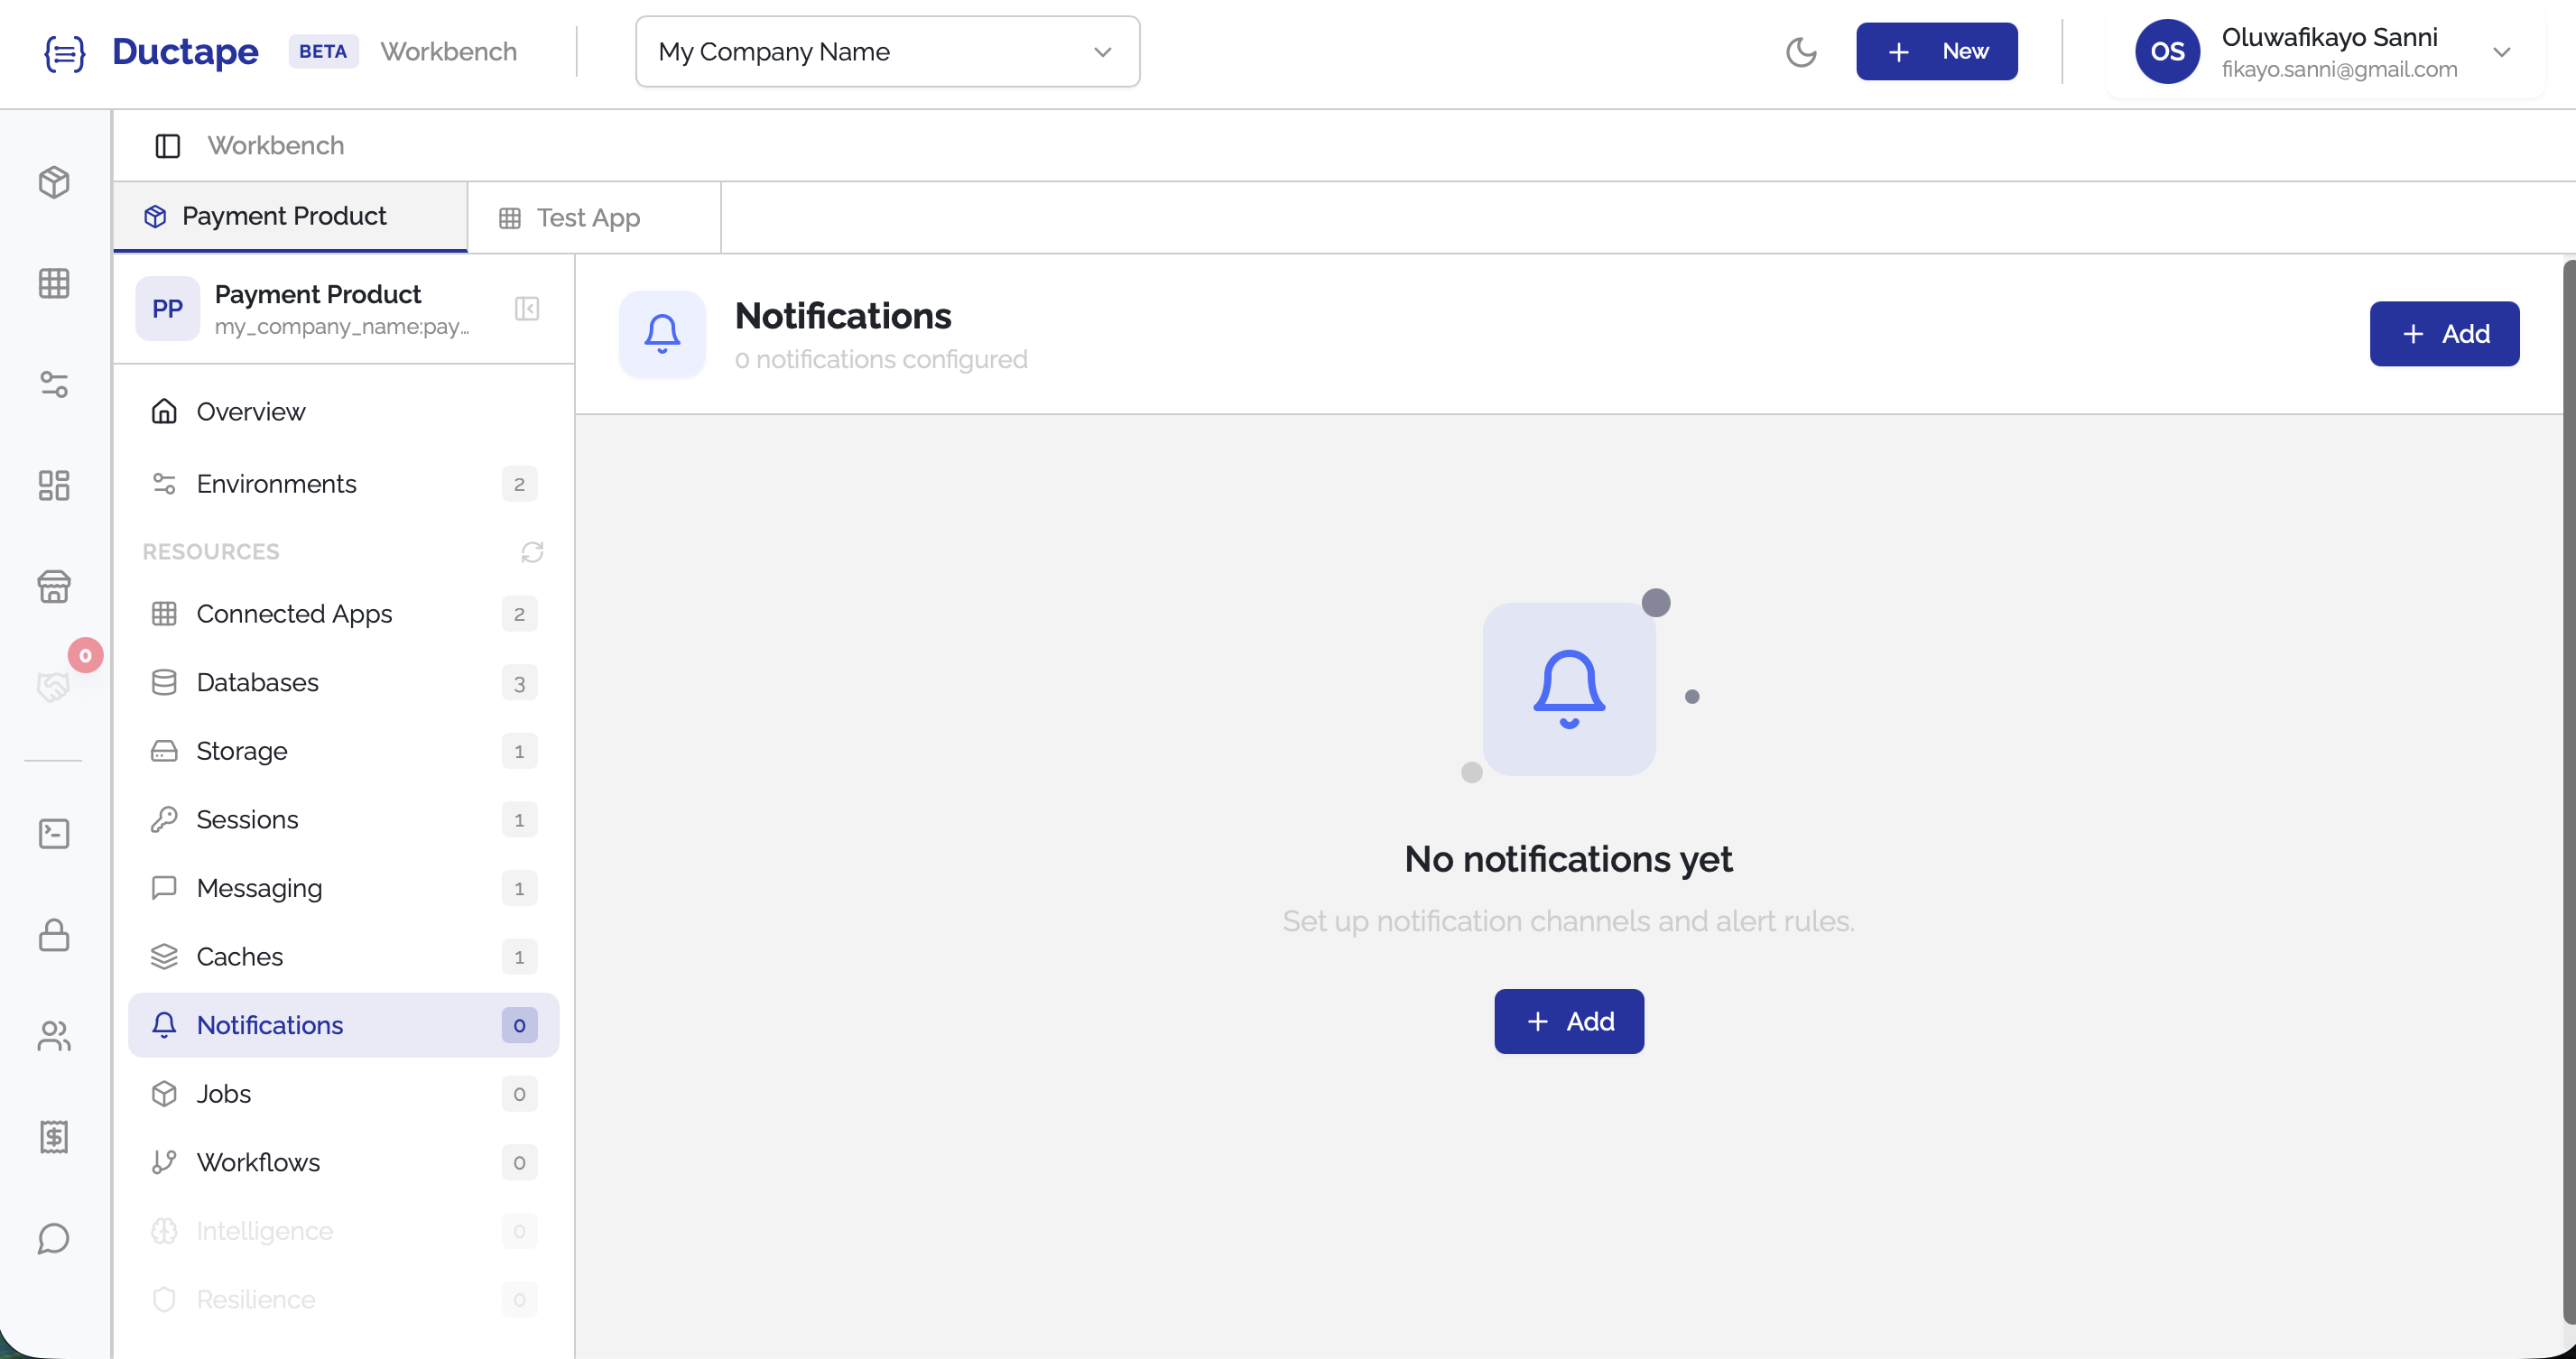
Step 2: Click "Add"
- On the Notifications page, click the Add button.
- A configuration form will appear.

Step 3: Fill in Basic Information
Provide the basic details for the notification configuration.
| Field | Description |
|---|---|
| Name | Human-readable name for the notification configuration |
| Tag | Auto-generated unique identifier (editable) |
| Description | Optional description |

Step 4: Select Notification Channels
Choose one or more channels that the notification system should support.
Available channels include:
- Push
- SMS
- Callbacks
- Discord
- Slack
You can select multiple channels for a single notification configuration.

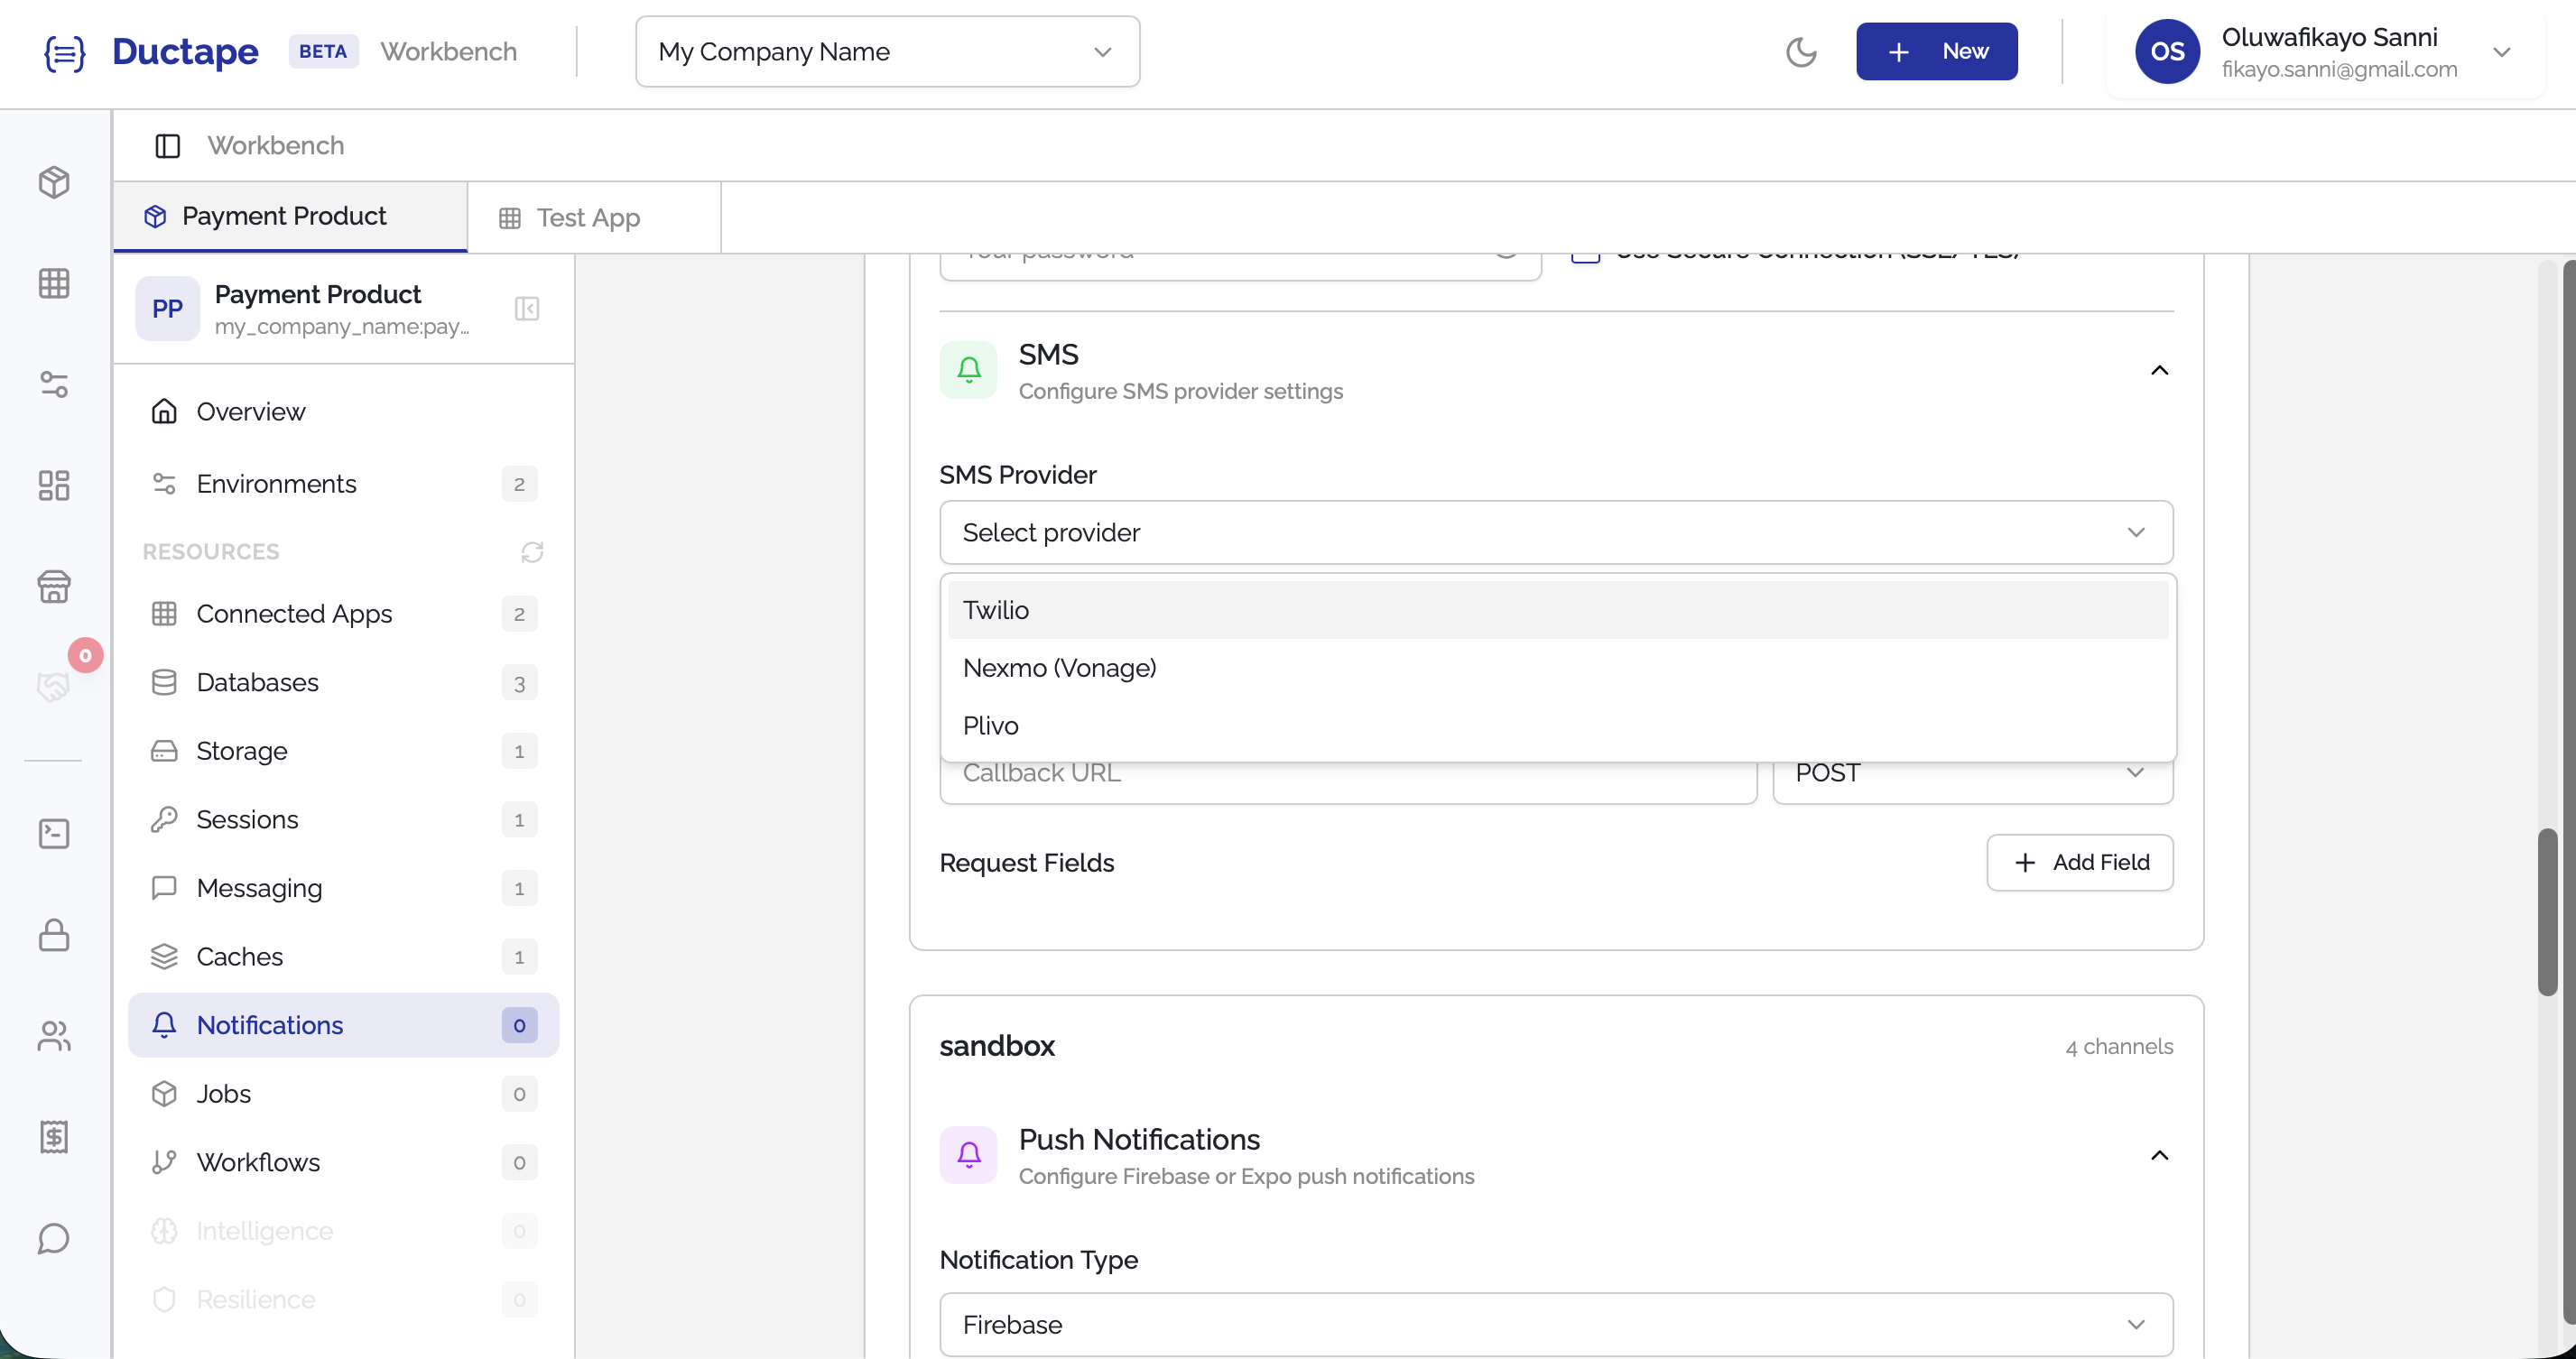
Step 5: Configure Each Channel
After selecting channels, you must provide the required configuration for each one.
Push Notifications
Supported providers:
- Firebase
- Expo
Configuration typically includes provider credentials and project information.

Email
Supported providers:
- SMTP
- Mailgun
- Sendgrid
- Postmark
- Brevo
Provide the necessary credentials such as API keys or SMTP connection details.
SMS
Supported providers:
- Twilio
- Next
- Plivo
Provide the required API credentials and sender configuration.
Callbacks
Callbacks allow you to trigger an external webhook when a notification event occurs.
Required configuration:
| Field | Description |
|---|---|
| URL | Endpoint that will receive the callback |
| Expected Body | The payload structure that will be sent |
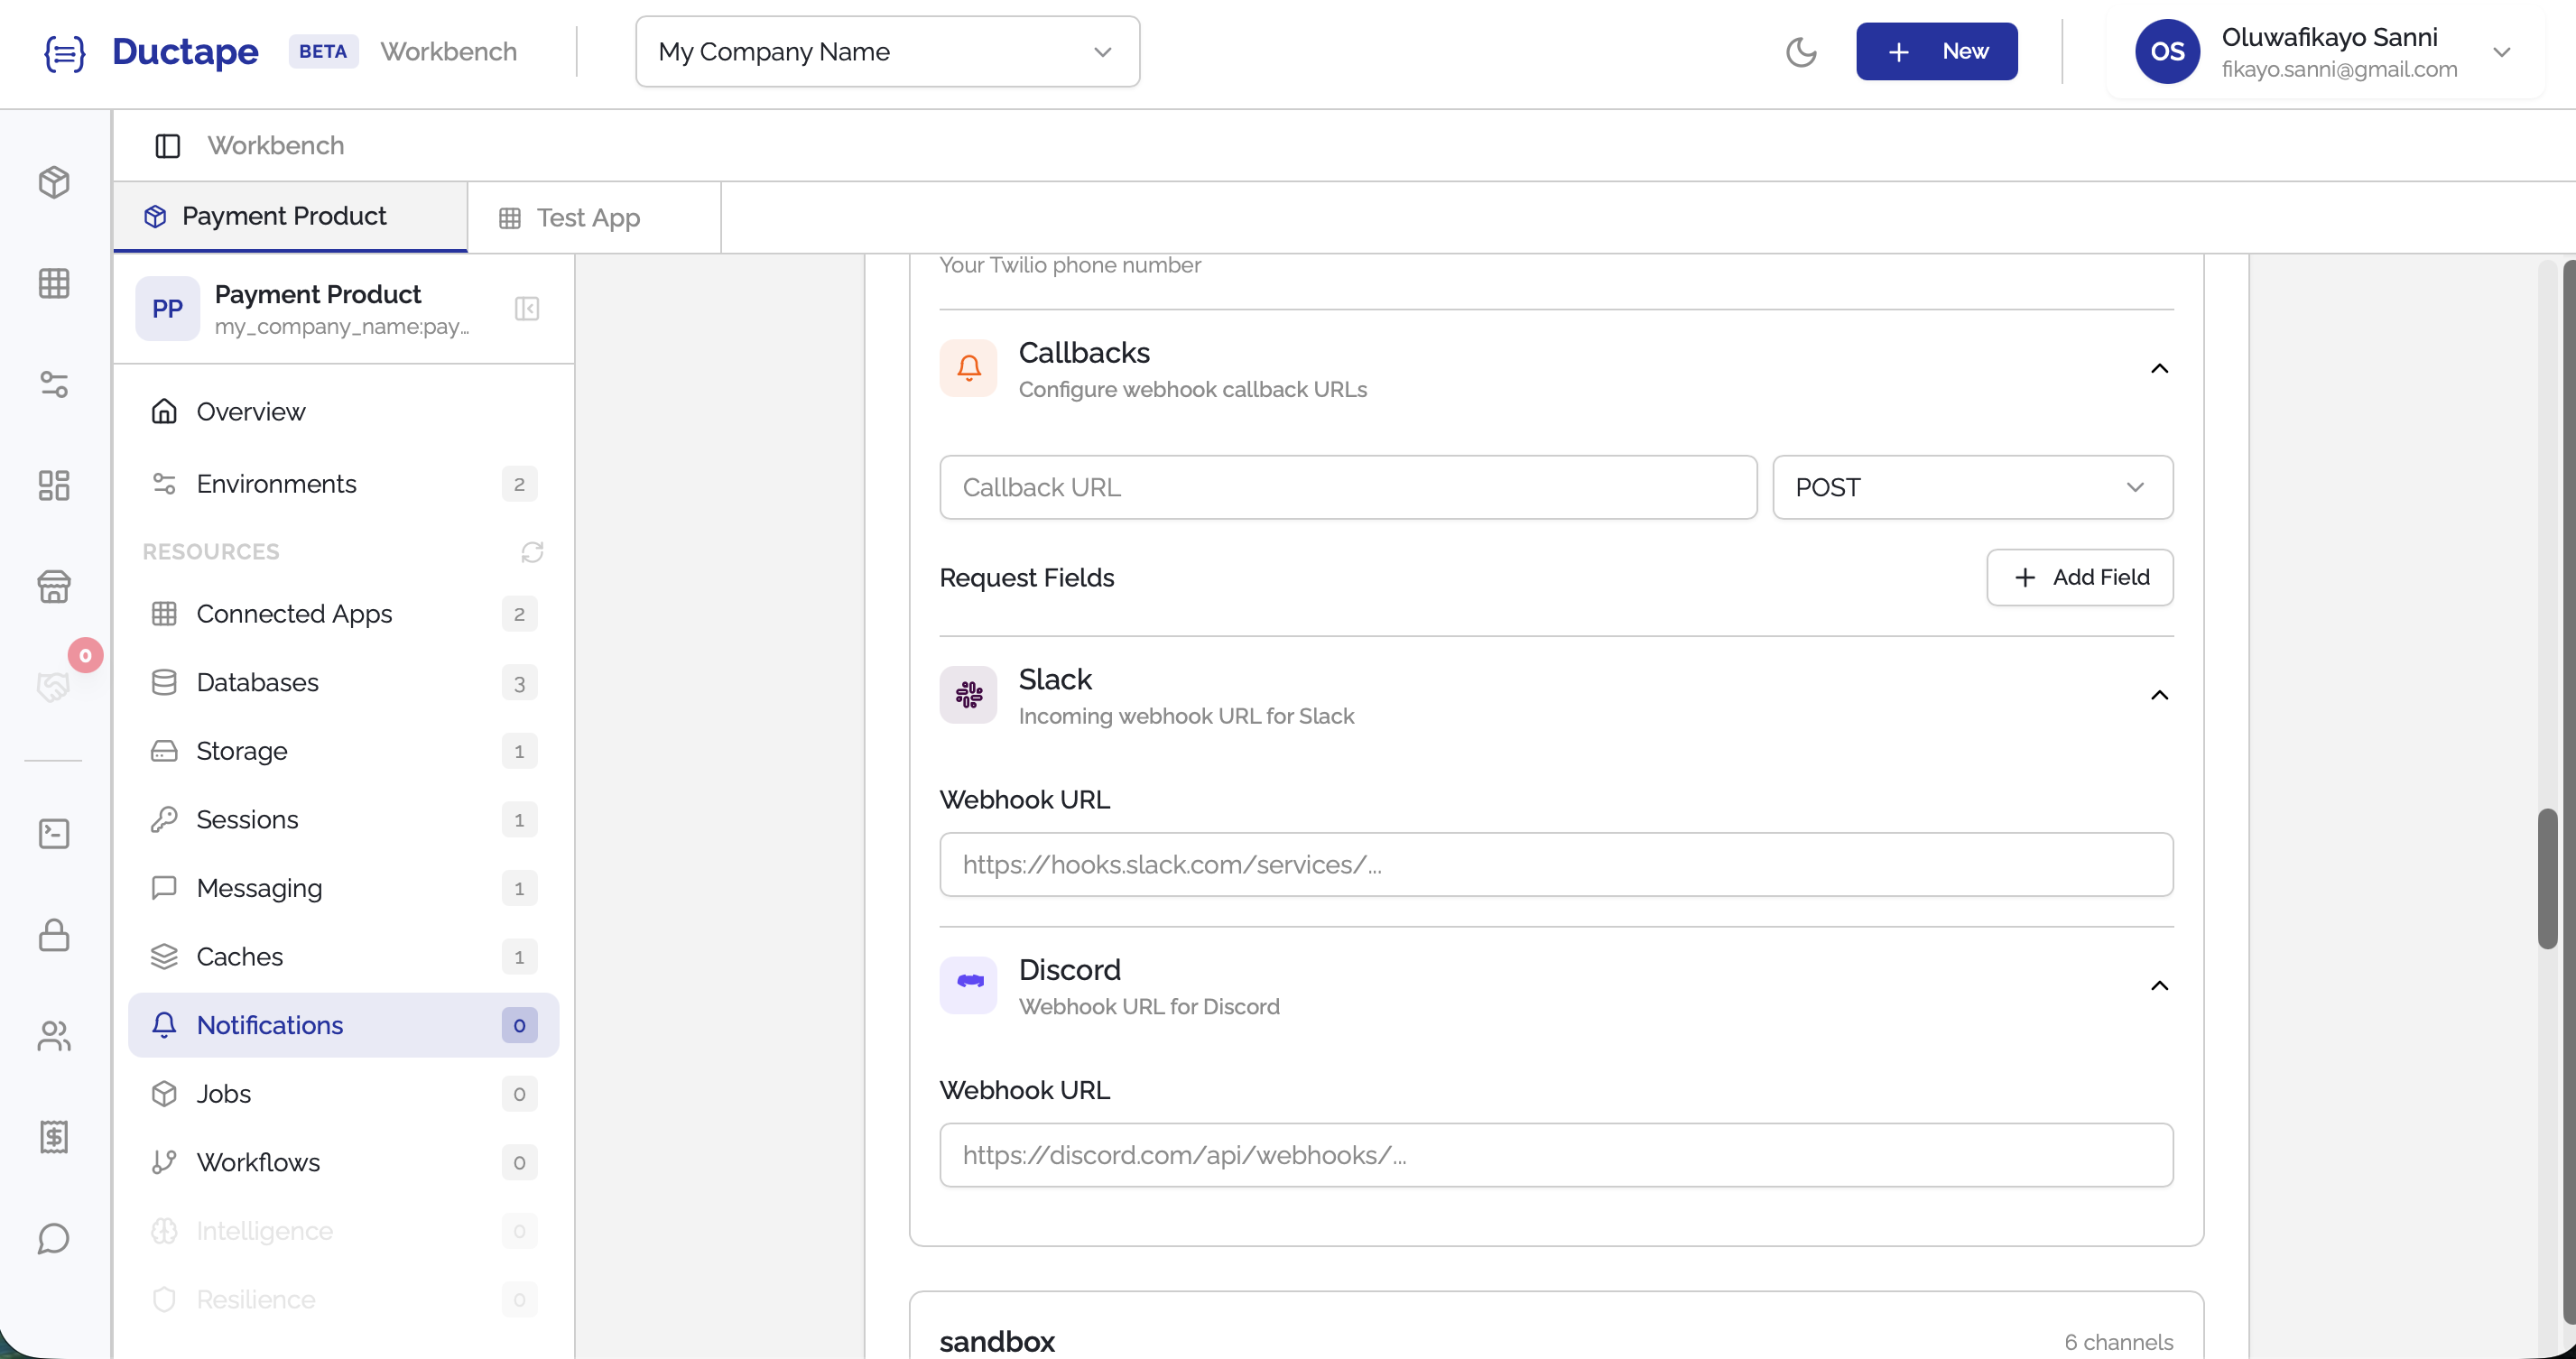
Discord
Discord notifications require the webhook URL and connection details.
Slack
Slack notifications require the webhook URL and connection information.
Step 6: Save the Notification Configuration
- After configuring the required channels, click Submit.
- The notification configuration will appear in the Product Notifications list.
Your product can now send notifications using the configured channels.
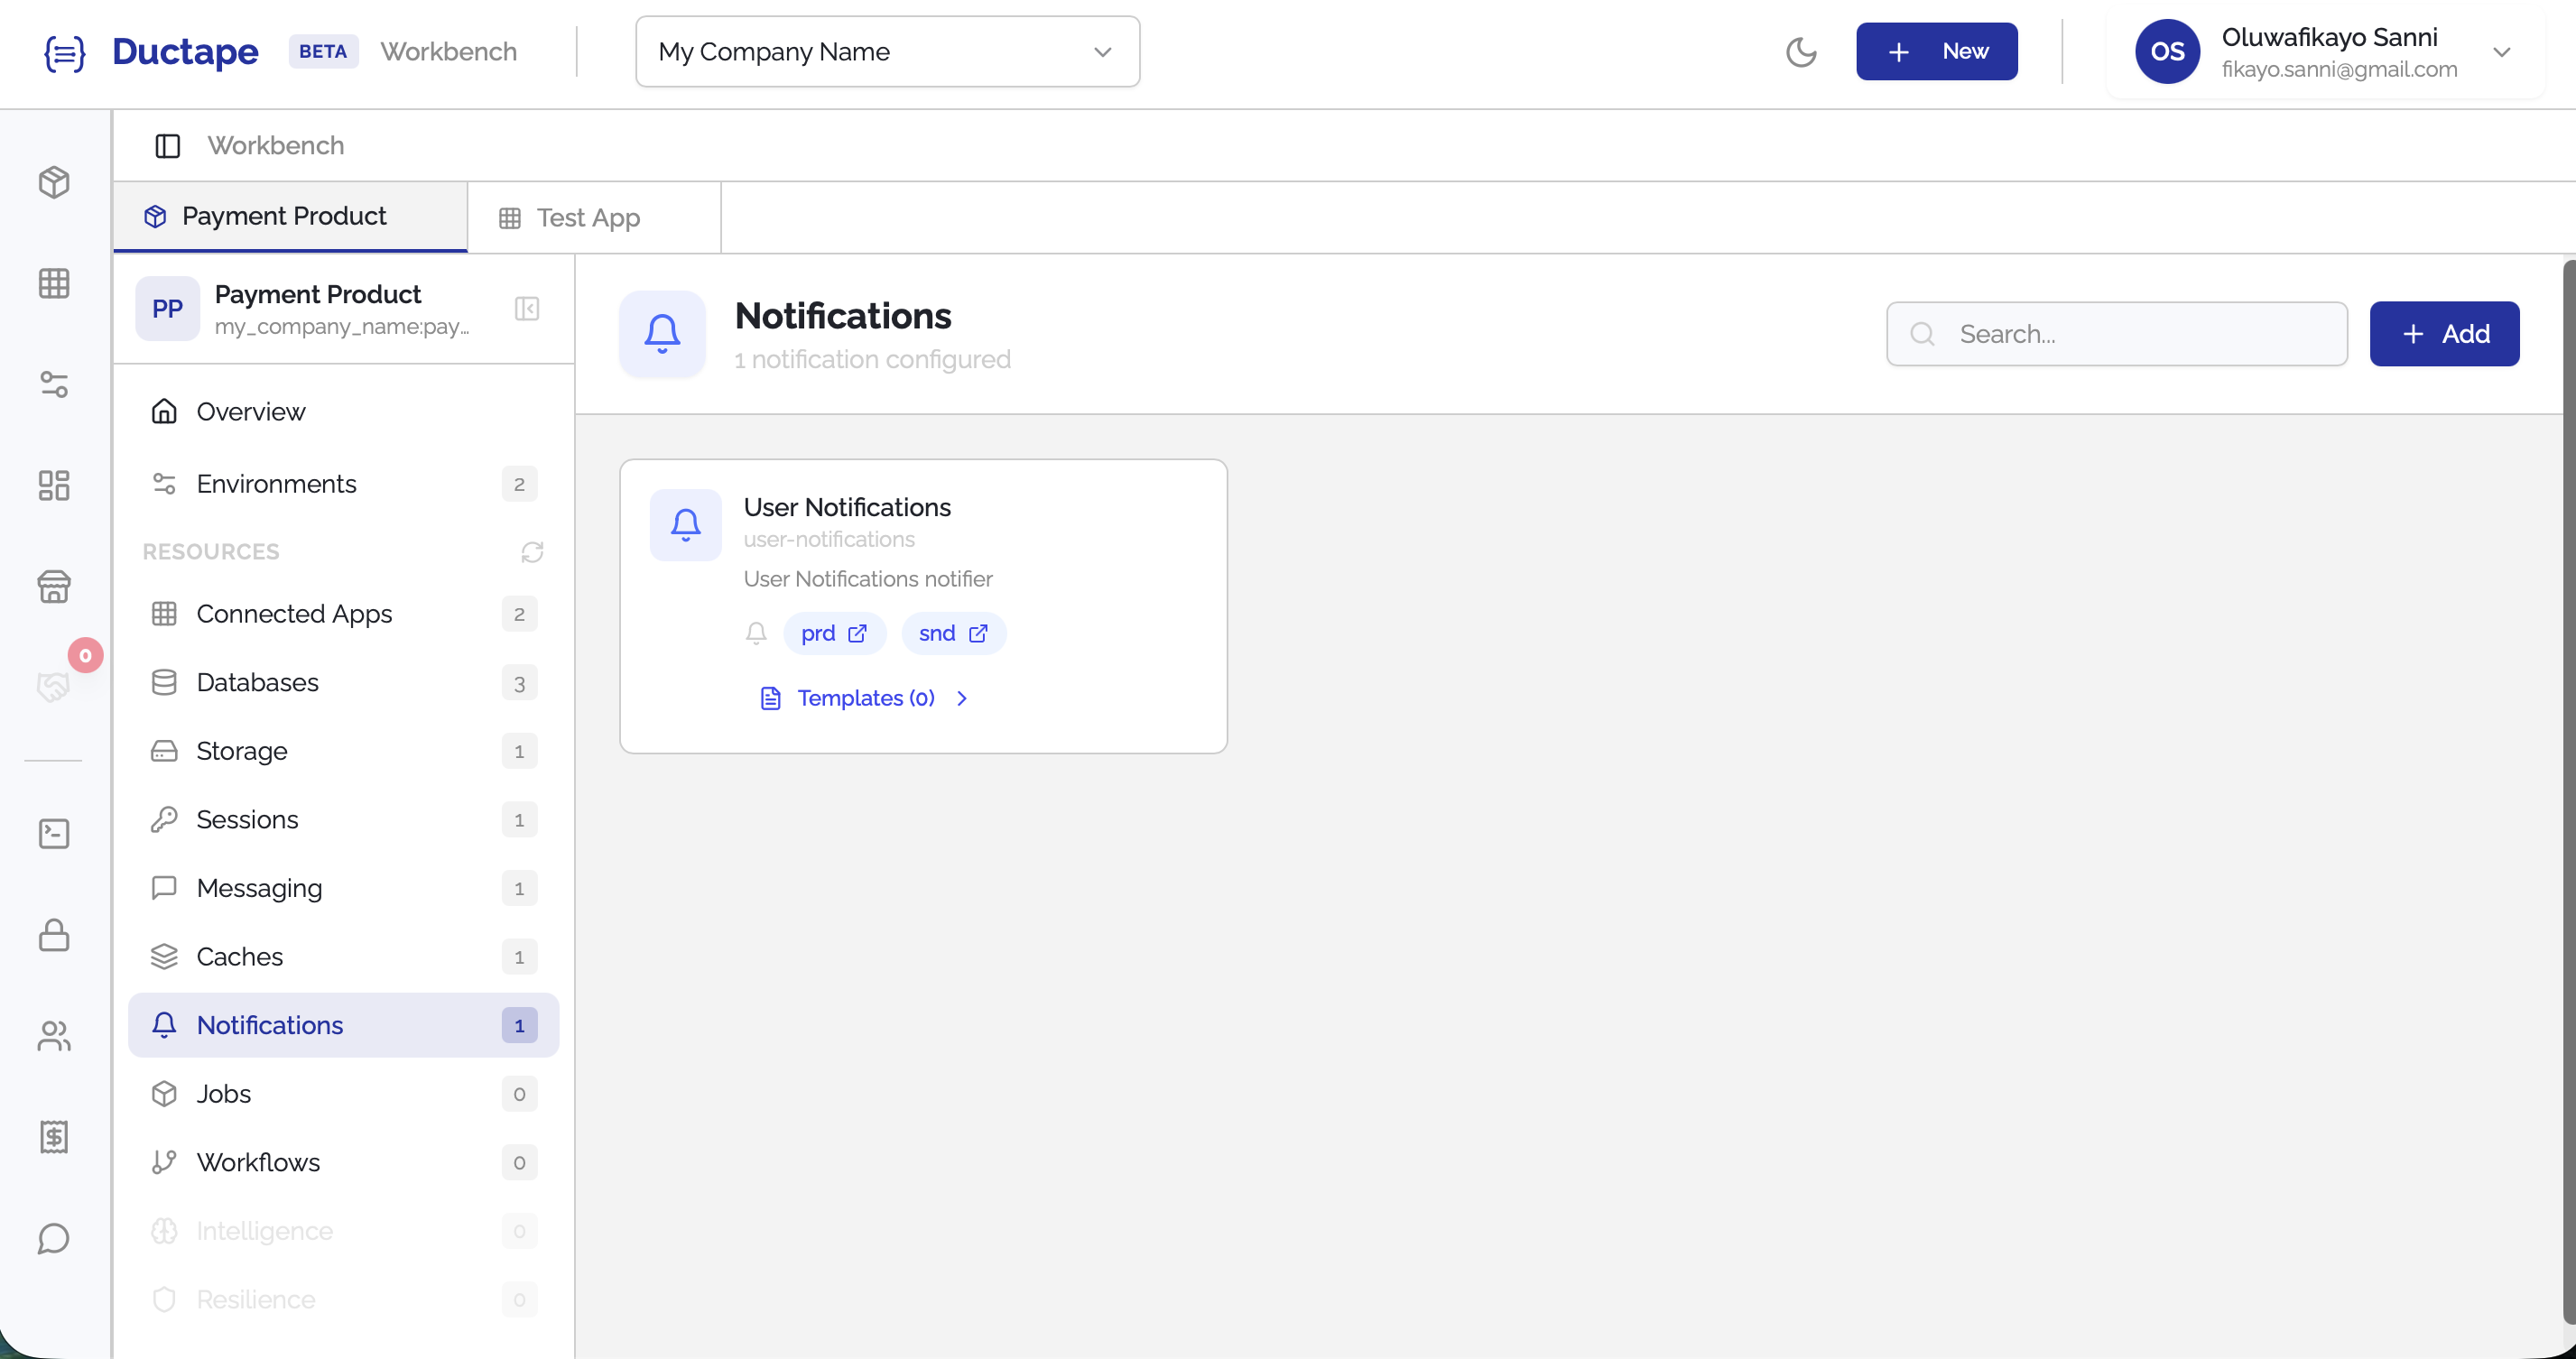
Step 7: Open Templates
- On the Notifications list, locate your notification configuration.
- Click the Templates (Count) button.
Initially, the templates list will be empty.
Step 8: Click "Create Template"
- Click the + Create Template button.
- A new tab will open for creating notification templates.
Step 9: Create Templates for Channels
Inside the template editor, you can create message templates for each channel supported by the notification configuration.
Each template defines the message format and payload that will be sent when the notification is triggered.
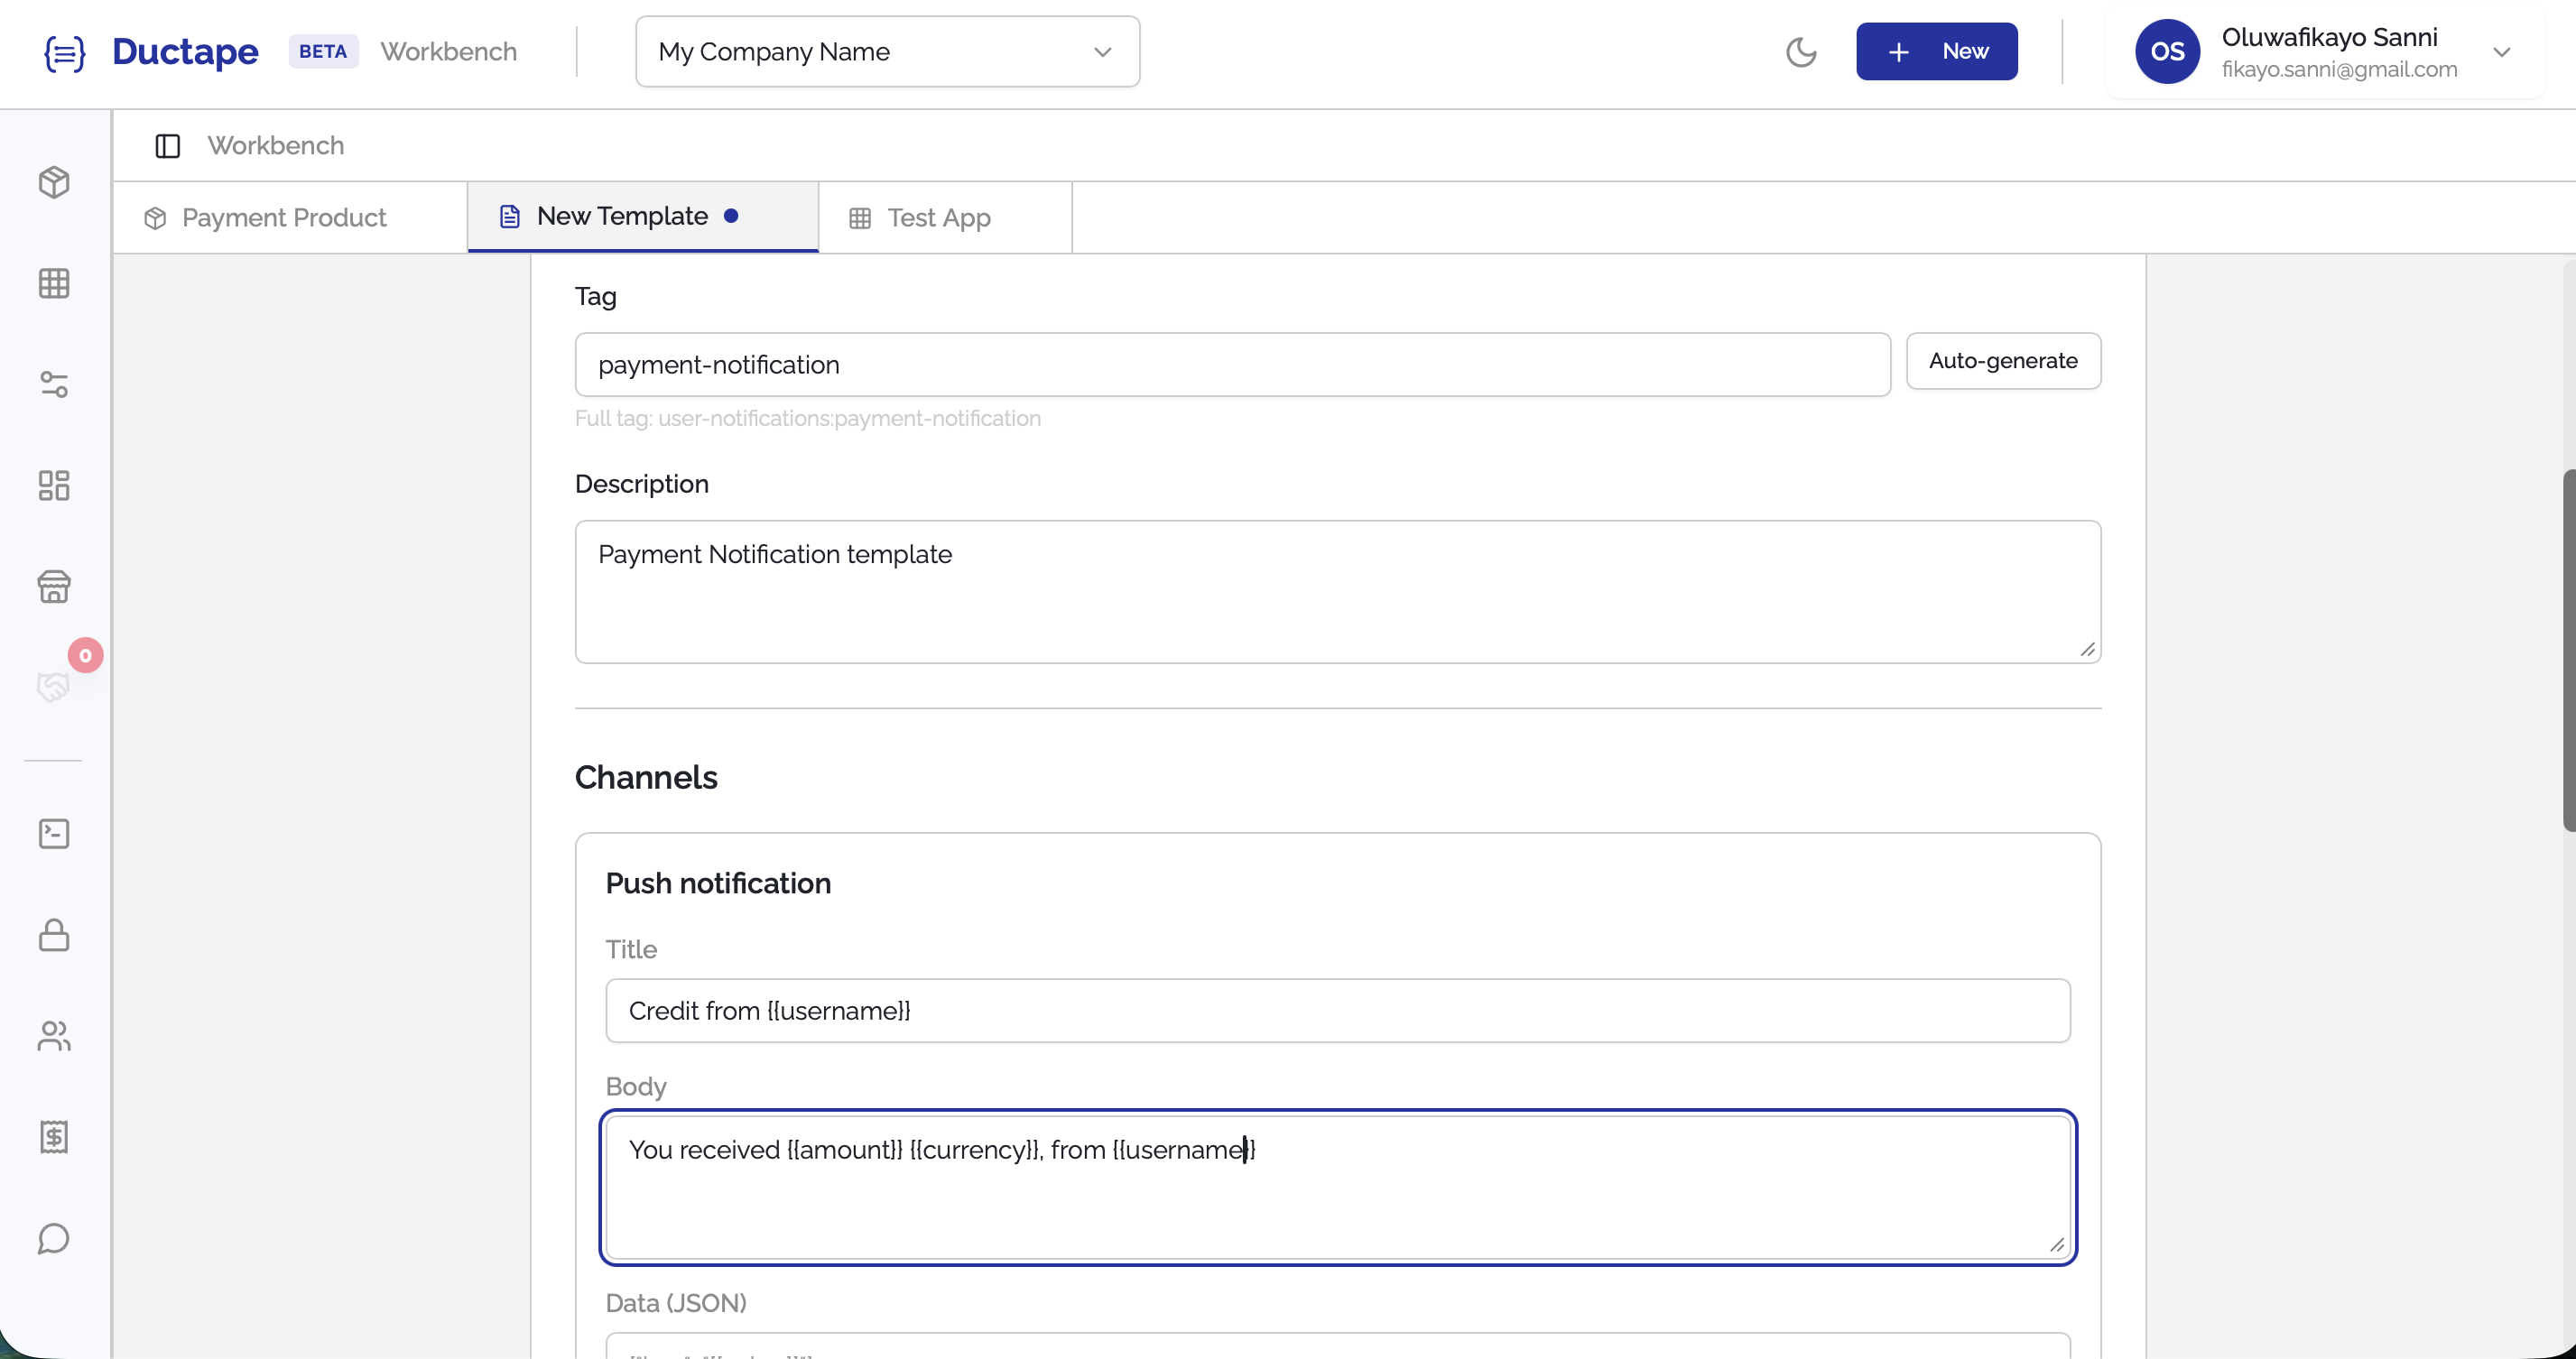
Step 10: Use Variables in Templates
Templates support dynamic variables using the {{variable}} syntax.
These variables are replaced with actual values when the notification is sent.
Example email template:
Hello {{name}},

Your order {{order_id}} has been successfully processed.

Thank you for using our service.
In this example:
{{name}}will be replaced with the recipient's name{{order_id}}will be replaced with the order identifier
You can use variables across Email, SMS, Push, Slack, Discord, and Callback templates.
Step 11: Save the Template
- Fill in the required template fields.
- Click Save Template.
Your notification configuration is now fully set up and ready to send messages through the configured channels.