Setting up Caching
Caches allow your product to temporarily store data from previous runs and reuse it while the cached data is still valid. This can significantly improve performance by avoiding repeated calls to external services or expensive computations.
Cached data remains available until it expires or is invalidated.
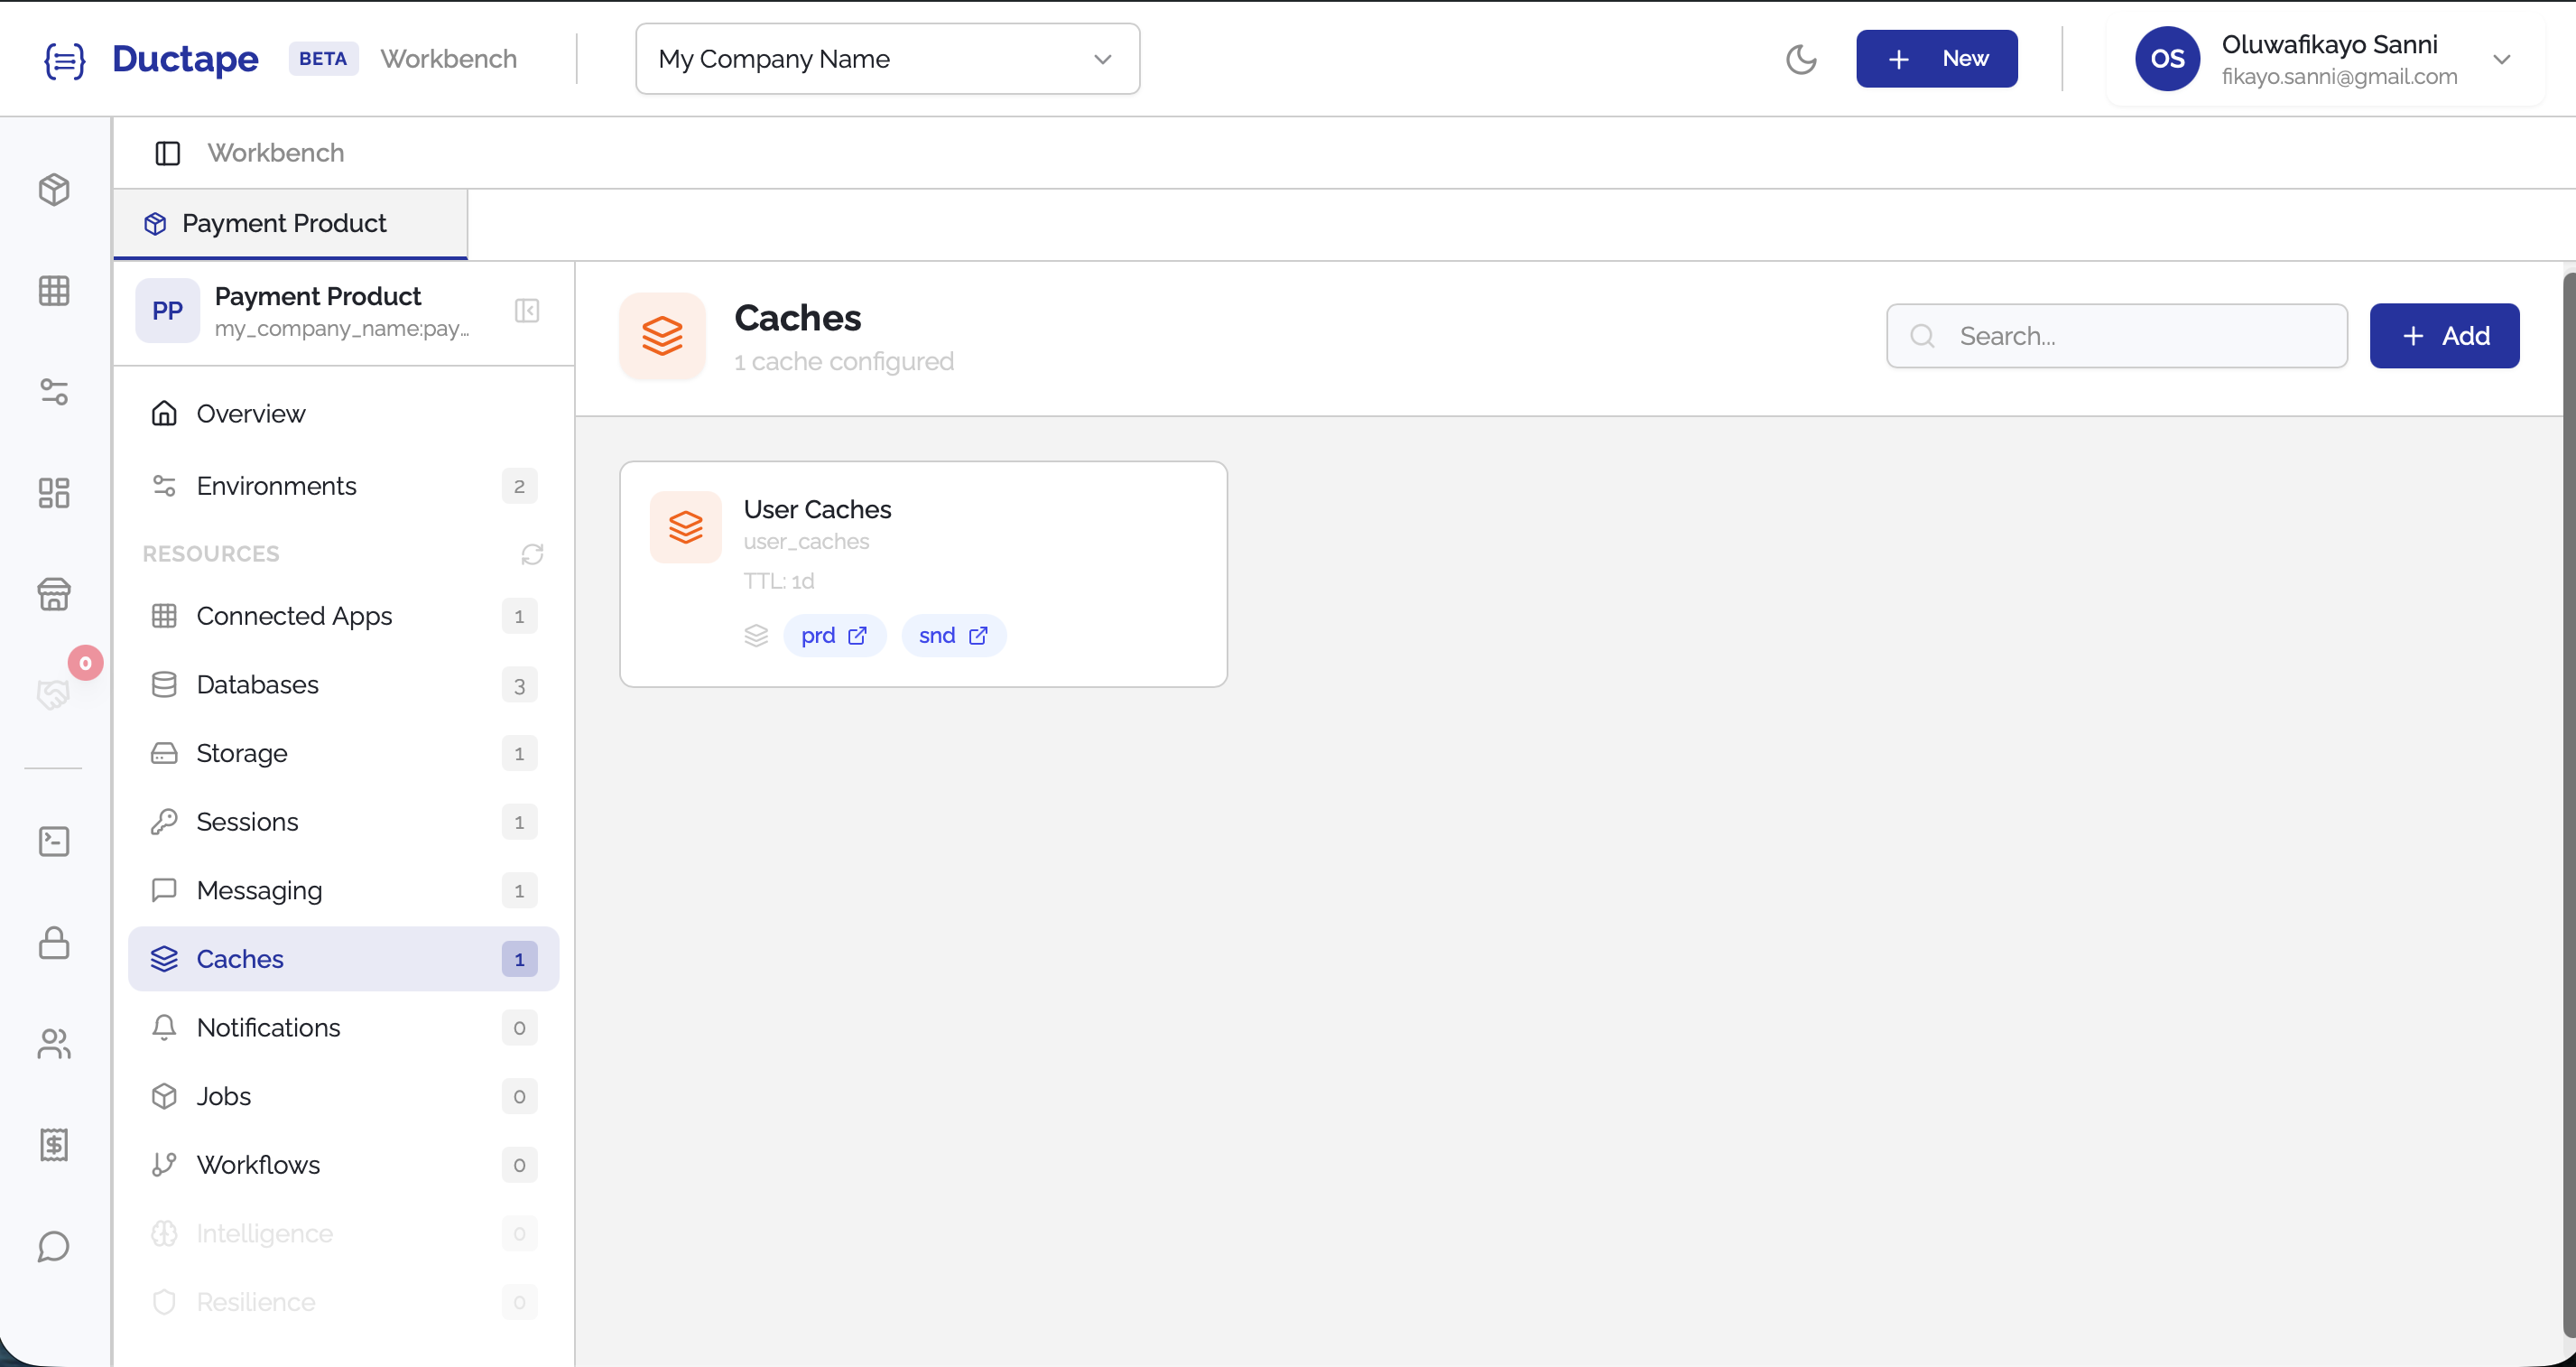
Step 1: Open the Cache Section
- Navigate to your Workspace.
- Open the Product you want to configure.
- In the sidebar, locate the Resources section.
- Click Caches.
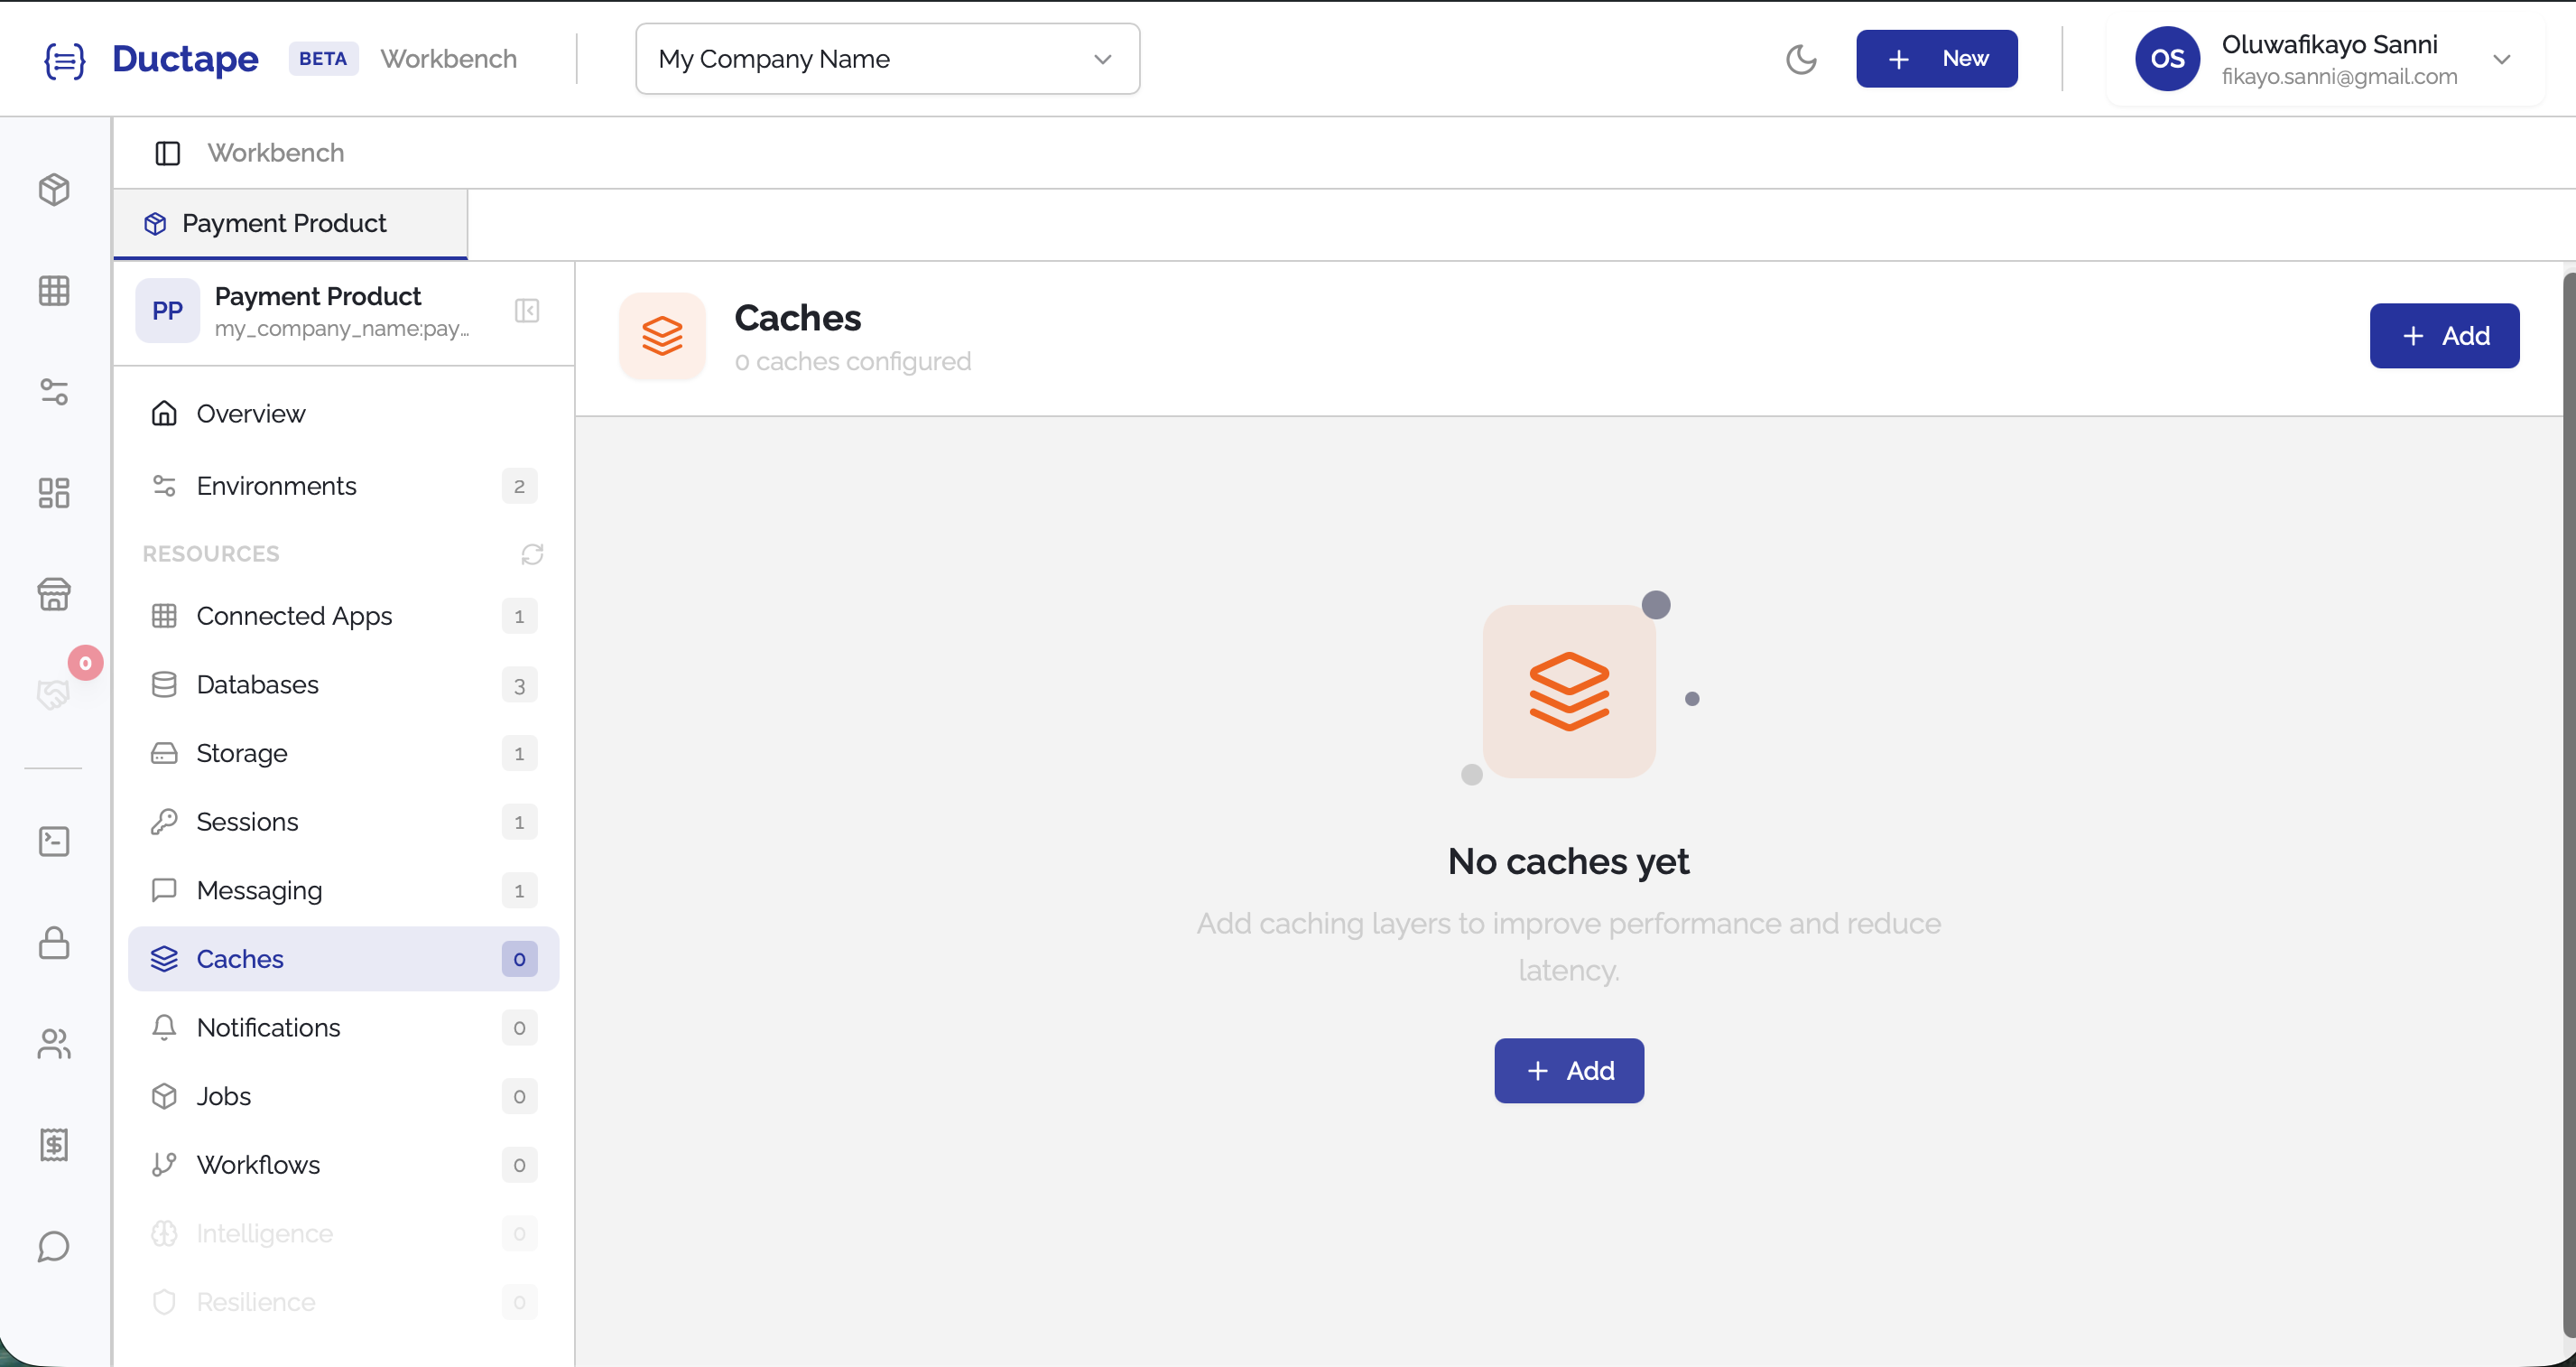
Step 2: Click "Add"
- On the Caches page, click the Add button.
- A configuration form will appear.
Step 3: Configure the Cache
Fill in the following fields:
| Field | Description |
|---|---|
| Cache Name | Human-readable name for the cache |
| Tag | Auto-generated unique identifier (editable) |
| Expiry | Duration (in milliseconds) before cached data expires |
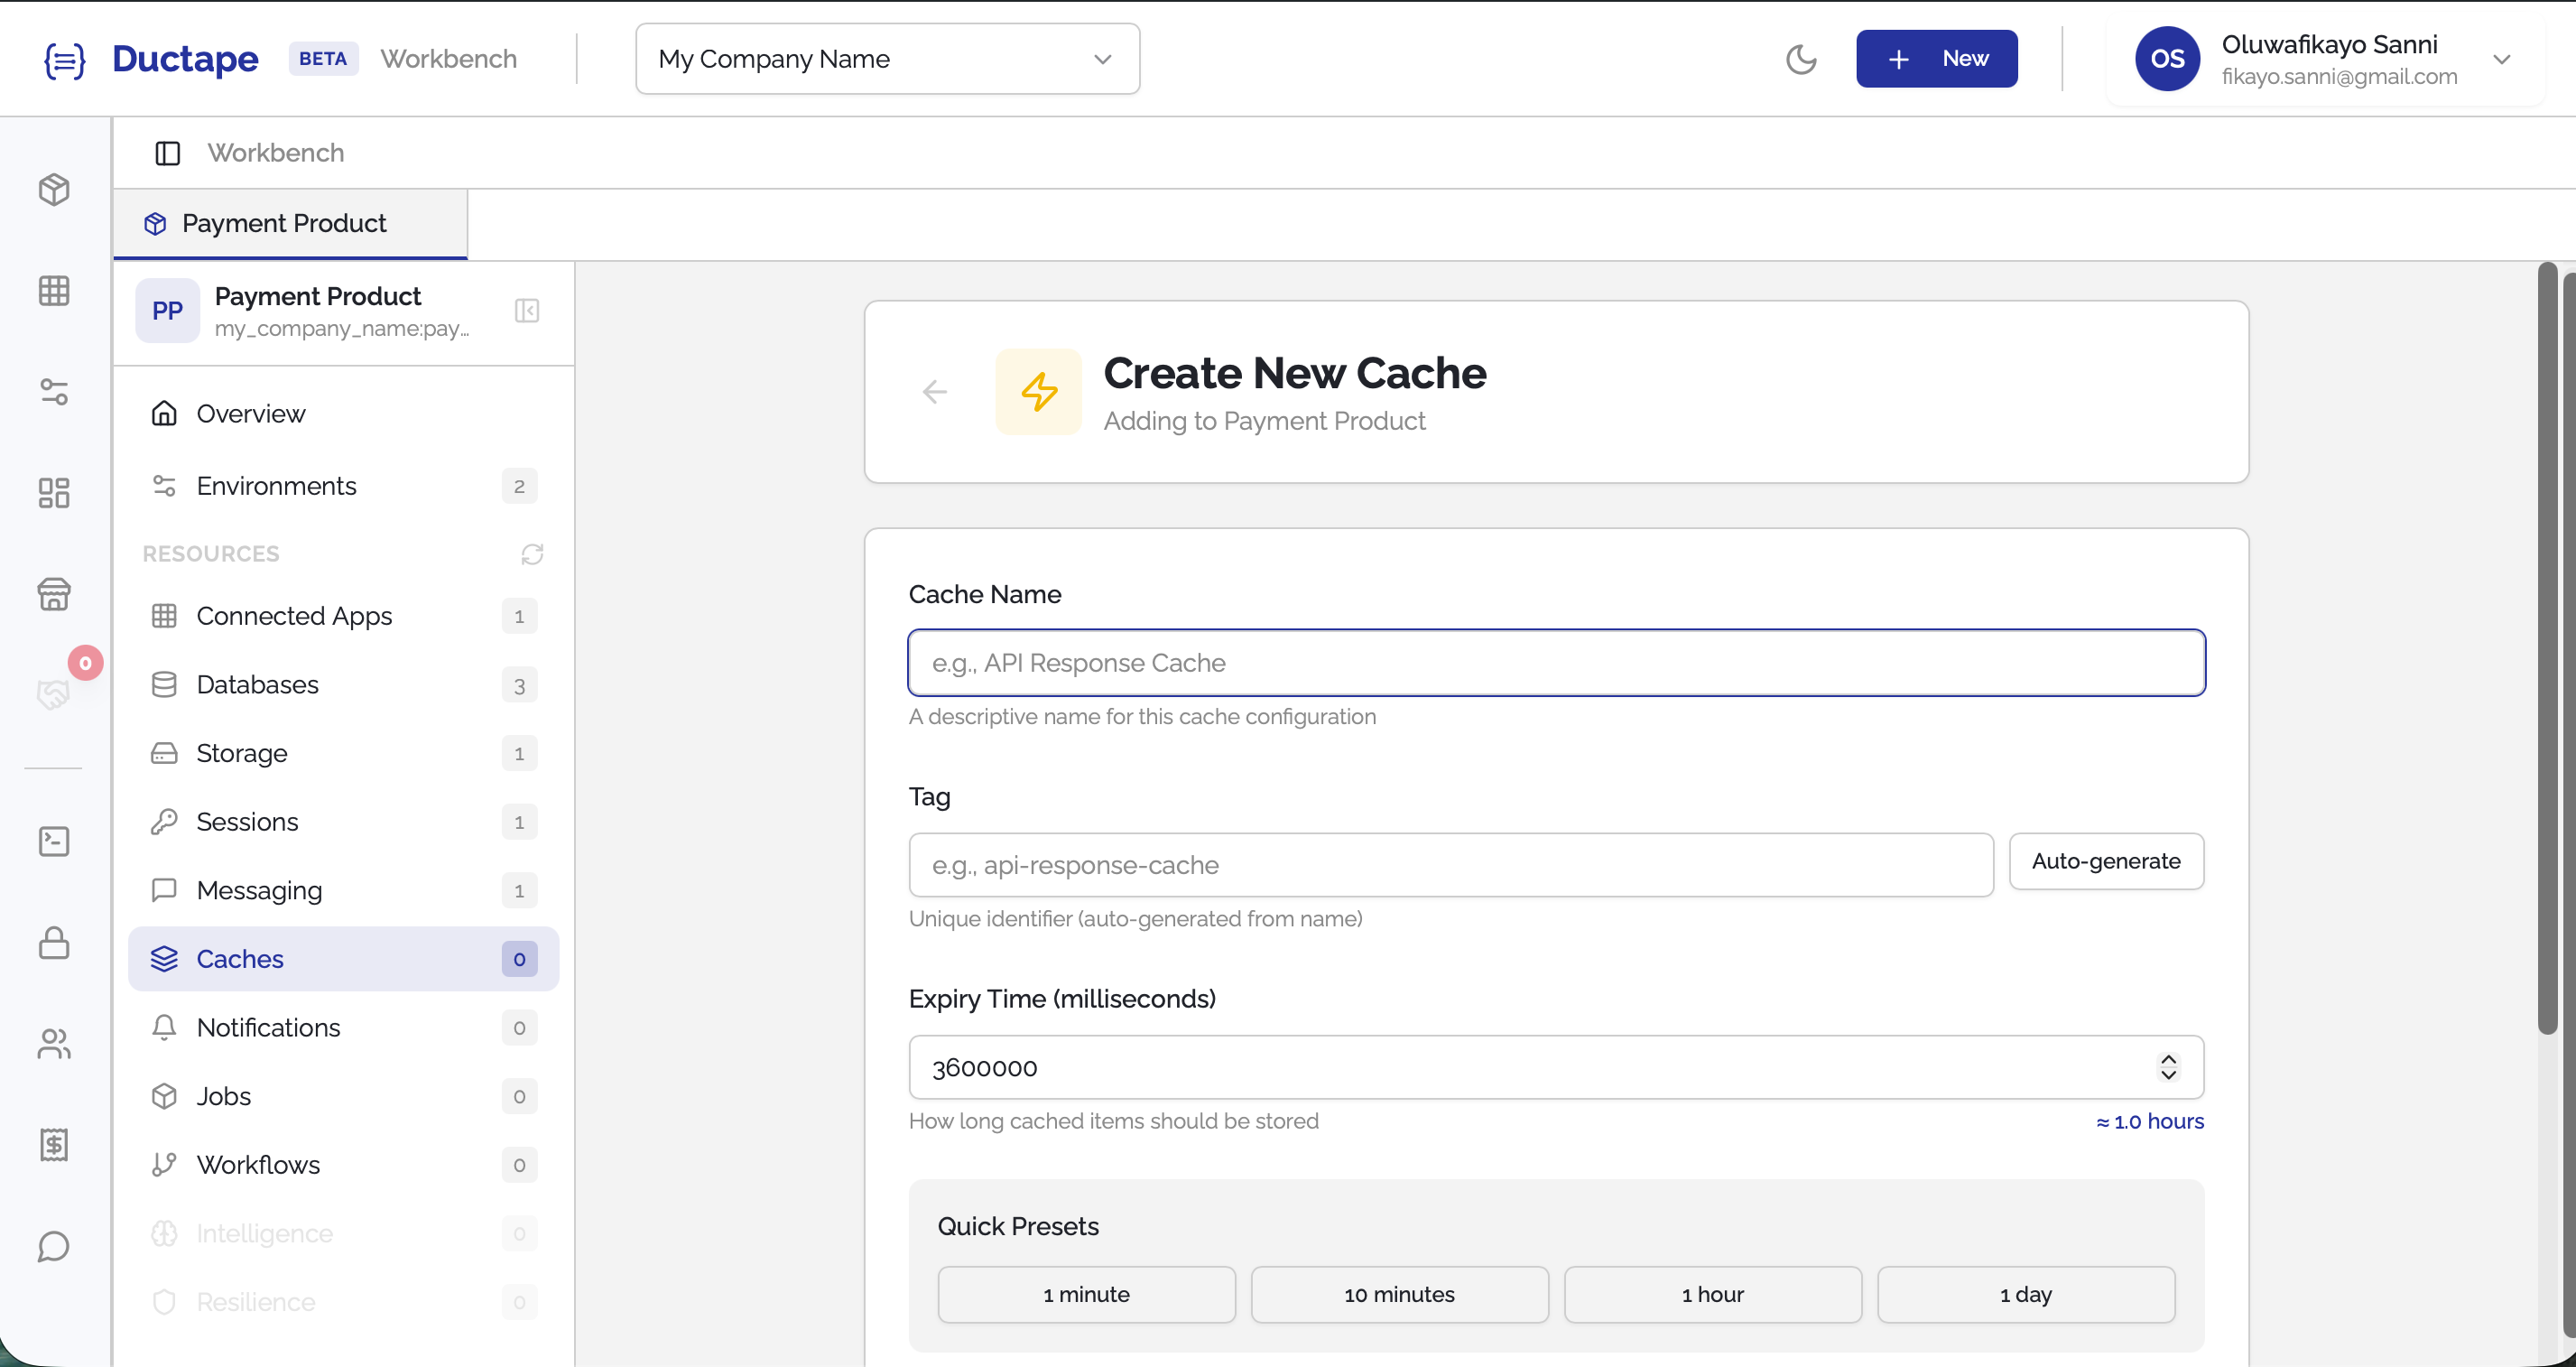
Example:
Expiry: 60000
This means the cached data will remain valid for 60 seconds before expiring.
Step 4: Create the Cache
- Click Create.
- The cache configuration will appear in the Product Caches list.
Once created, the cache can be attached to other components in your product to store and retrieve state between runs.