Adding Individual Requests
If you want to add an endpoint manually, you can create a request directly from the Workbench. This allows you to test the request first and then save it as an Action inside an app.
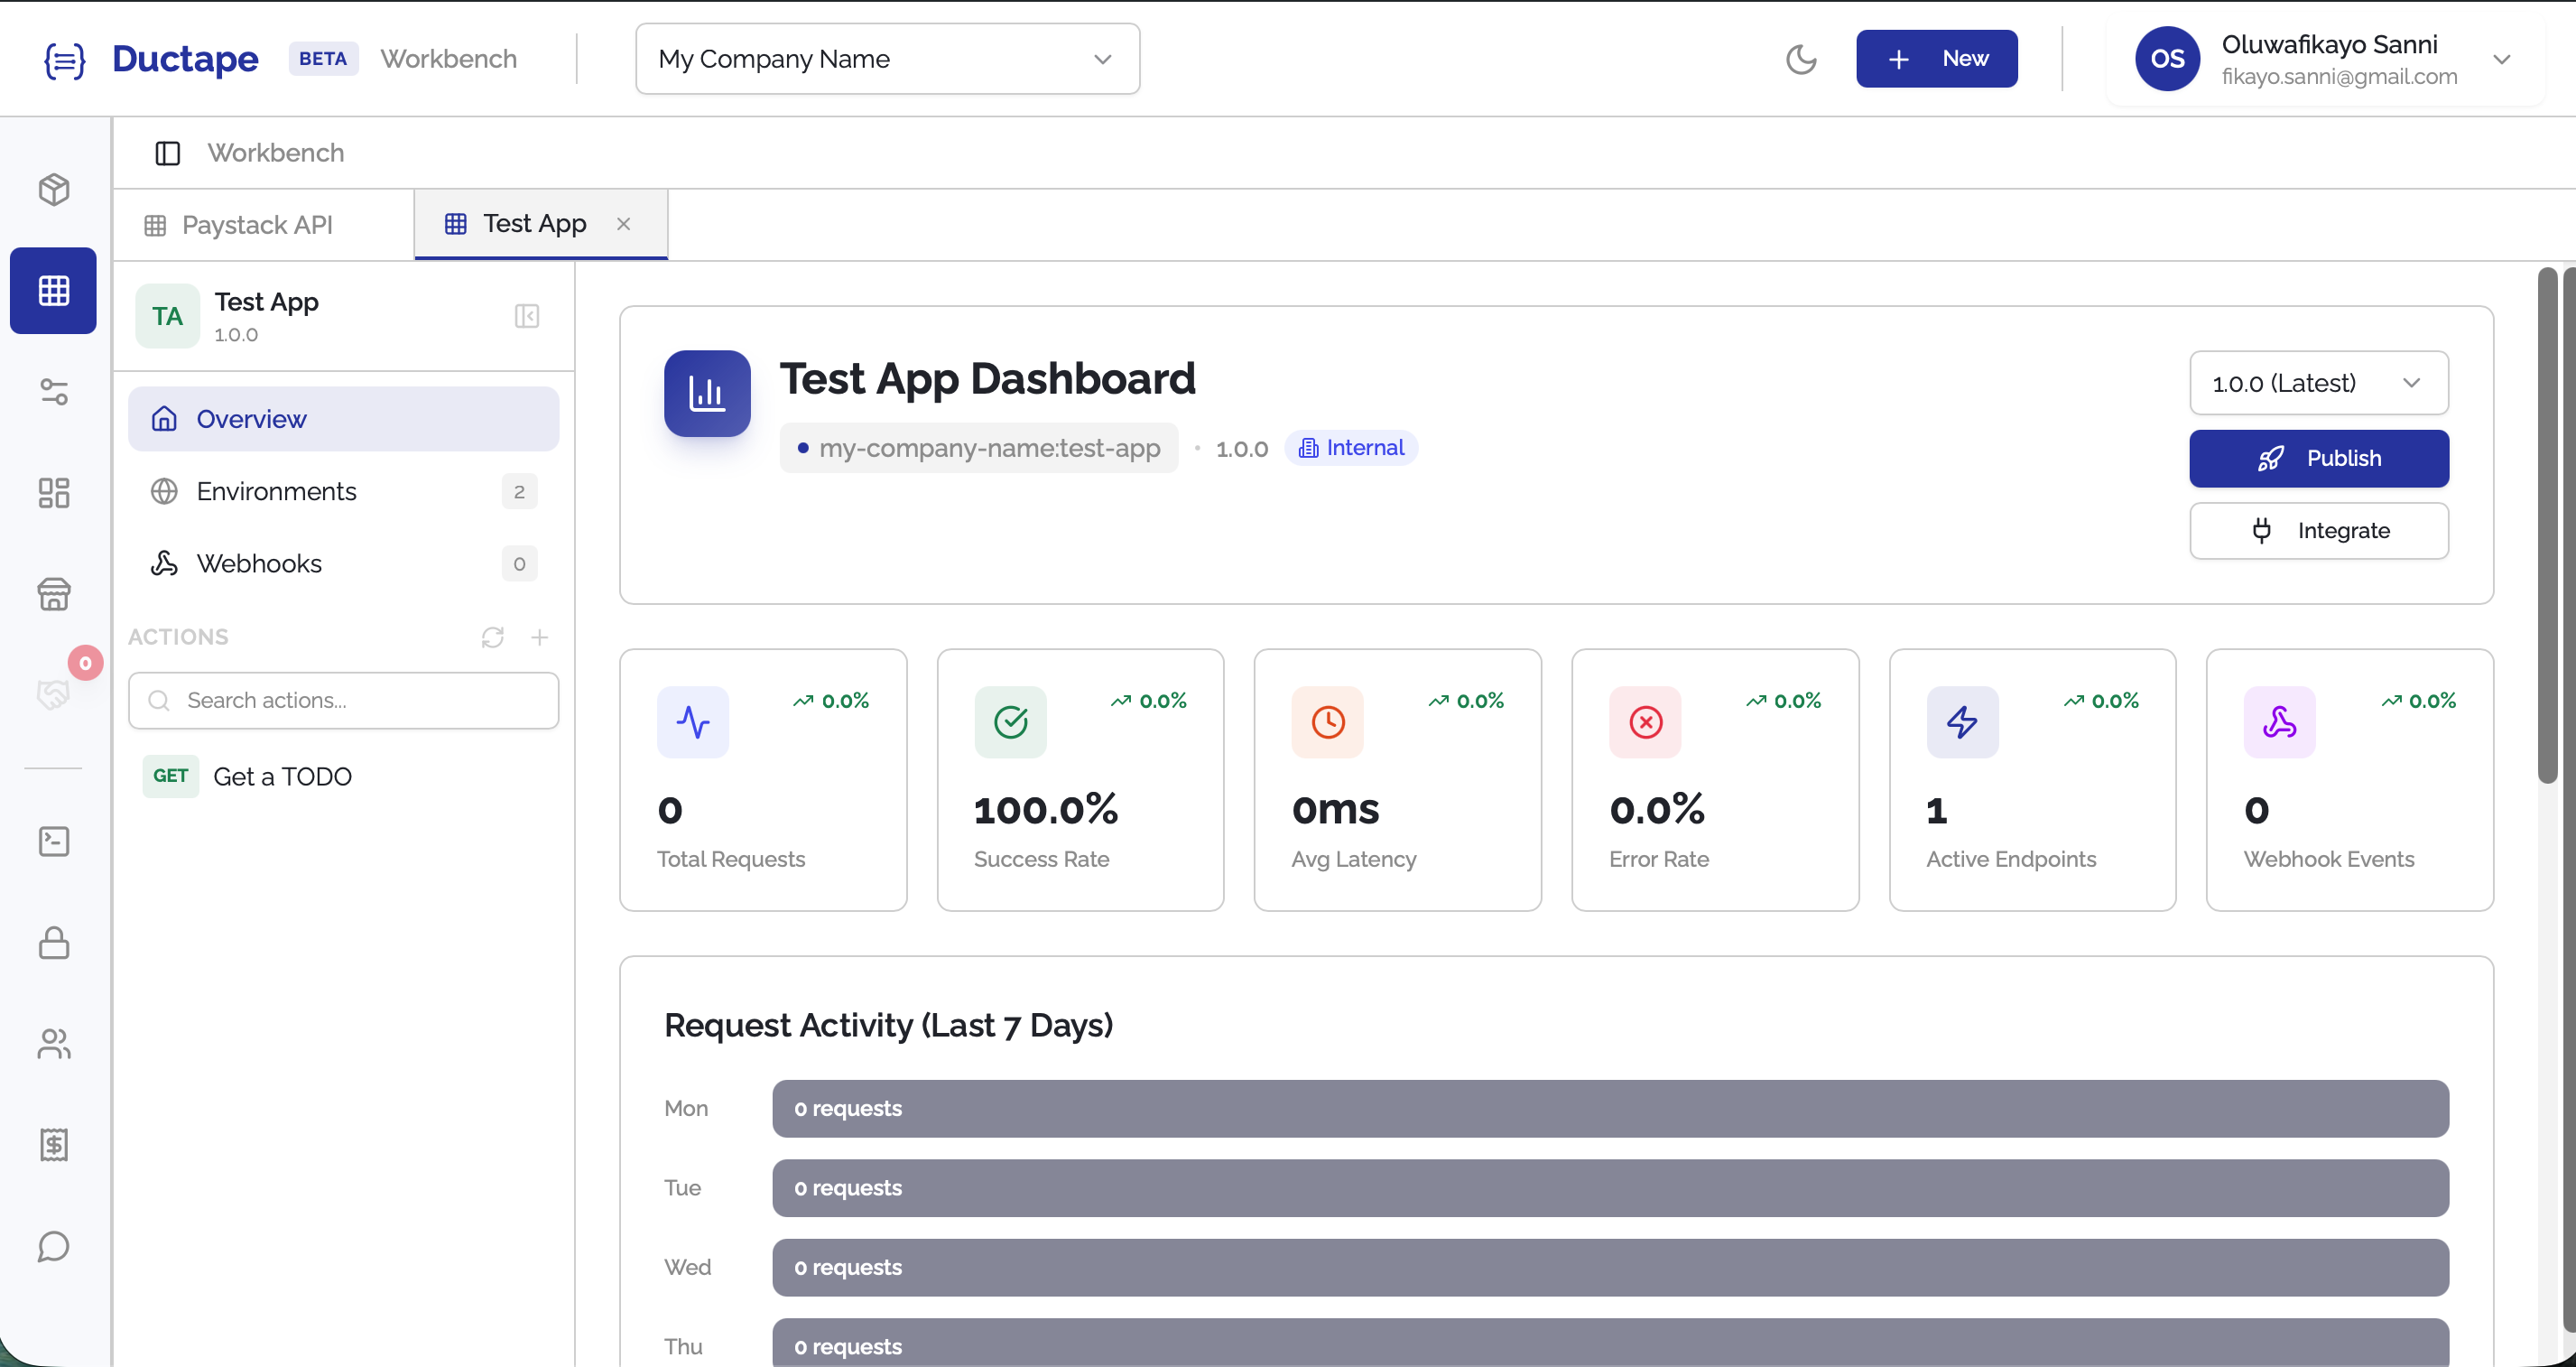
Step 1: Click "+ New"
- In the top navigation bar, click the + New button.
- A dropdown menu will appear showing a list of assets that can be created.

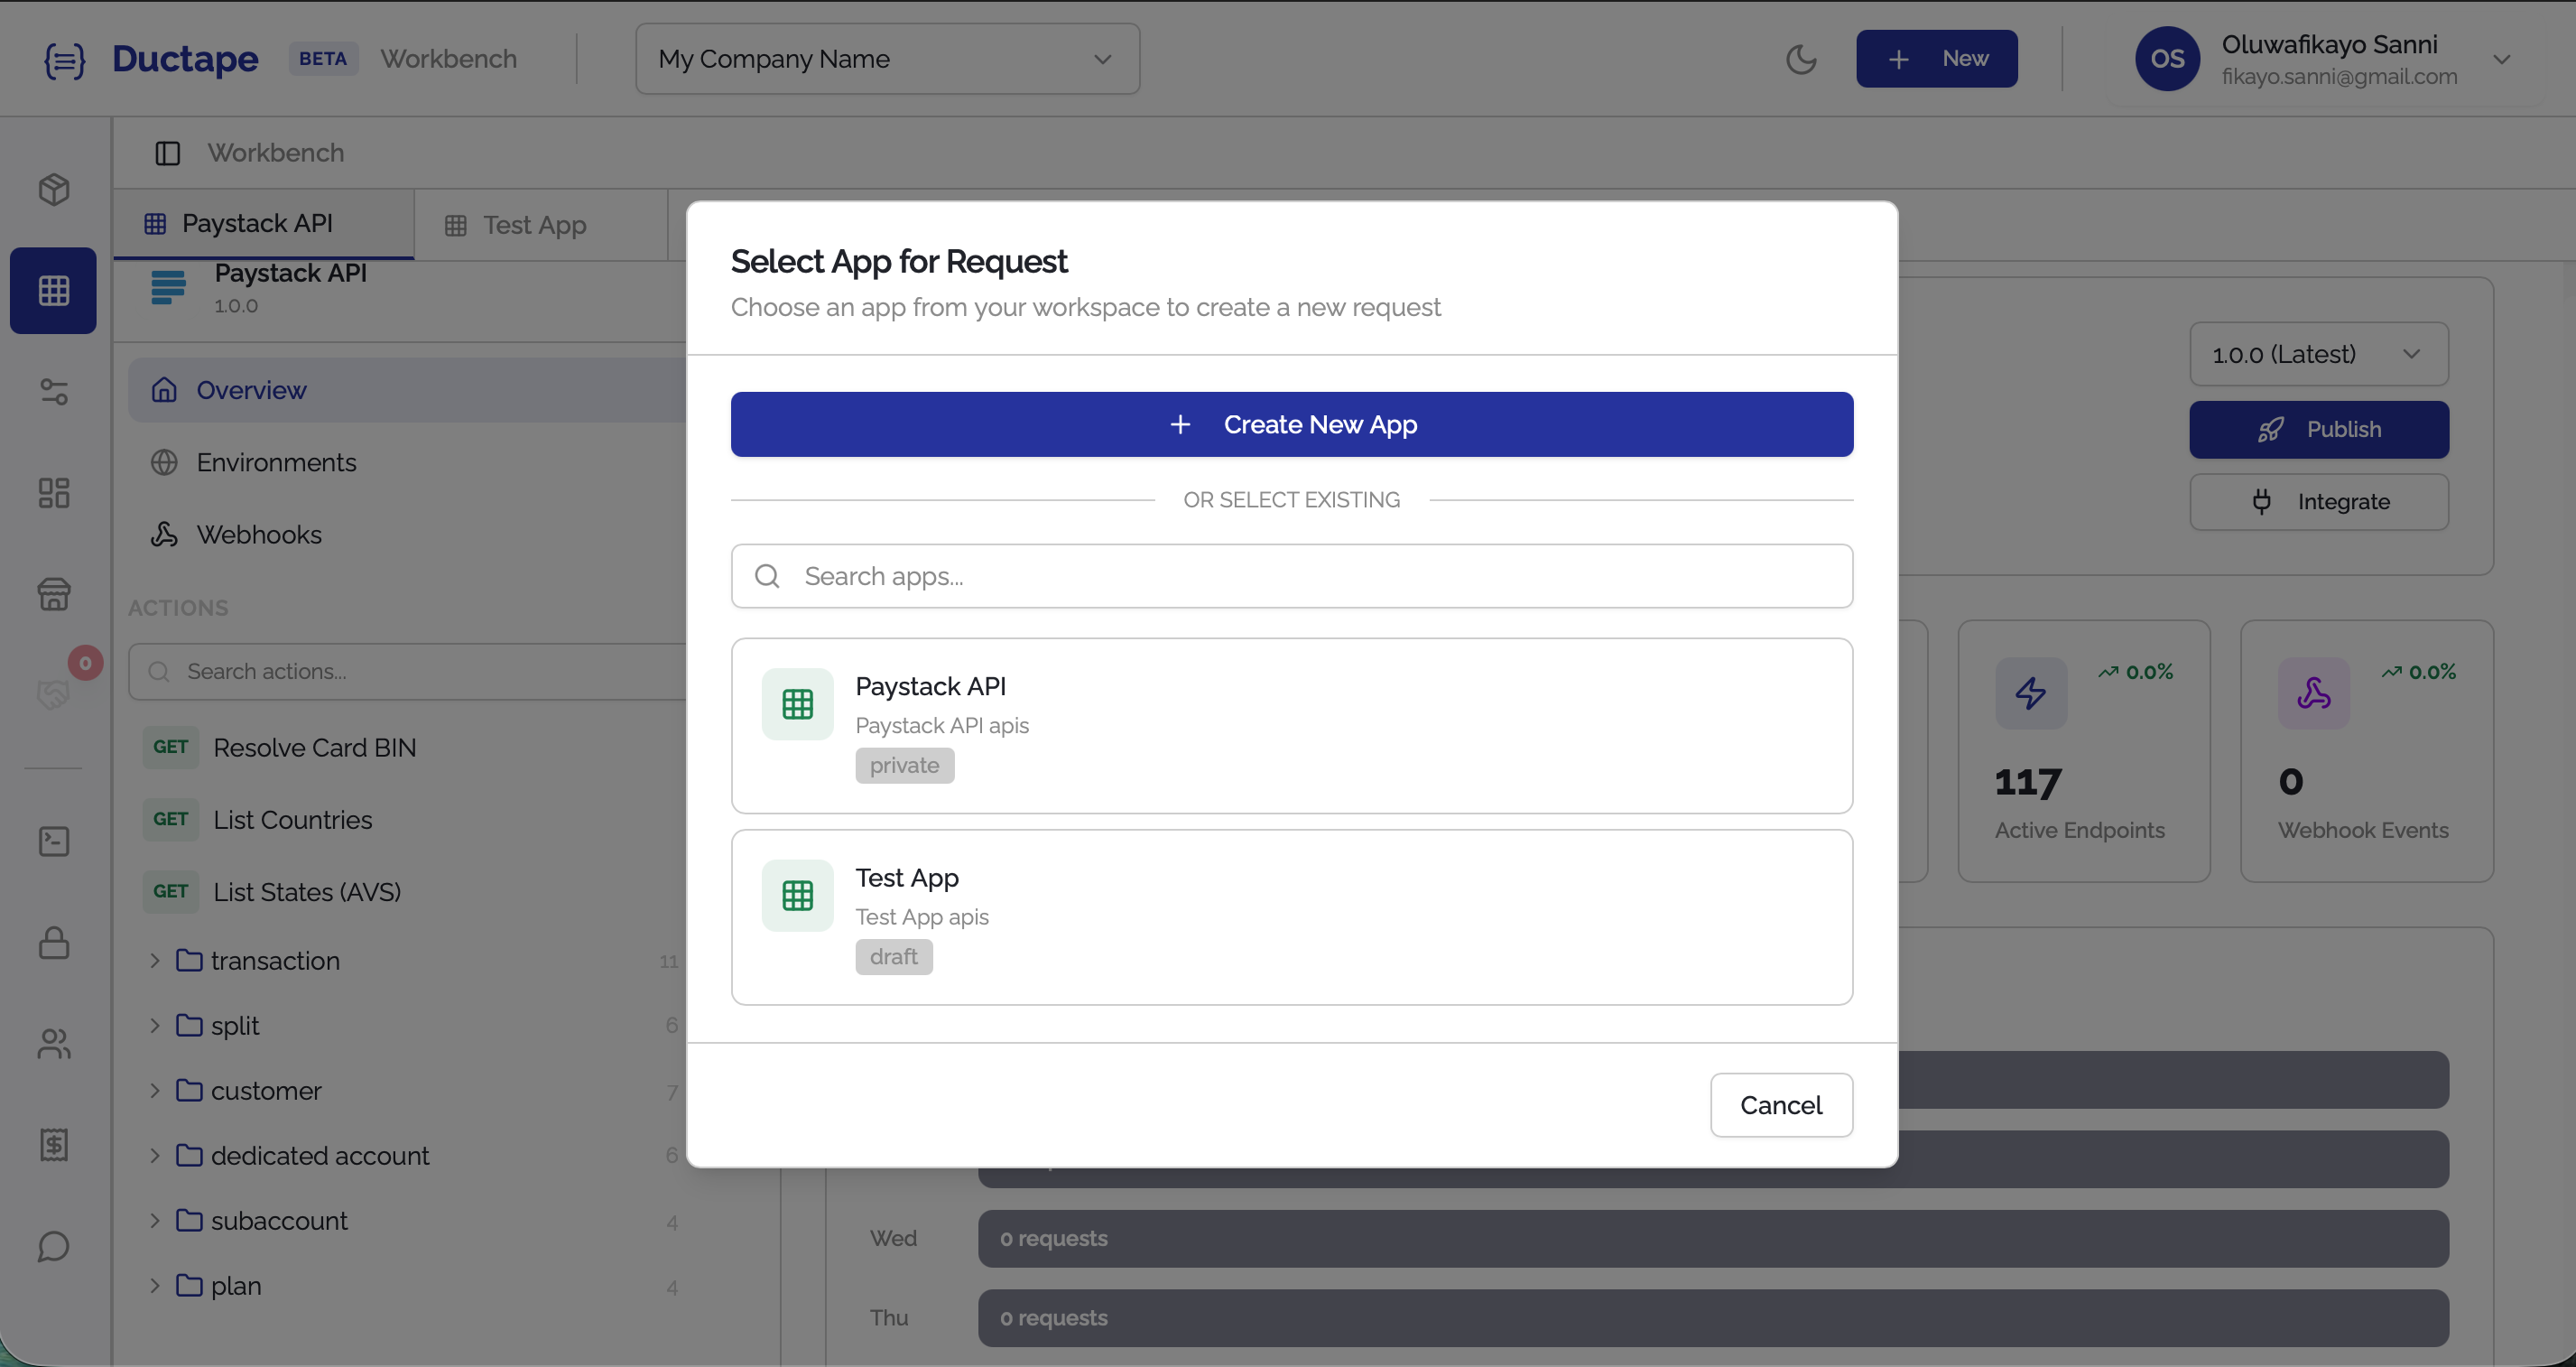
Step 2: Select "Request"
- From the dropdown list, click Request.
- You will be prompted to choose where the request should be saved.
Options include:
- Select an existing App
- Create a new App
Step 3: Open the New Request Screen
- After selecting an app, the New Request screen will appear.
- Paste the API endpoint URL into the URL field.
Example:
https://jsonplaceholder.typicode.com/todos/1
- Click Send to execute the request and view the response.

Step 4: Save the Request
- After receiving a response, click the Save button.
- A modal will appear asking for additional information.
Fill in the following fields:
| Field | Description |
|---|---|
| Name | Human-readable name for the request |
| Tag | Auto-generated unique identifier (editable) |
| Description | Optional explanation of the request |
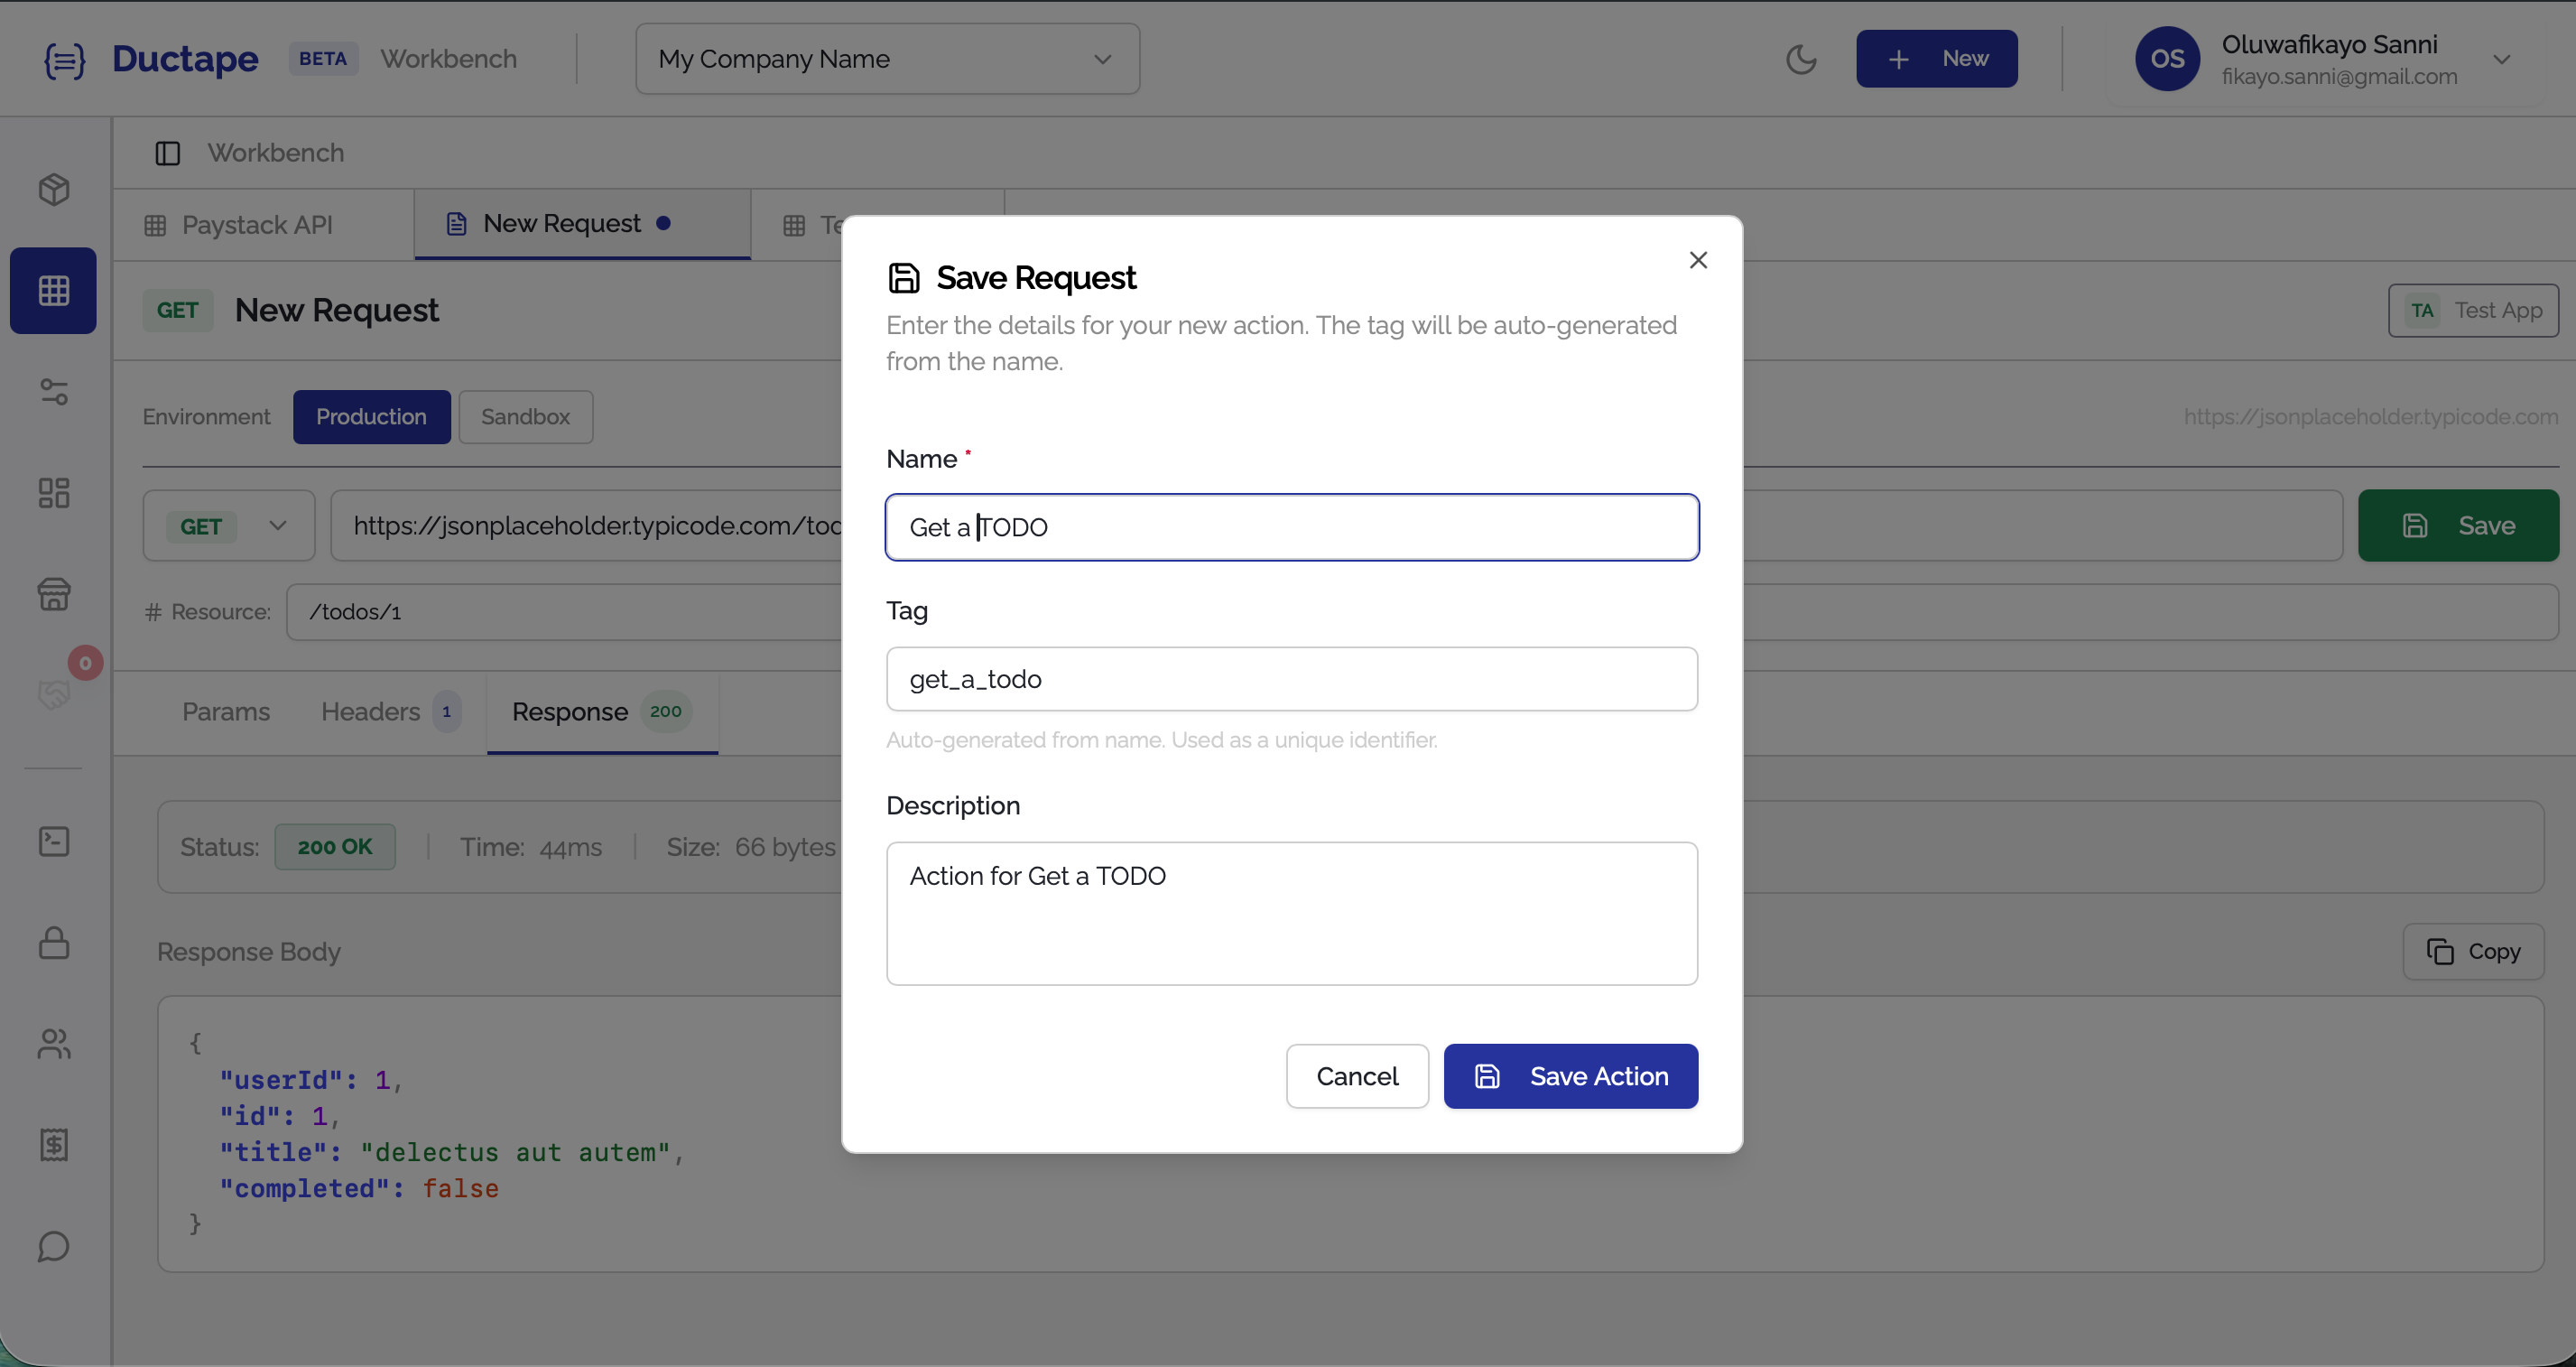
Step 5: Save the Action
- Click Save Action.
- Once saved successfully, you will be redirected to the App's Actions tab where the new request appears in the list.