Quickstart: A Paystack Integration with Ductape
Ductape makes it easy to connect, manage, and automate third-party services like Paystack. This quickstart will guide you through setting up a Paystack integration using Ductape, from dashboard setup to writing code in your IDE.
Setting Up on Ductape
1. Sign Up or Log In
- Go to cloud.ductape.app and sign up or log in (Google sign-in supported).
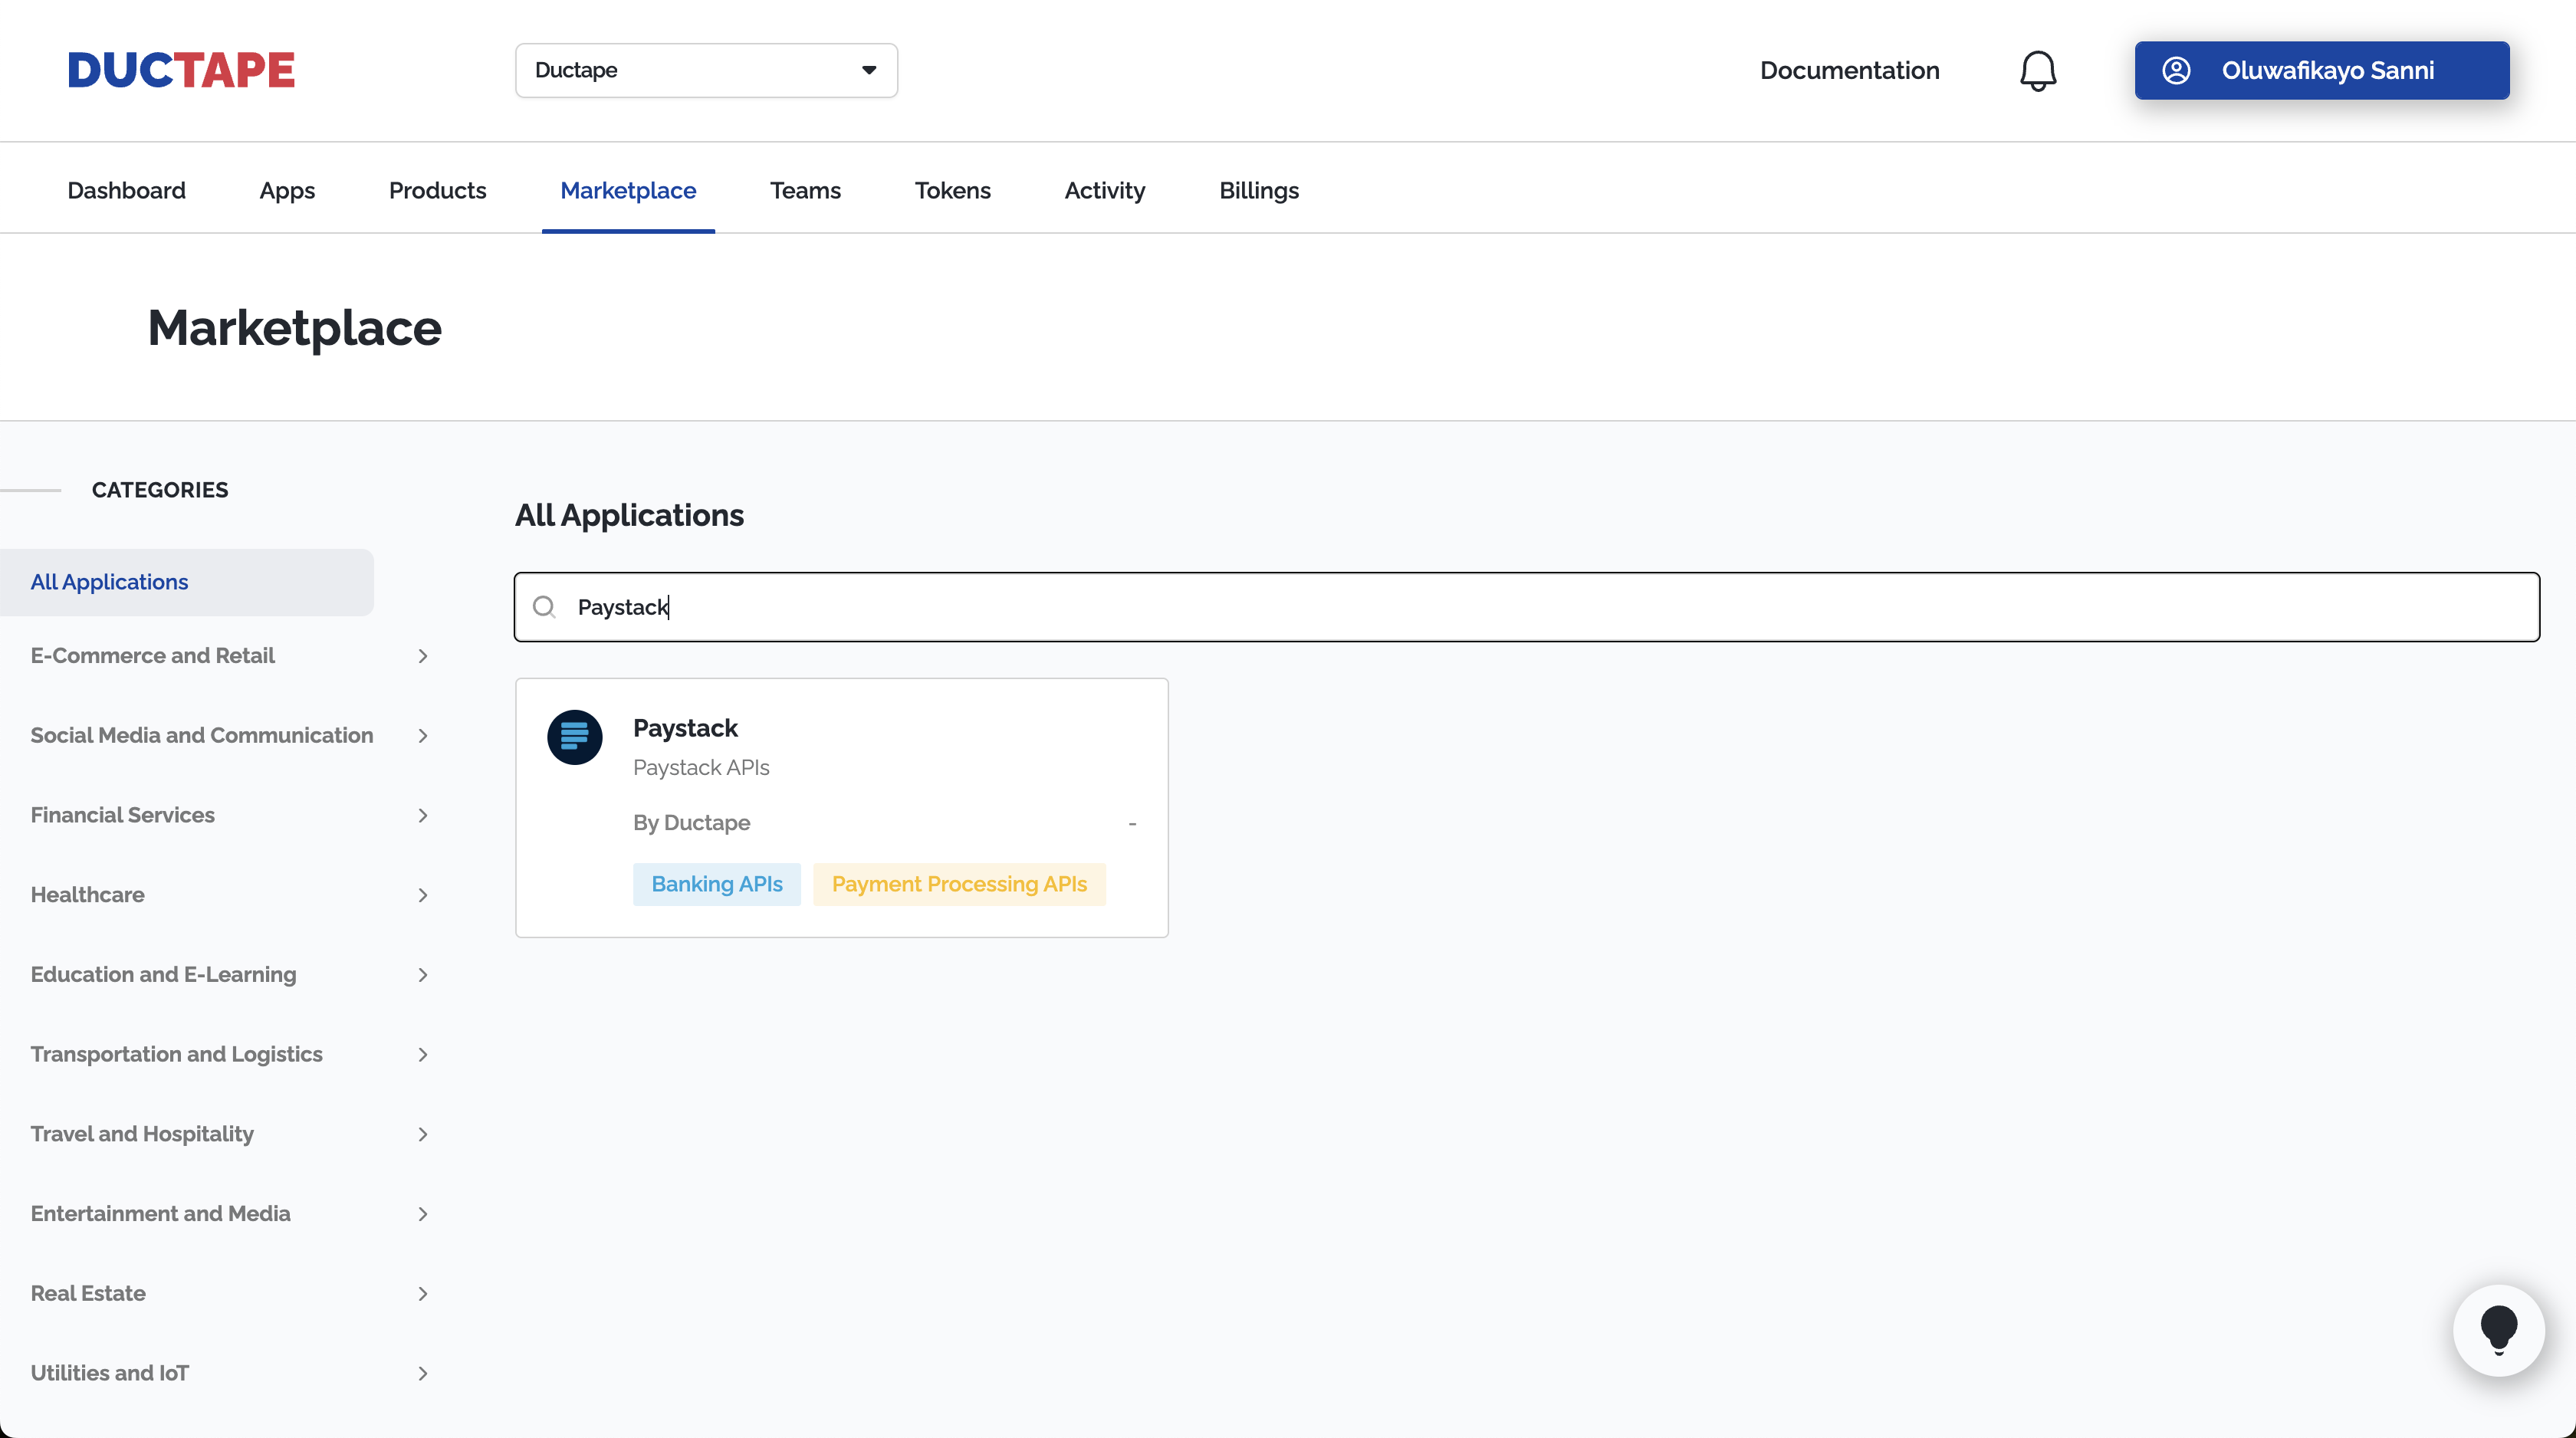
2. Look for Paystack APIs in the Marketplace
- Once logged in, you’ll land on your dashboard. Click on Marketplace in the top menu.
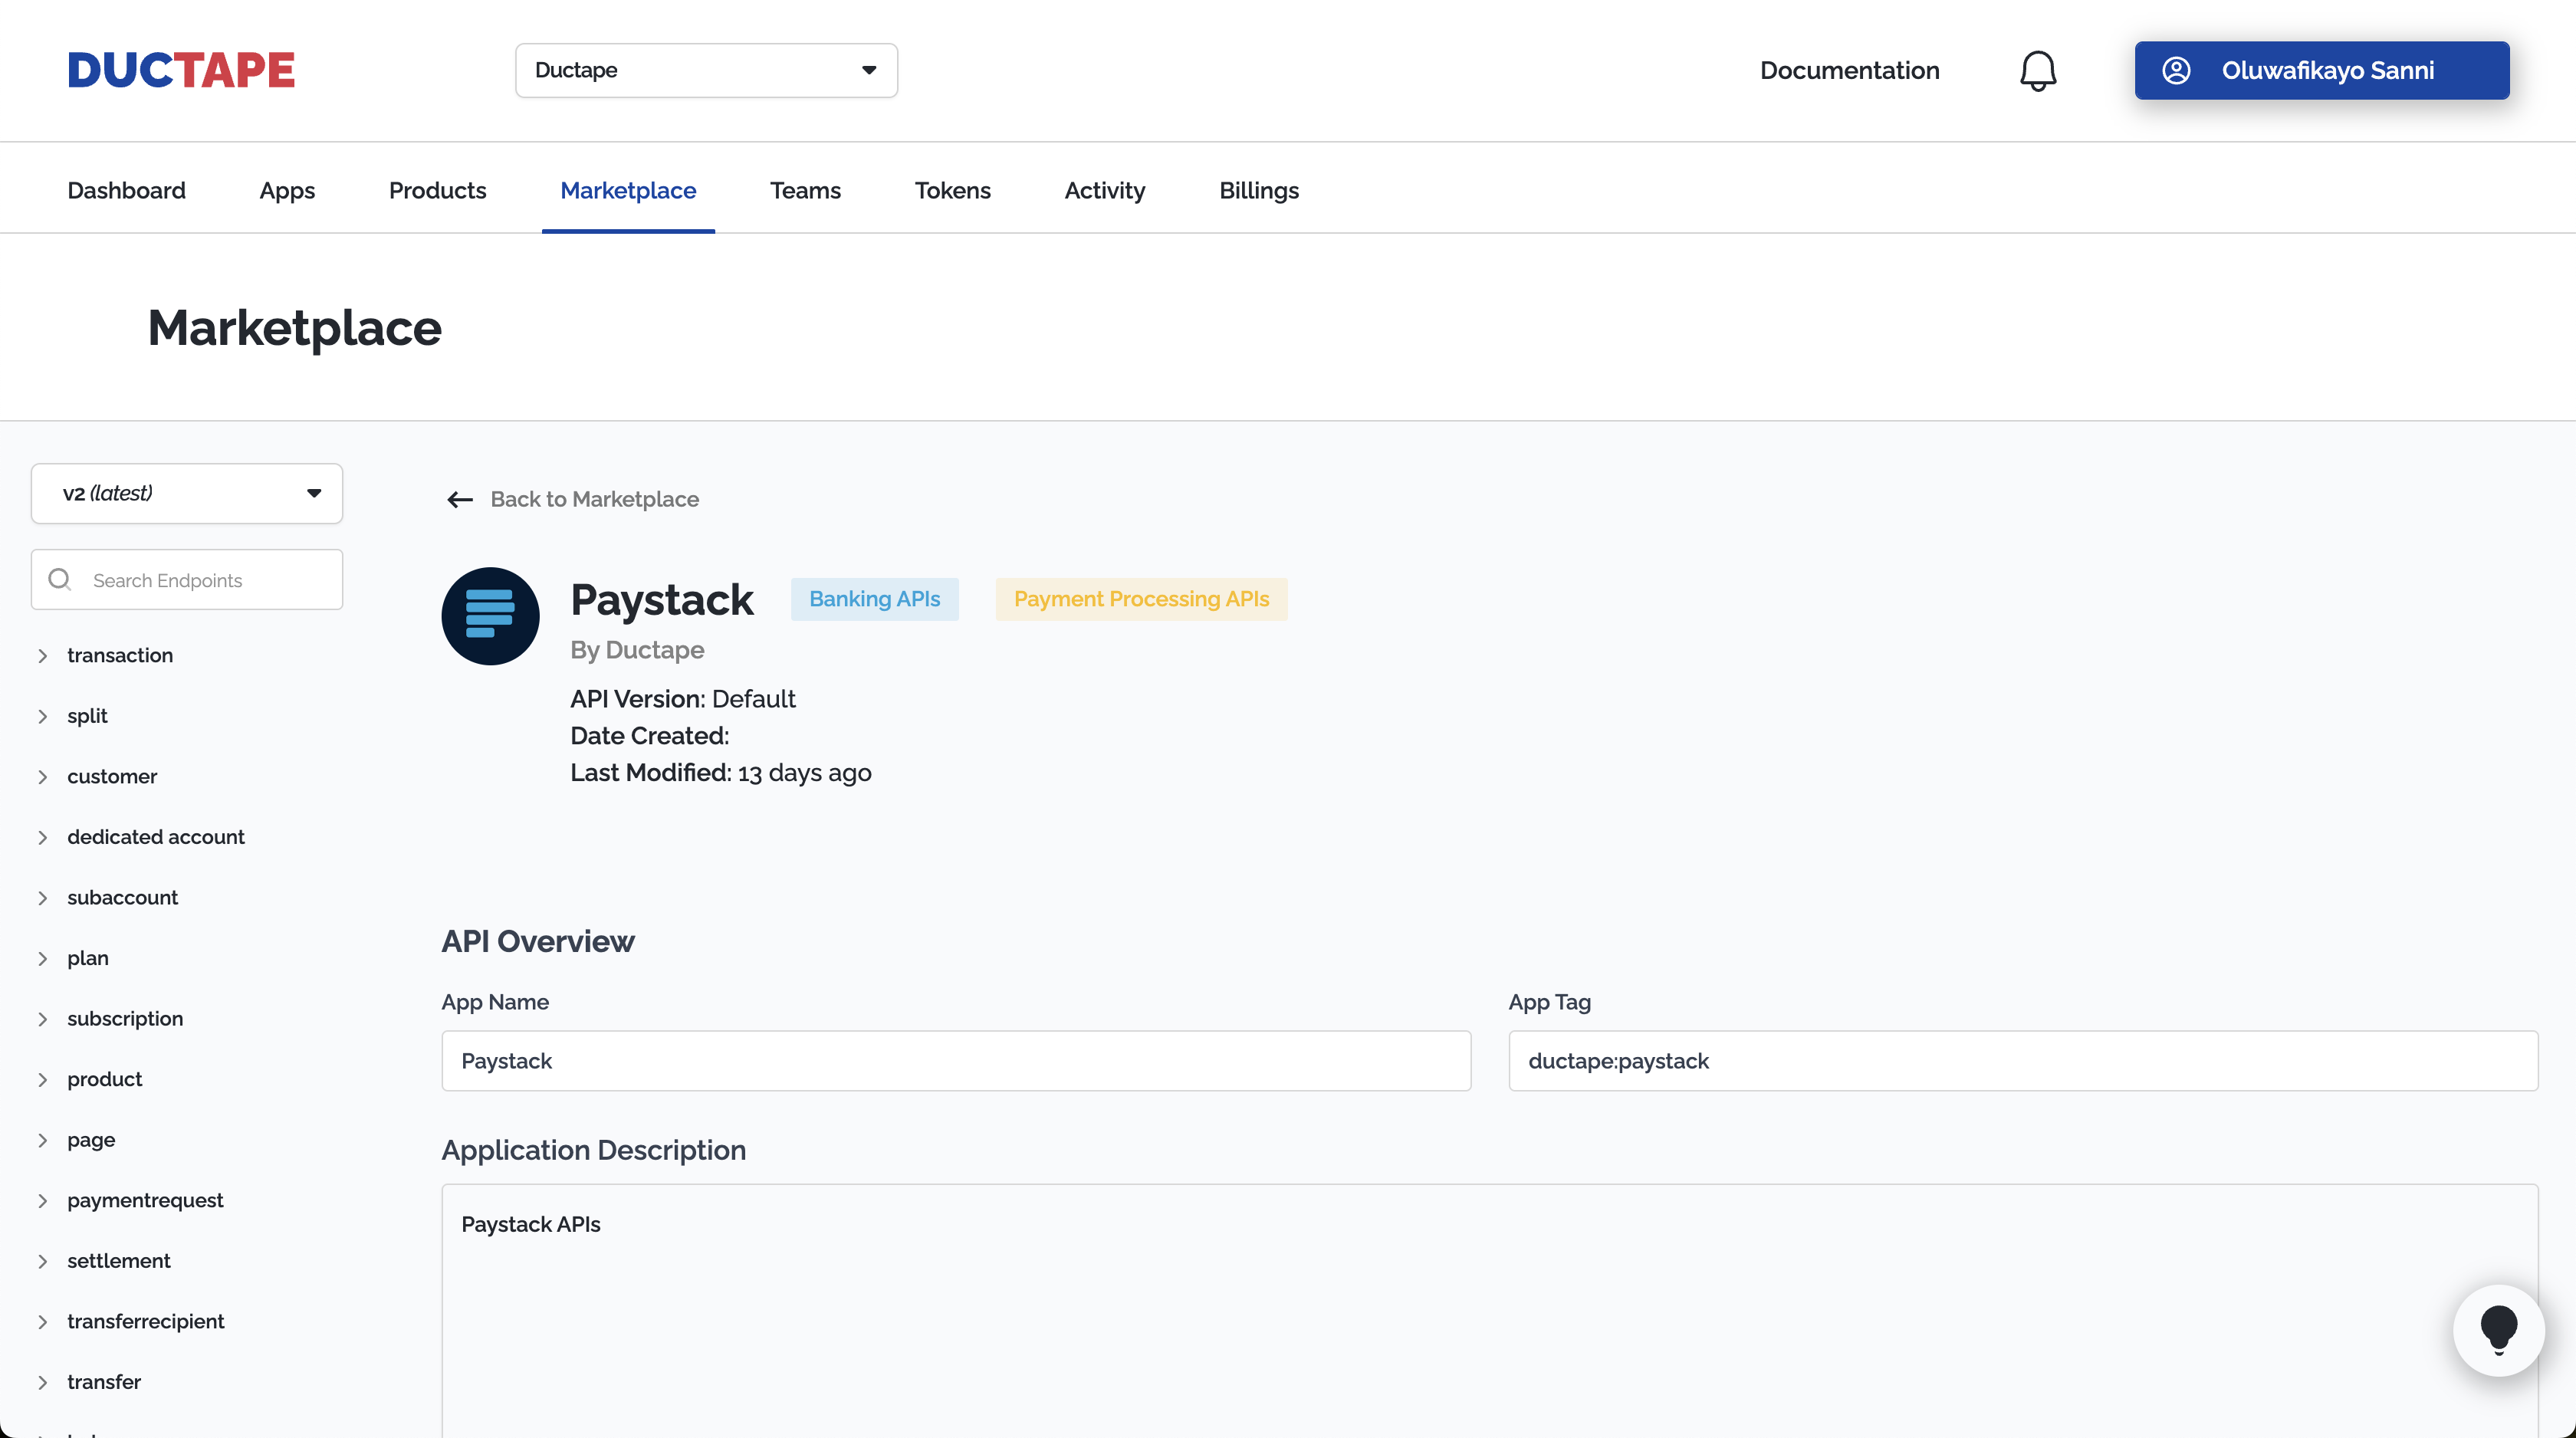
3. Copy Your App Tag
- On the Paystack app page, locate your App Tag. Copy it and store it somewhere safe you’ll need it in your code.
4. Get Your Ductape Credentials
- Click the Tokens button at the top of the page.
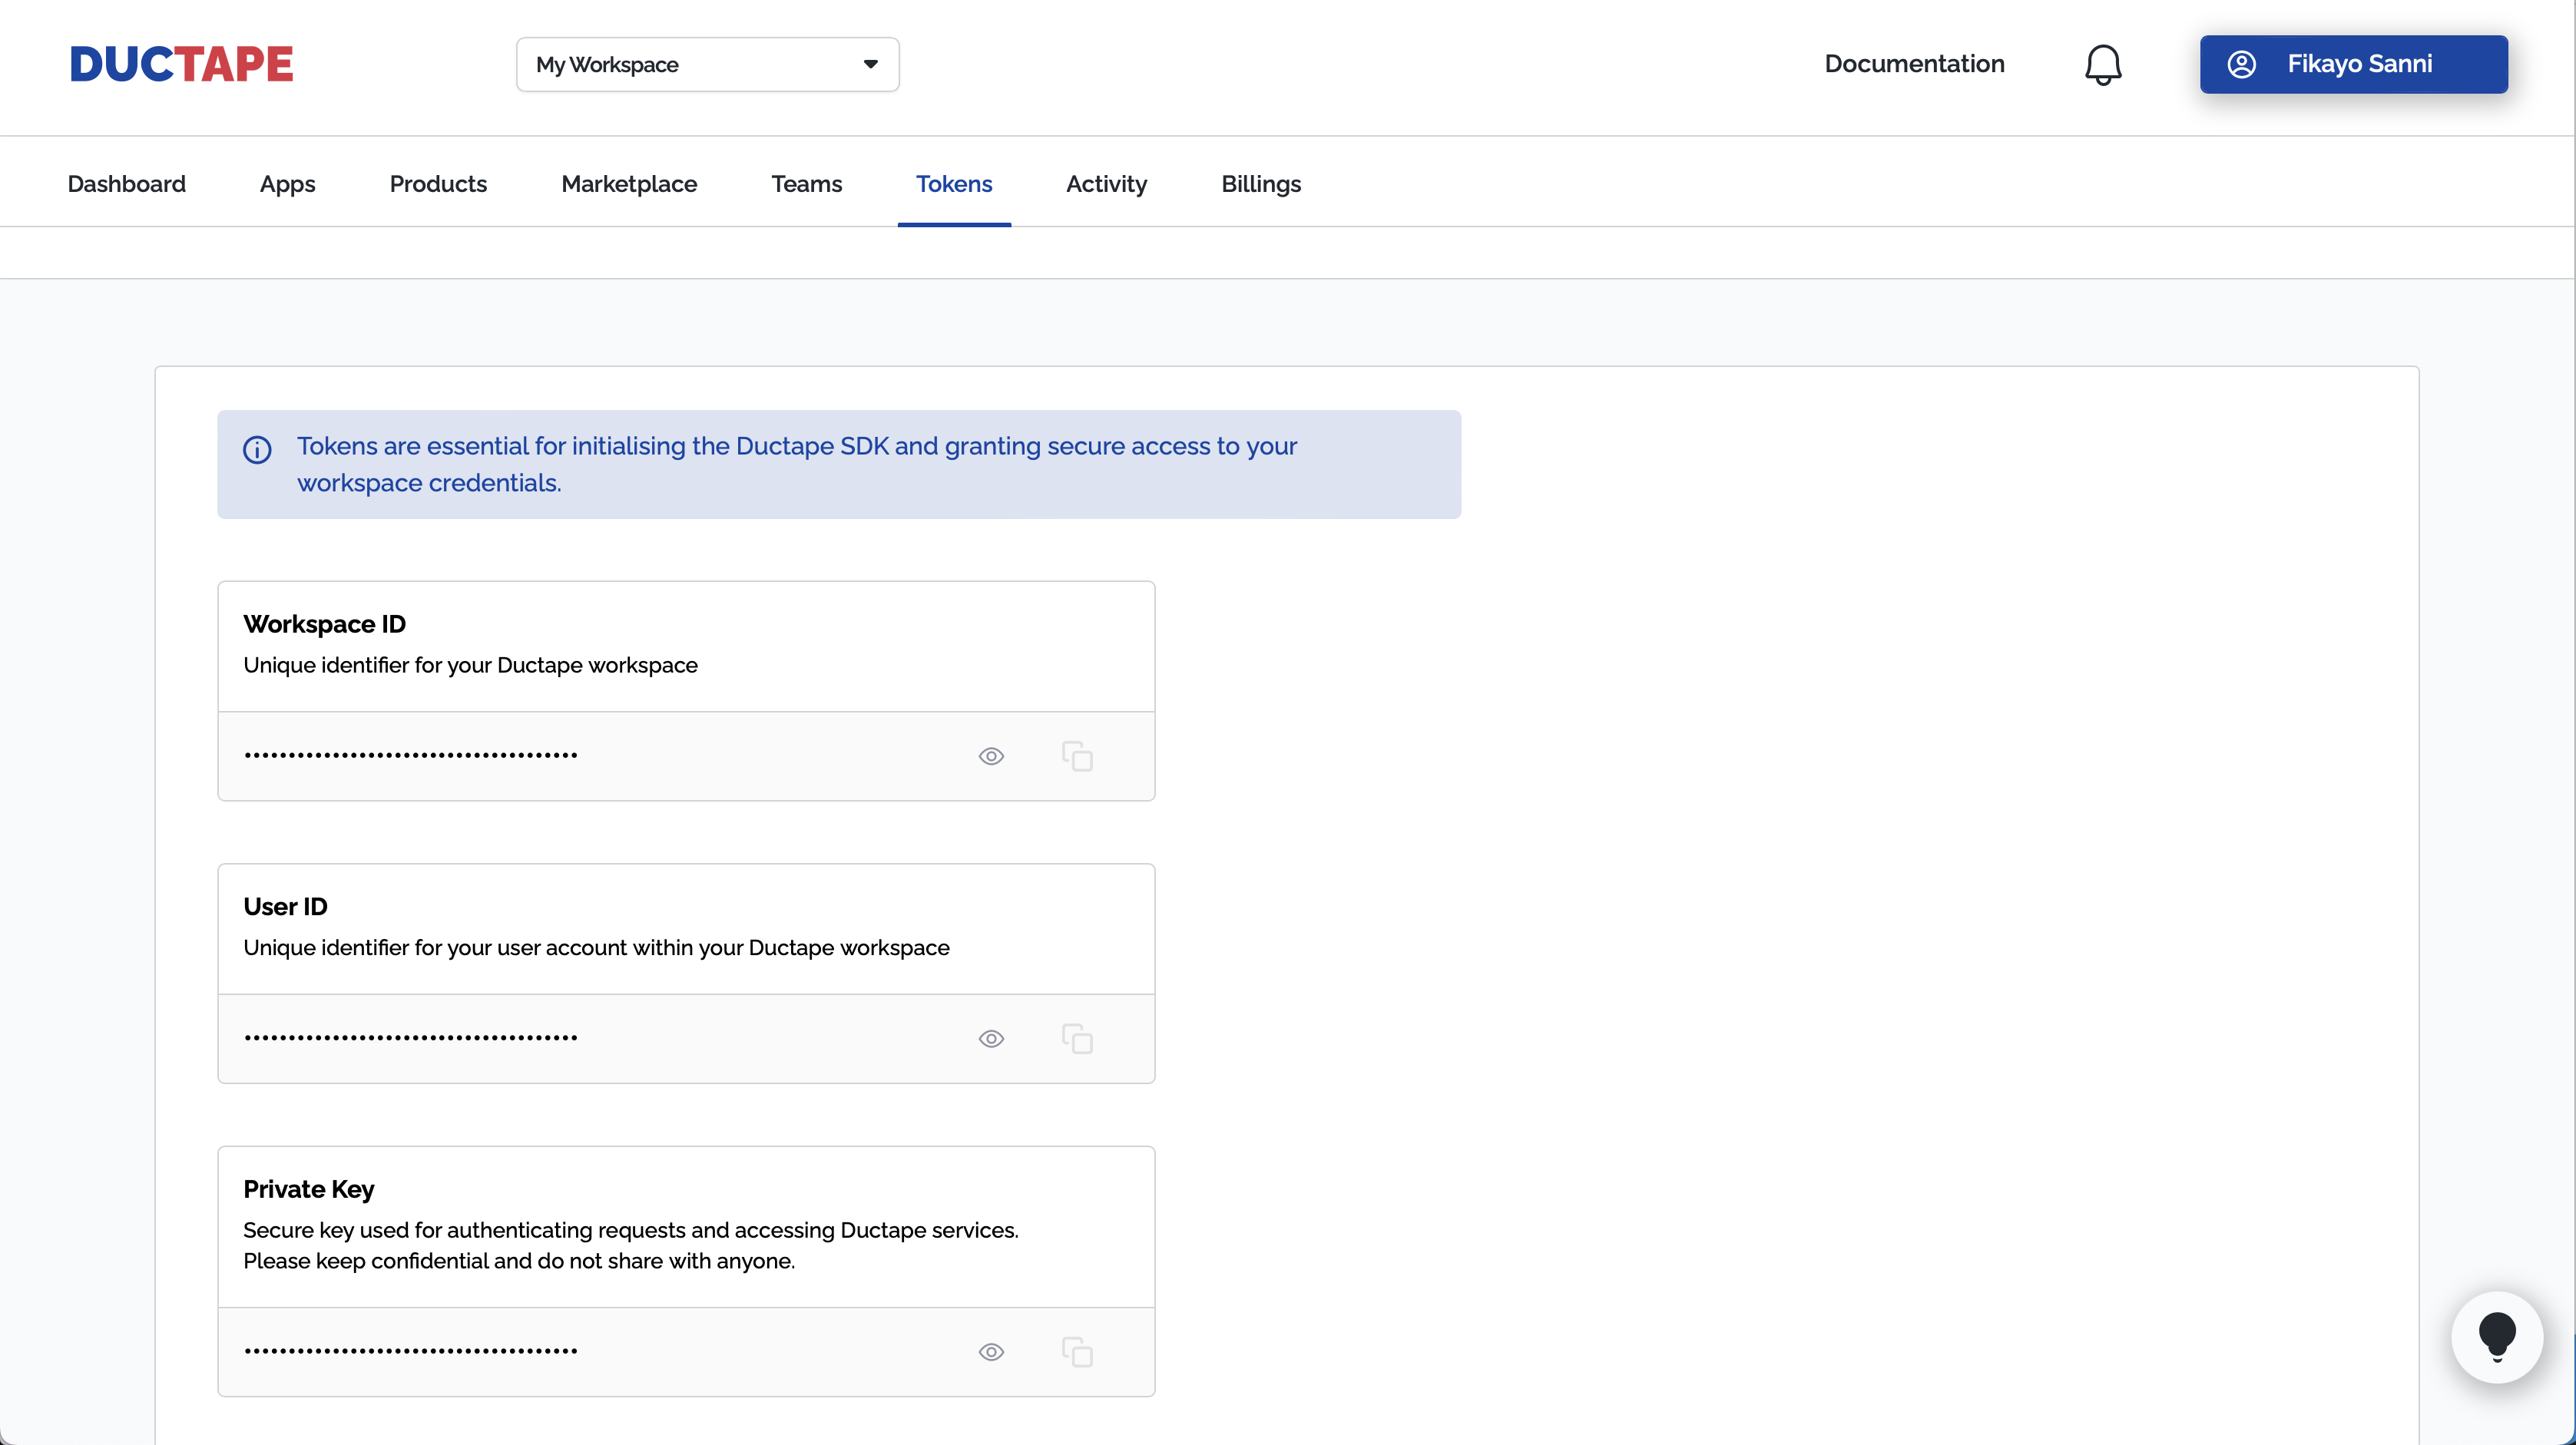
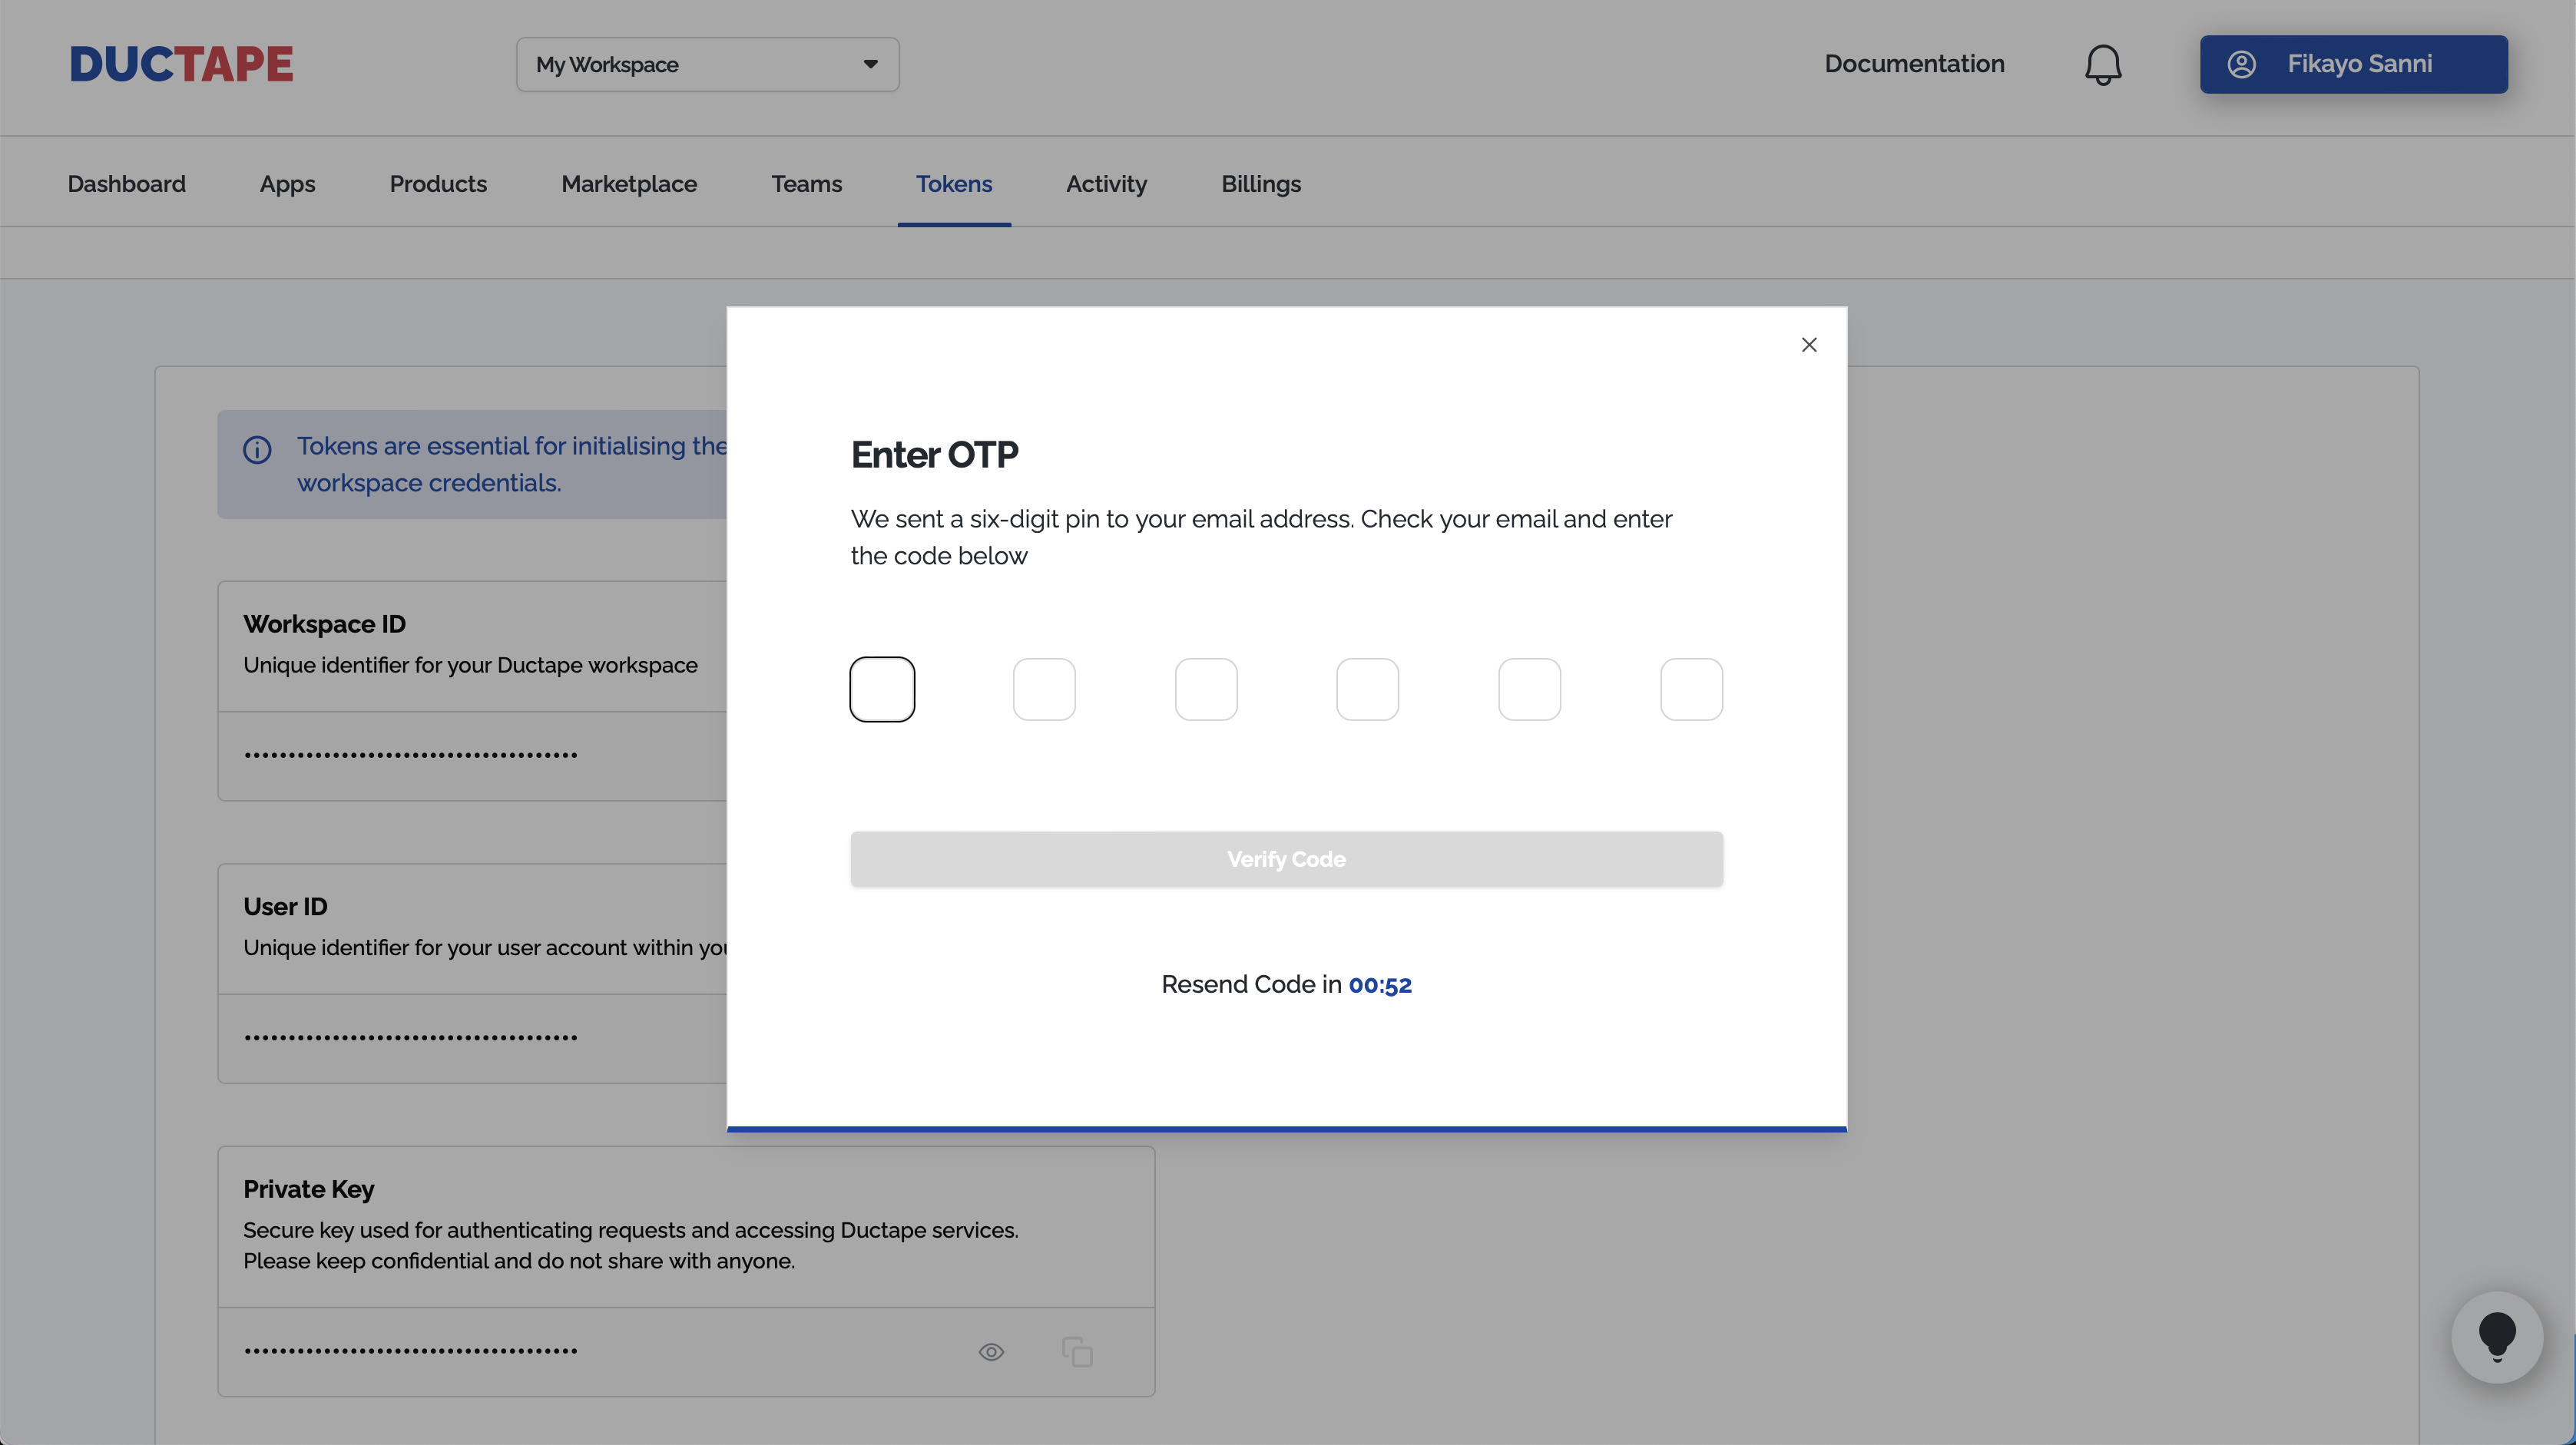
- Click the eye icon to reveal your credentials. An OTP will be sent to your email enter it in the prompt to view your Ductape credentials.
- Copy and store your credentials securely. You'll need your
accessKey.
Set Up in Your IDE
Let’s create a new Node.js project and connect it to Ductape and Paystack. You can find the code here **Github
1. Create a New Project
mkdir integrations
cd integrations
npm init -y # optional, initializes package.json
2. Install Dependencies
npm install @ductape/sdk
npm install dotenv # optional, for environment variables
npm install typescript
npm install ts-node
3. Project Structure
Create a src folder and subfolders for your code:
mkdir src

mkdir src/apps
4. Some extra setups
Create a file called tsconfig.json and add the following:
{
  "compilerOptions": {
    "module": "commonjs",
    "target": "es2017",
    "sourceMap": true,
    "outDir": "./dist",
    "noImplicitAny": true,
    "declaration": true
  },
  "include": ["src/*/", "node_modules/app.ts"],
  "exclude": ["node_modules"]
}
In your package.json, under scripts add the following command:
"start": "ts-node src/index.ts"
Create a dotenv file and add the following:
DUCTAPE_ACCESS_KEY=

PRODUCT_TAG=

PAYSTACK_APP_TAG=

PAYSTACK_PRIVATE_KEY_SND=
PAYSTACK_PRIVATE_KEY_PRD=
5. Initialize Ductape
Create a file called ductape.ts in the src folder and add the following:
import Ductape from '@ductape/sdk';
import { config } from 'dotenv';

config();

const ductape = new Ductape({
    accessKey: String(process.env.DUCTAPE_ACCESS_KEY),
    redis_url: 'redis://localhost:6379', // optional
});

export default ductape;
What this does: Initializes the Ductape SDK with your credentials and (optionally) a Redis URL for caching.
6 Create a Product
A Product in Ductape is where you manage an integration.
You connect one or more Apps to a Product, and Ductape lets you call their endpoints like functions in your code.
- Click on Products in the top menu.
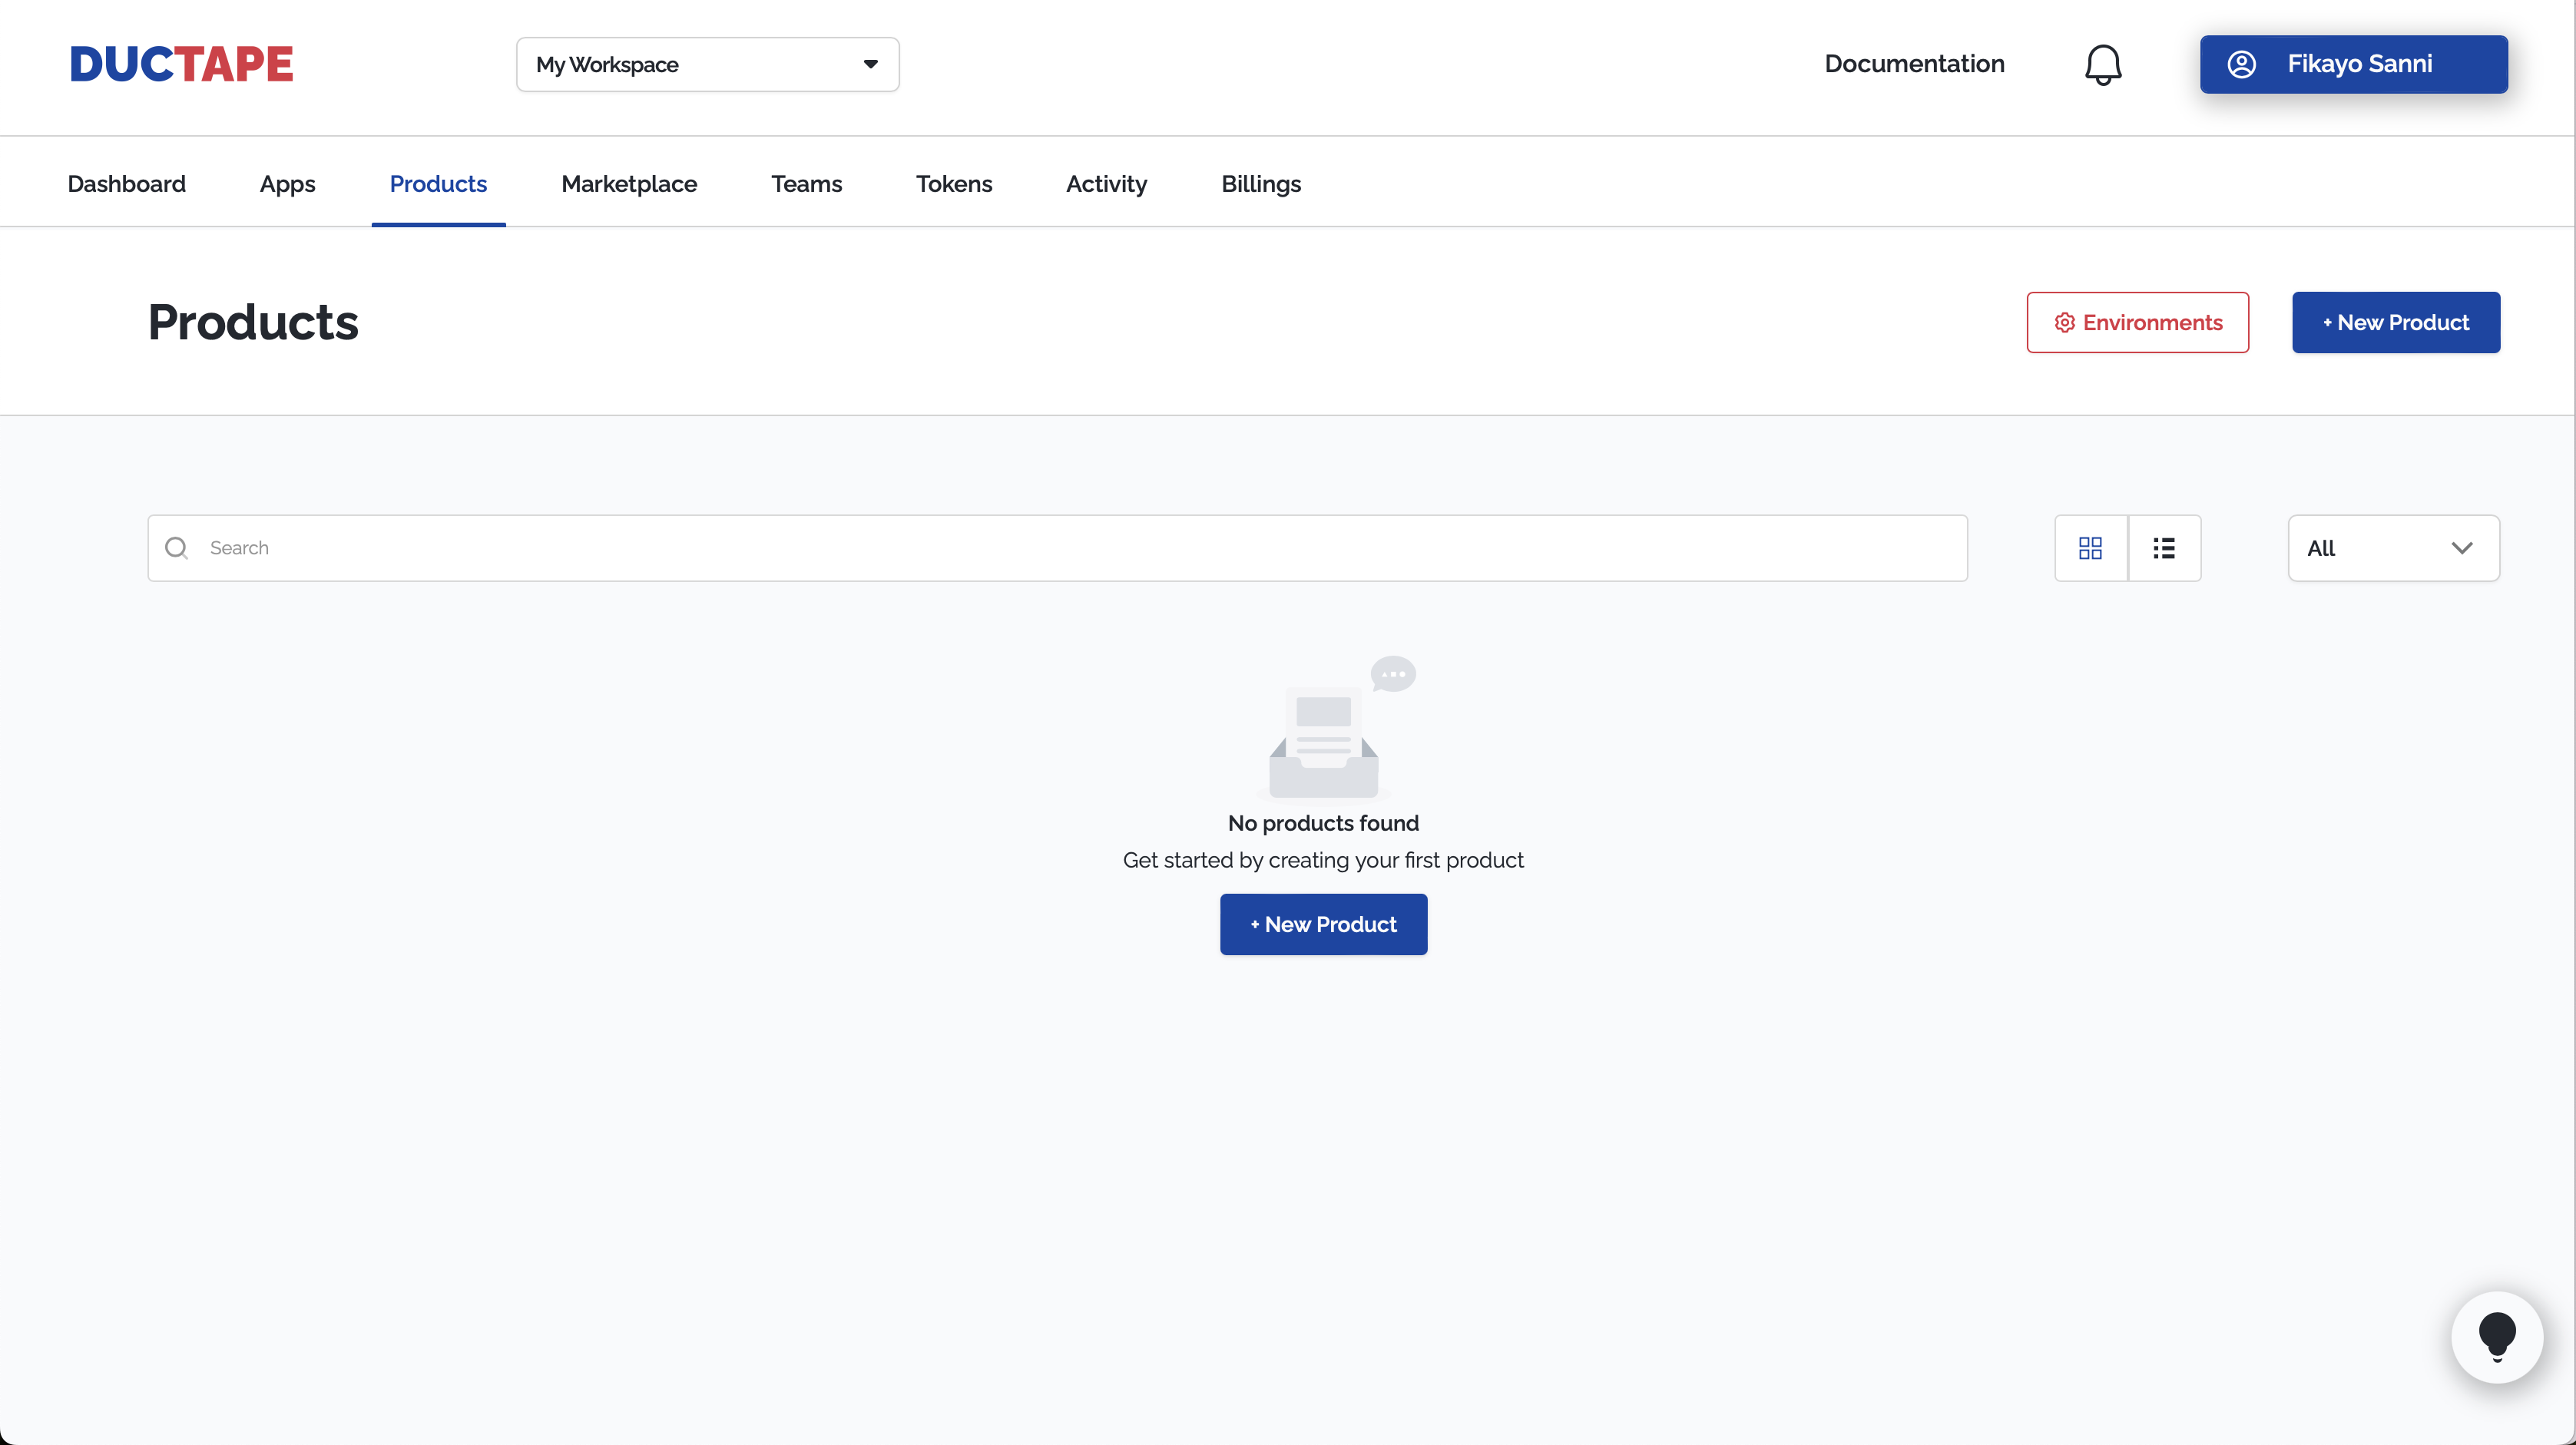
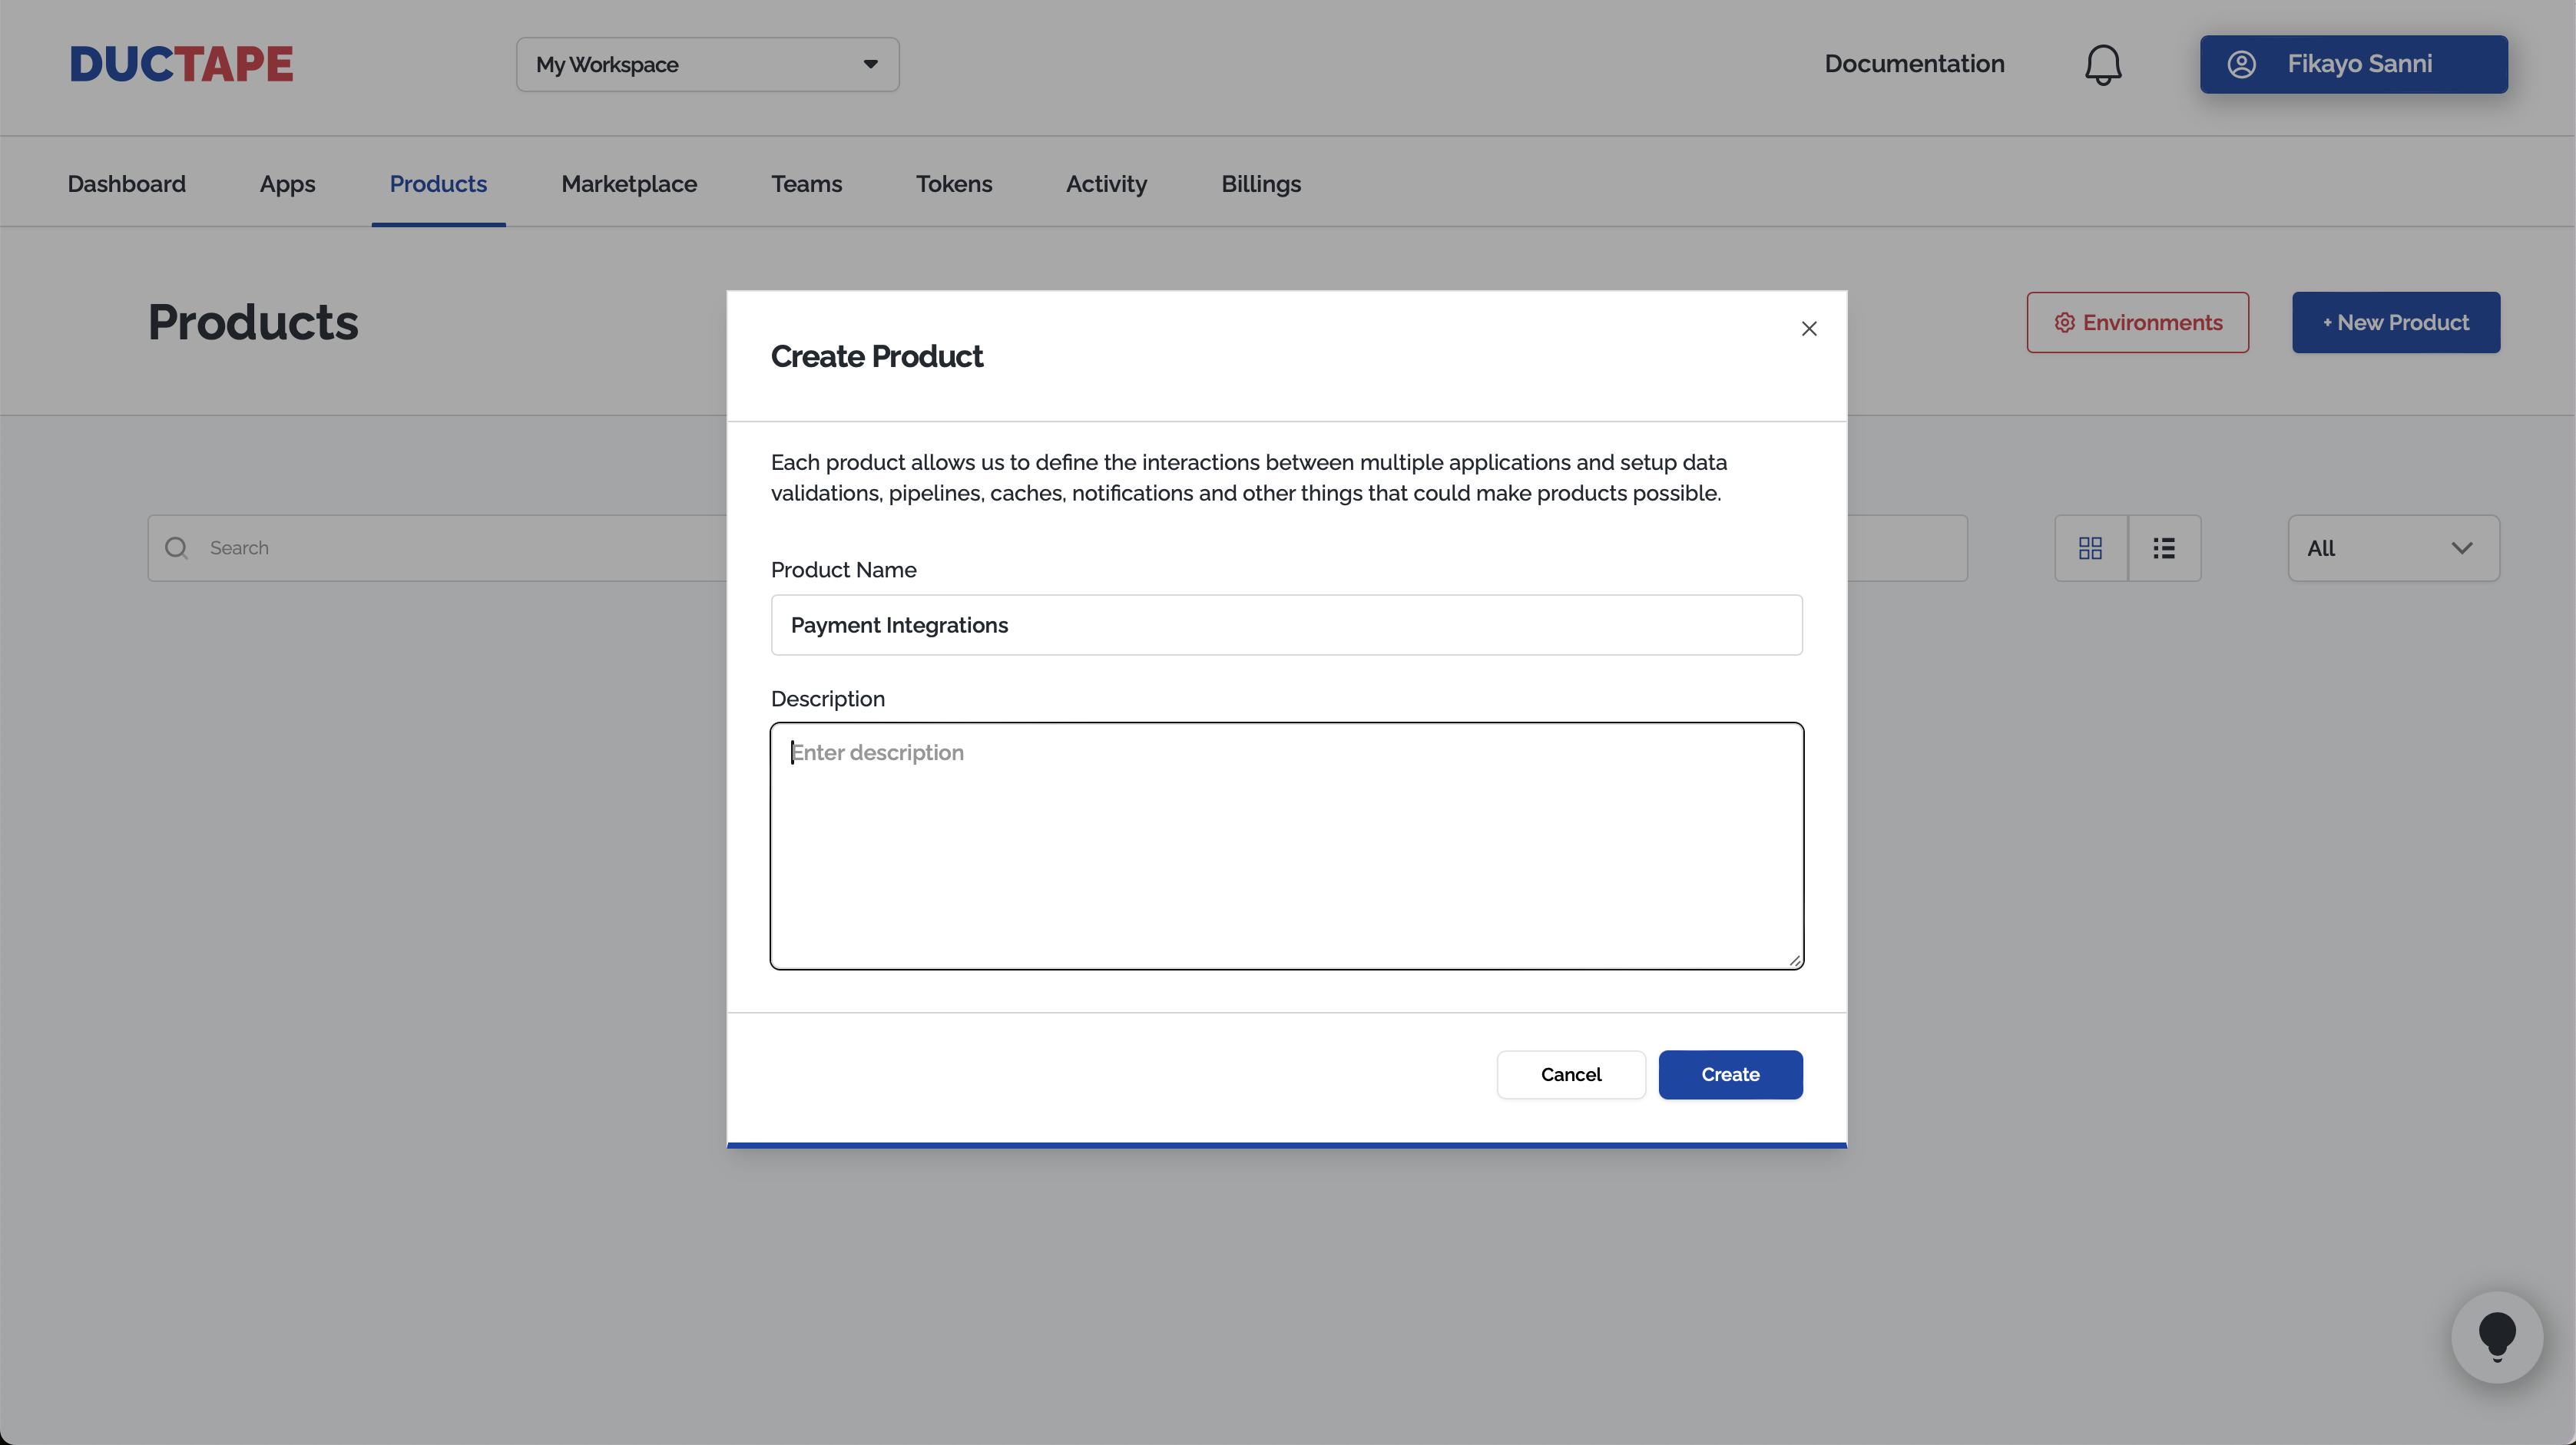
- Click on the +New Product Button and fill out the product information
- Open the product by clicking on it, then copy the product tag on the side menu to copy it
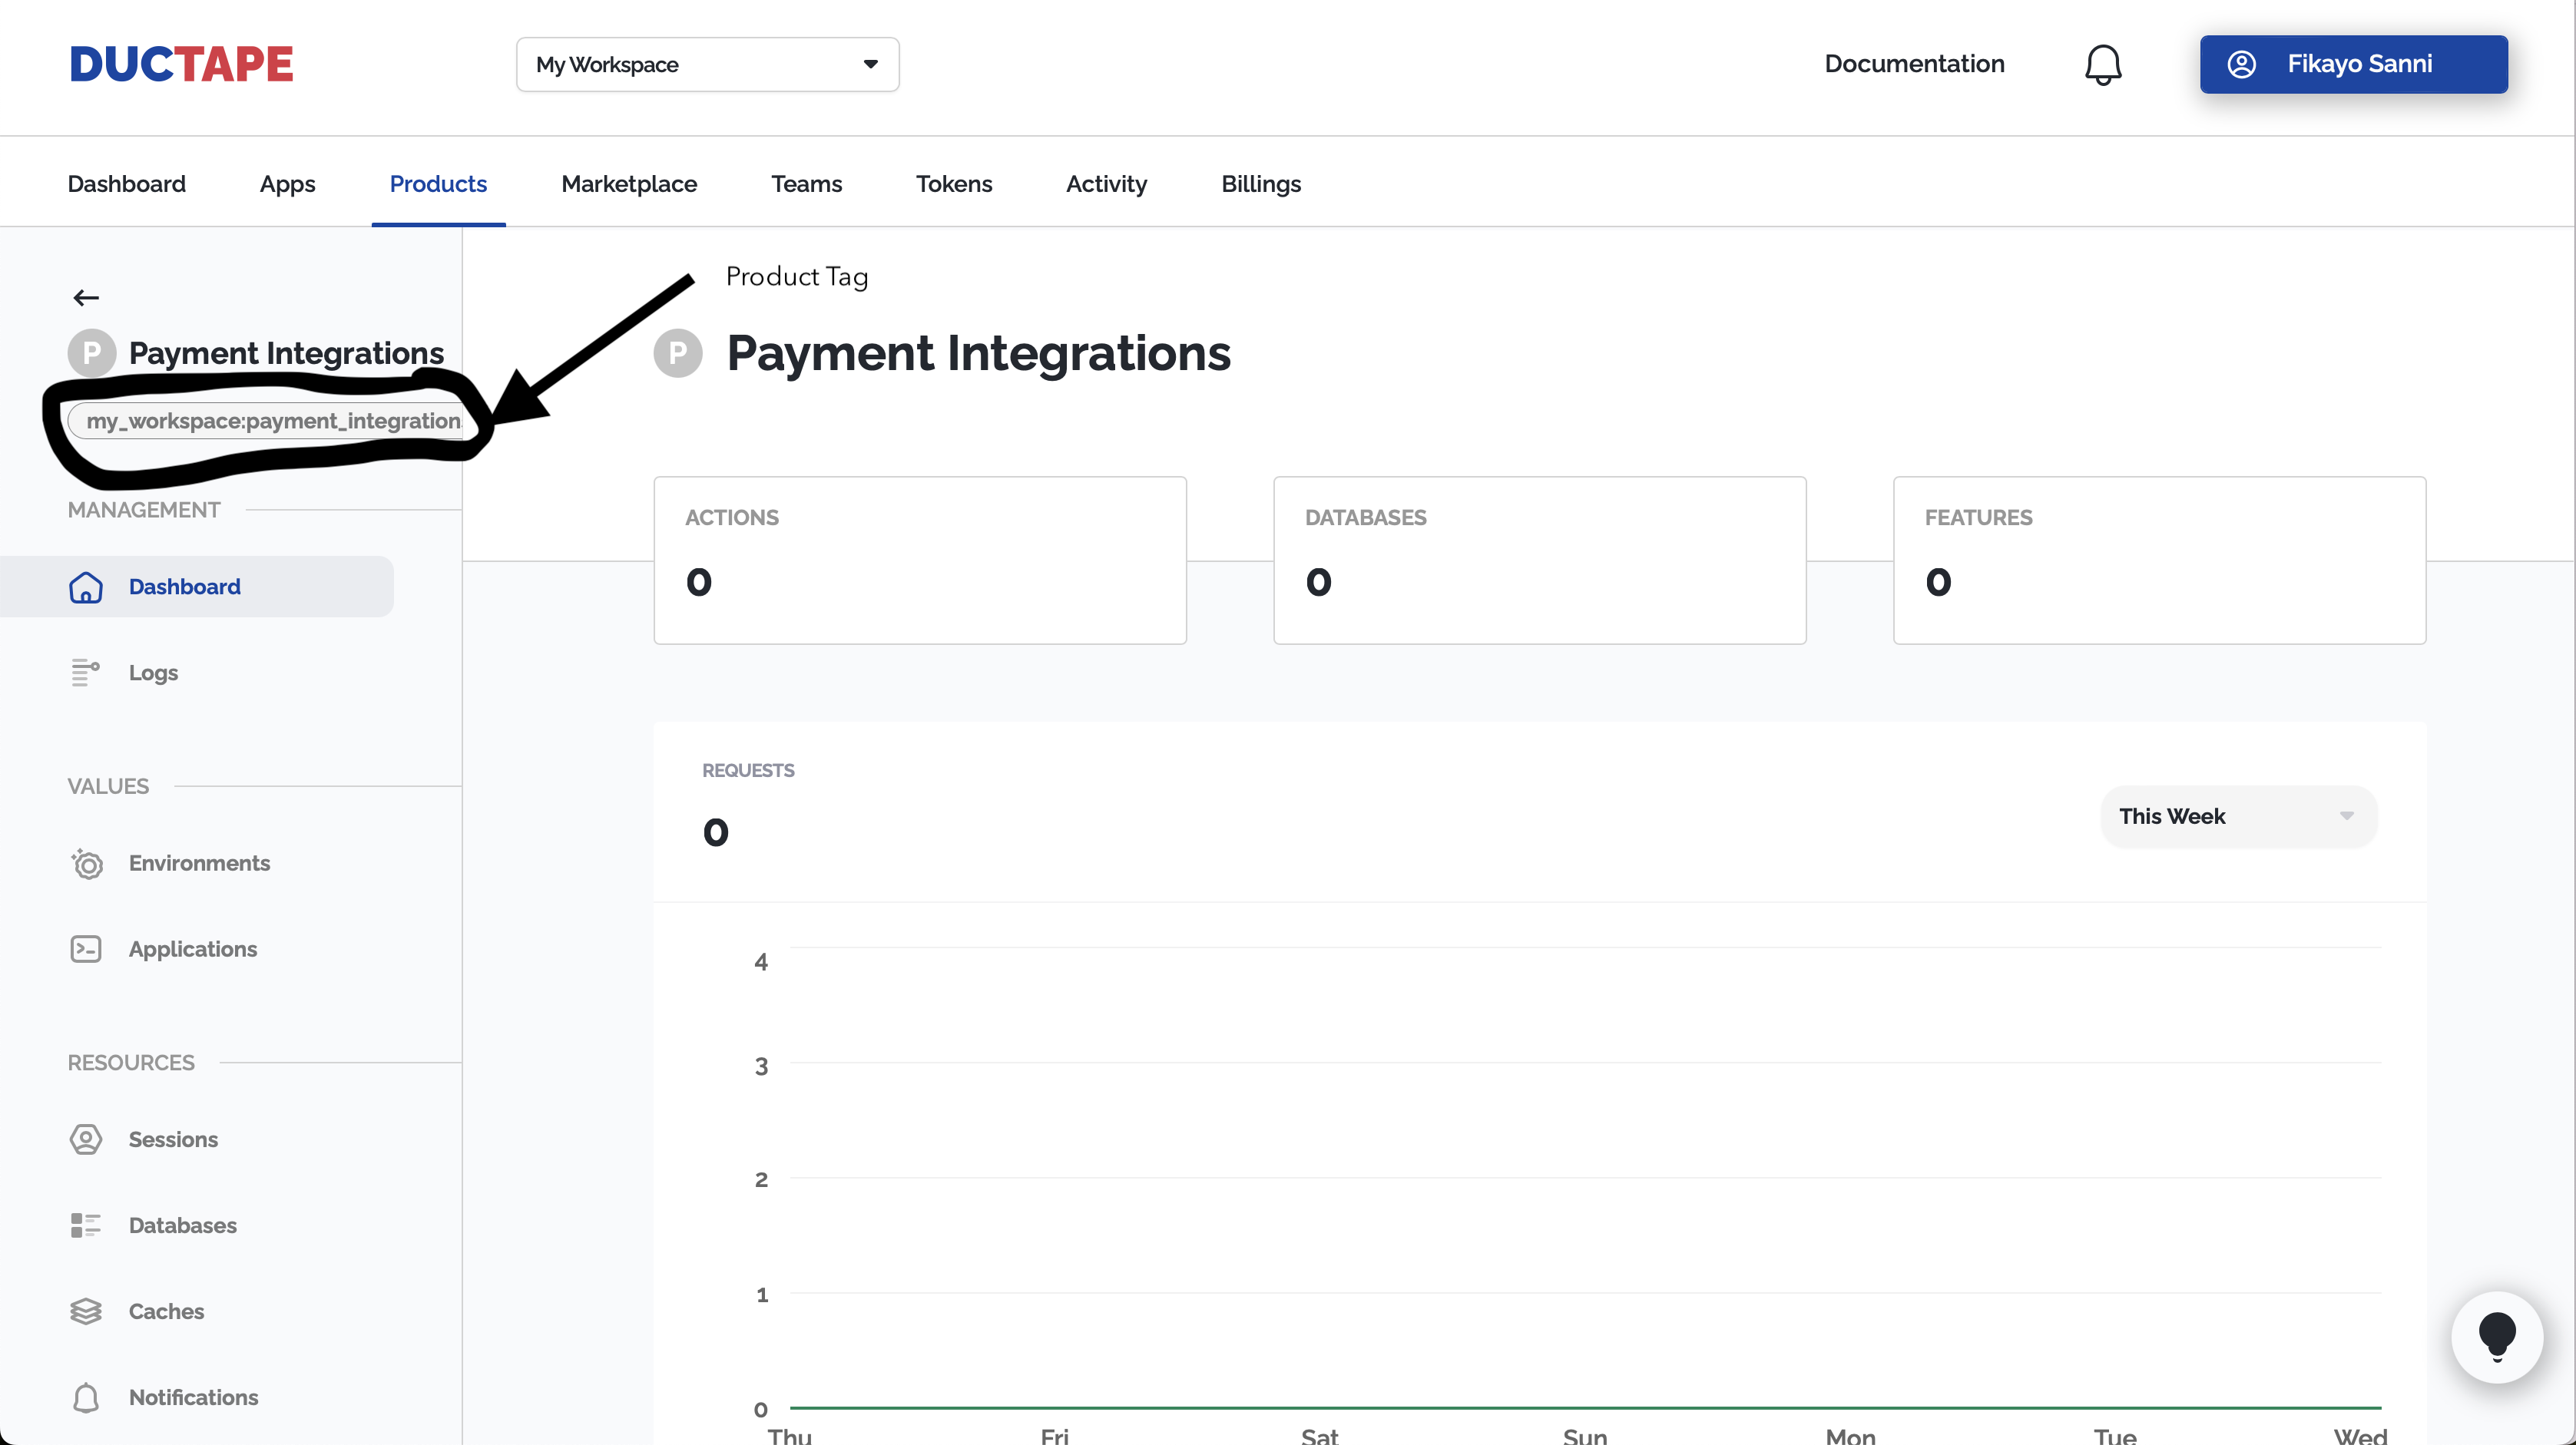 and store it under PRODUCT_TAG in your env
7. Create the Paystack Integration
Create a file called paystack.ts in the src/apps folder and add:
import ductape from "../ductape";
import { config } from 'dotenv';

config();

export const paystack = async () => {
    // initialize the product with product tag
    await ductape.product.init(String(process.env.PRODUCT_TAG));

    // connect the product to paystack app
    const connect = await ductape.product.apps.connect(String(process.env.PAYSTACK_APP_TAG));

    // add authentication for all your product environments
    await ductape.product.apps.add({
        access_tag: connect.access_tag,
        envs: [{
            app_env_slug: "prd",
            product_env_slug: "prd",
            auth: {
                auth_tag: "bearer_token",
                data: {
                    "params": {},
                    "body": {},
                    "query": {},
                    "headers": {
                        "Authorization": `Bearer ${process.env.PAYSTACK_PRIVATE_KEY_PRD}`,
                    }
                }
            }
        }, {
            app_env_slug: "snd",
            product_env_slug: "snd",
            auth: {
                auth_tag: "bearer_token",
                data: {
                    "params": {},
                    "body": {},
                    "query": {},
                    "headers": {
                        "Authorization": `Bearer ${process.env.PAYSTACK_PRIVATE_KEY_SND}`,
                    }
                }
            }
        }]
    })
}
What this does:
- Initializes your product using the product tag.
- Connects your product to the Paystack app in Ductape.
- Adds authentication for both production (
prd) and sandbox (snd) environments using your Paystack private keys.
8. Create an Entry Point
Create an index.ts file in the src folder and add:
import { paystack } from "./apps/paystack";

(async () => {
    try {
        // Initialize Paystack integration
        await paystack();
        console.log("Paystack integration initialized successfully.");
    } catch (error) {
        console.error("Error initializing payment integrations:", error);
    }
})();
Run the following to see the code run:
npm run start
9. Calling an Action
You can now call any endpoint as actions in your code and see how easy it is to use
import ductape from "./ductape"

export const fetchBanksPaystack = async () => {

    const Banks = await ductape.actions.run({
        env: "snd",
        product: process.env.PRODUCT_TAG,
        app: process.env.PAYSTACK_APP_TAG,
        input: {

            "params": {},
            "body": {},
            "query": {
                "country": "nigeria",
                "pay_with_bank_transfer": "true",
                "use_cursor": "true",
                "perPage": "500",
            },
            "headers": {
                "Accept": "application/json",
                "Authorization": "$Auth{bearer_token}{headers}{Authorization}"

            }
        },
        event: "fetch_banks"
    })

    console.log(JSON.stringify(Banks));

}

fetchBanksPaystack();
Run the following to see the code run:
npm run start
Next Steps
- You can now use Ductape’s SDK to trigger Paystack actions, manage resources, and build workflows.
- Explore the Ductape documentation for more advanced features and integrations.
Tip: Store all your sensitive credentials in a
.envfile and never commit it to version control.